The ultimate starter for headless Shopify stores.
Demo live at: headless.builders
- Ultra high performance
- SEO optimized
- Themable
- Personalizable (internationalization, a/b testing, etc)
- Builder.io Visual CMS integrated
Learn how to get started with this Builder + Next.js + Shopify starter with this step by step video guide here:
Pre-requisites
This guide will assume that you have the following software installed:
- nodejs (>=12.0.0)
- npm
- git
You should already have a Shopify account and store created before starting as well.
Introduction
This starter kit is everything you need to get your own self hosted Next.js project powered by Builder.io for content and Shopify as an e-commerce back office.
After following this guide you will have
- A Next.js app, ready to deploy to a hosting provider of your choice
- Pulling live collection and product information from Shopify
- Powered by the Builder.io visual CMS
Before we start, head over to Builder.io and create an account.
Head over to your organization settings page and create a private key, copy the key for the next step.
- Visit the organization settings page, or select an organization from the list

- Click "Account" from the left hand sidebar
- Click the edit icon for the "Private keys" row
- Copy the value of the auto-generated key, or create a new one with a name that's meaningful to you

Next, we'll create a copy of the starter project, and create a new space for it's content to live in.
In the example below, replace <private-key> with the key you copied
in the previous step, and change <space-name> to something that's
meaningful to you -- don't worry, you can change it later!
git clone https://github.com/BuilderIO/nextjs-shopify.git
cd nextjs-shopify

unzip builder

npm install --global "@builder.io/cli"

builder create --key "<private-key>" --name "<space-name>" --debug
Note: if you're only interested in using this starter for a landing page with Shopify use this command instead:
unzip builder-landing-page-only
builder create --key "<private-key>" --name "<space-name>" --input builder-landing-page-only --debug
If this was a success you should be greeted with a message that includes a public API key for your newly minted Builder.io space.
Note: This command will also publish some starter builder.io cms content from the ./builder directory to your new space when it's created.
  ____            _   _       _                     _                    _   _
| __ )   _   _  (_) | |   __| |   ___   _ __      (_)   ___       ___  | | (_)
|  _ \  | | | | | | | |  / _` |  / _ \ | '__|     | |  / _ \     / __| | | | |
| |_) | | |_| | | | | | | (_| | |  __/ | |     _  | | | (_) |   | (__  | | | |
|____/   \__,_| |_| |_|  \__,_|  \___| |_|    (_) |_|  \___/     \___| |_| |_|

|████████████████████████████████████████| shopify-product | 0/0
|████████████████████████████████████████| product-page: writing generic-template.json | 1/1
|████████████████████████████████████████| shopify-collection | 0/0
|████████████████████████████████████████| collection-page: writing generic-collection.json | 1/1
|████████████████████████████████████████| page: writing homepage.json | 2/2


Your new space "next.js shopify starter" public API Key: 012345abcdef0123456789abcdef0123
Copy the public API key ("012345abcdef0123456789abcdef0123" in the example above) for the next step.
This starter project uses dotenv files to configure environment variables.
Open the files .env.development and
.env.production in your favorite text editor, and
set the value of BUILDER_PUBLIC_KEY to the public key you just copied.
You can ignore the other variables for now, we'll set them later.
+ BUILDER_PUBLIC_KEY=012345abcdef0123456789abcdef0123
- BUILDER_PUBLIC_KEY=
SHOPIFY_STOREFRONT_API_TOKEN=
SHOPIFY_STORE_DOMAIN=Create a custom app for your Shopify store. If you don't have a Shopify store already, you can create a development store.
When creating the private app you'll have to set a number of permissions so that builder can retrieve your Shopify inventory. For this press on Storefront API in the configuration tab and choose all the following permissions:

Then in the API Credentials tab, click install:
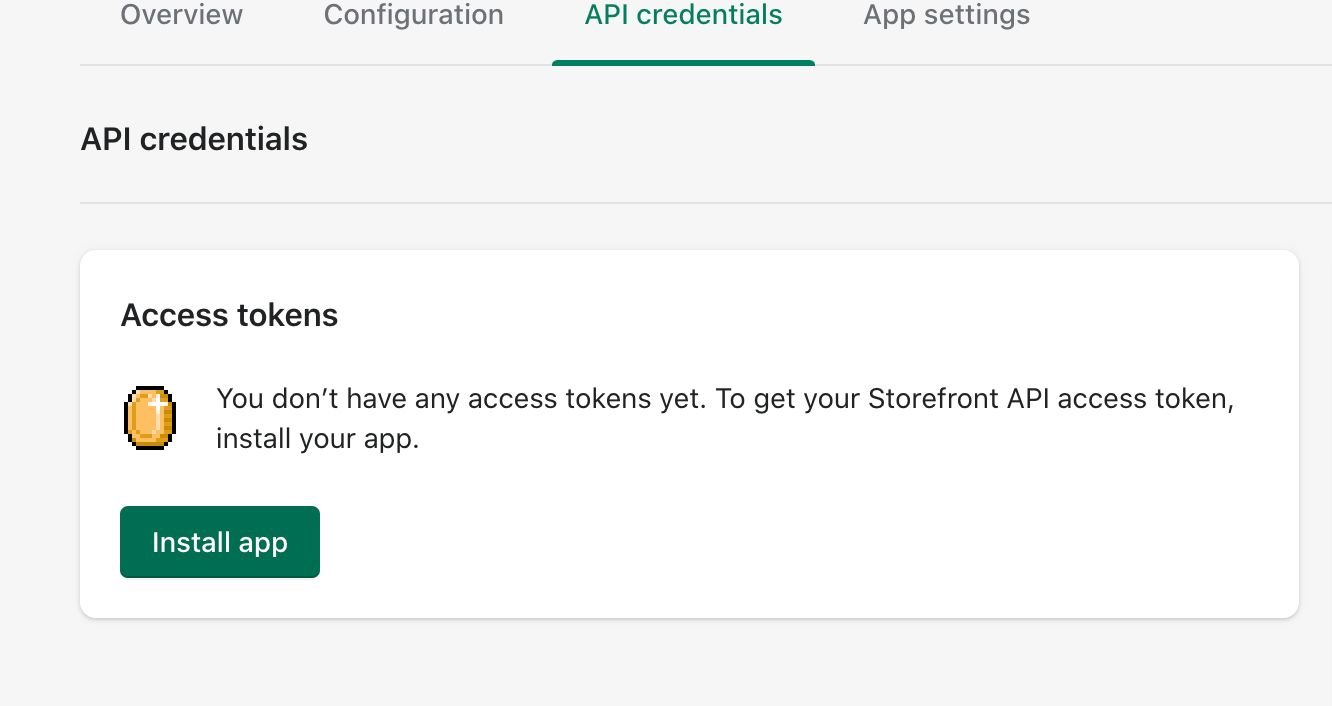
And copy the generated access token.
Access your newly created space by selecting it from the list of spaces in your organization.
You should be greeted by a modal asking for various your storefront Access toke (from preview step) and your store domain, this will allow Builder.io to communicate with your store API:
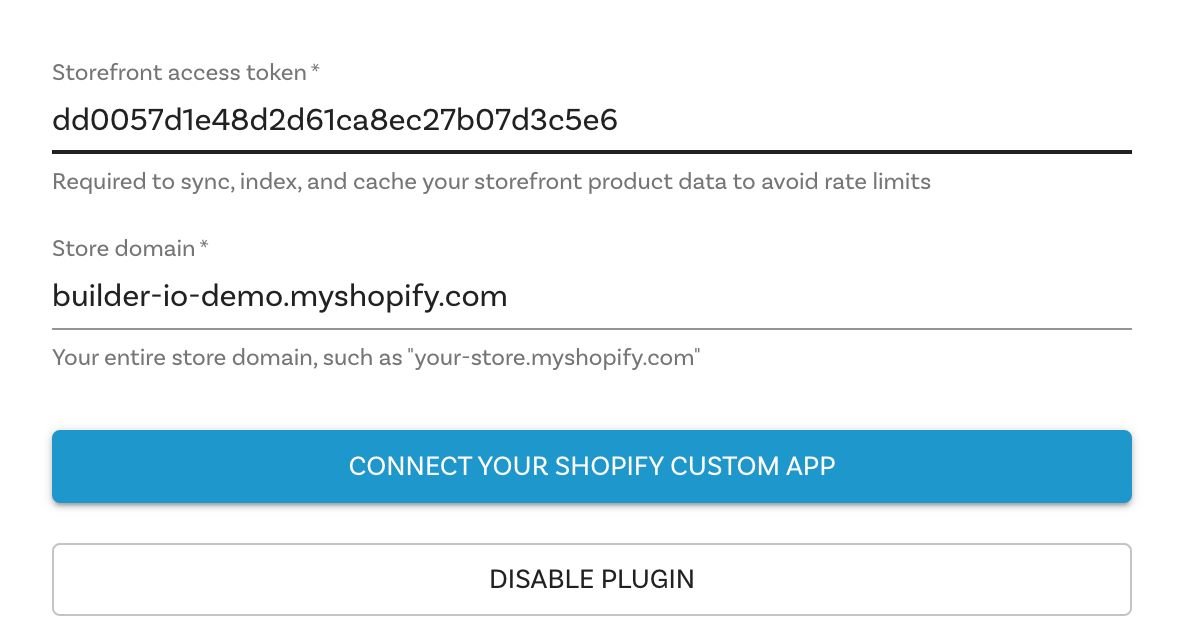
Fill in the required keys and press "Connect your Shopify Custom App"!
Open up .env.development and .env.production again, but this time set the other two Shopify keys.
BUILDER_PUBLIC_KEY=012345abcdef0123456789abcdef0123
+ SHOPIFY_STOREFRONT_API_TOKEN=c11b4053408085753bd76a45806f80dd
- SHOPIFY_STOREFRONT_API_TOKEN=
+ SHOPIFY_STORE_DOMAIN=dylanbuilder.myshopify.com
- SHOPIFY_STORE_DOMAIN=The hard part is over, all you have to do is start up the project now.
npm install
npm run dev
This will start a server at http://localhost:3000.
Now that we have everything setup, start building and publishing pages on builder.io, for a demo on building something similar to the demo homepage, follow the steps in this short video
You can deploy this code anywhere you like - you can find many deployment options for Next.js here. The following options support one click installs and are super easy to start with:
- Vercel: for more information check Vercel docs on Next.js deployments Or try the one click install by clicking the button above.

- Netlify: For more information check Netlify docs on Next.js deployments Or try the one click install by clicking the button above.

![dependabot[bot] avatar](https://avatars.githubusercontent.com/in/29110?v=4 "dependabot[bot]")


