- 简介
- 本文介绍的工具是针对卷积神经网络示意图可视化的,不包括算图。(示意图一般出现在论文中)
- 常见的卷积神经网络示意图绘制工具不少,常用的主要有NN SVG、ConvNetDraw、PlotNeuralNet等。
- 写这篇重点介绍PlotNeuralNet的教程的原因是国内关于它的教程很少并且大都只是列举了官方demo。
- 常见工具
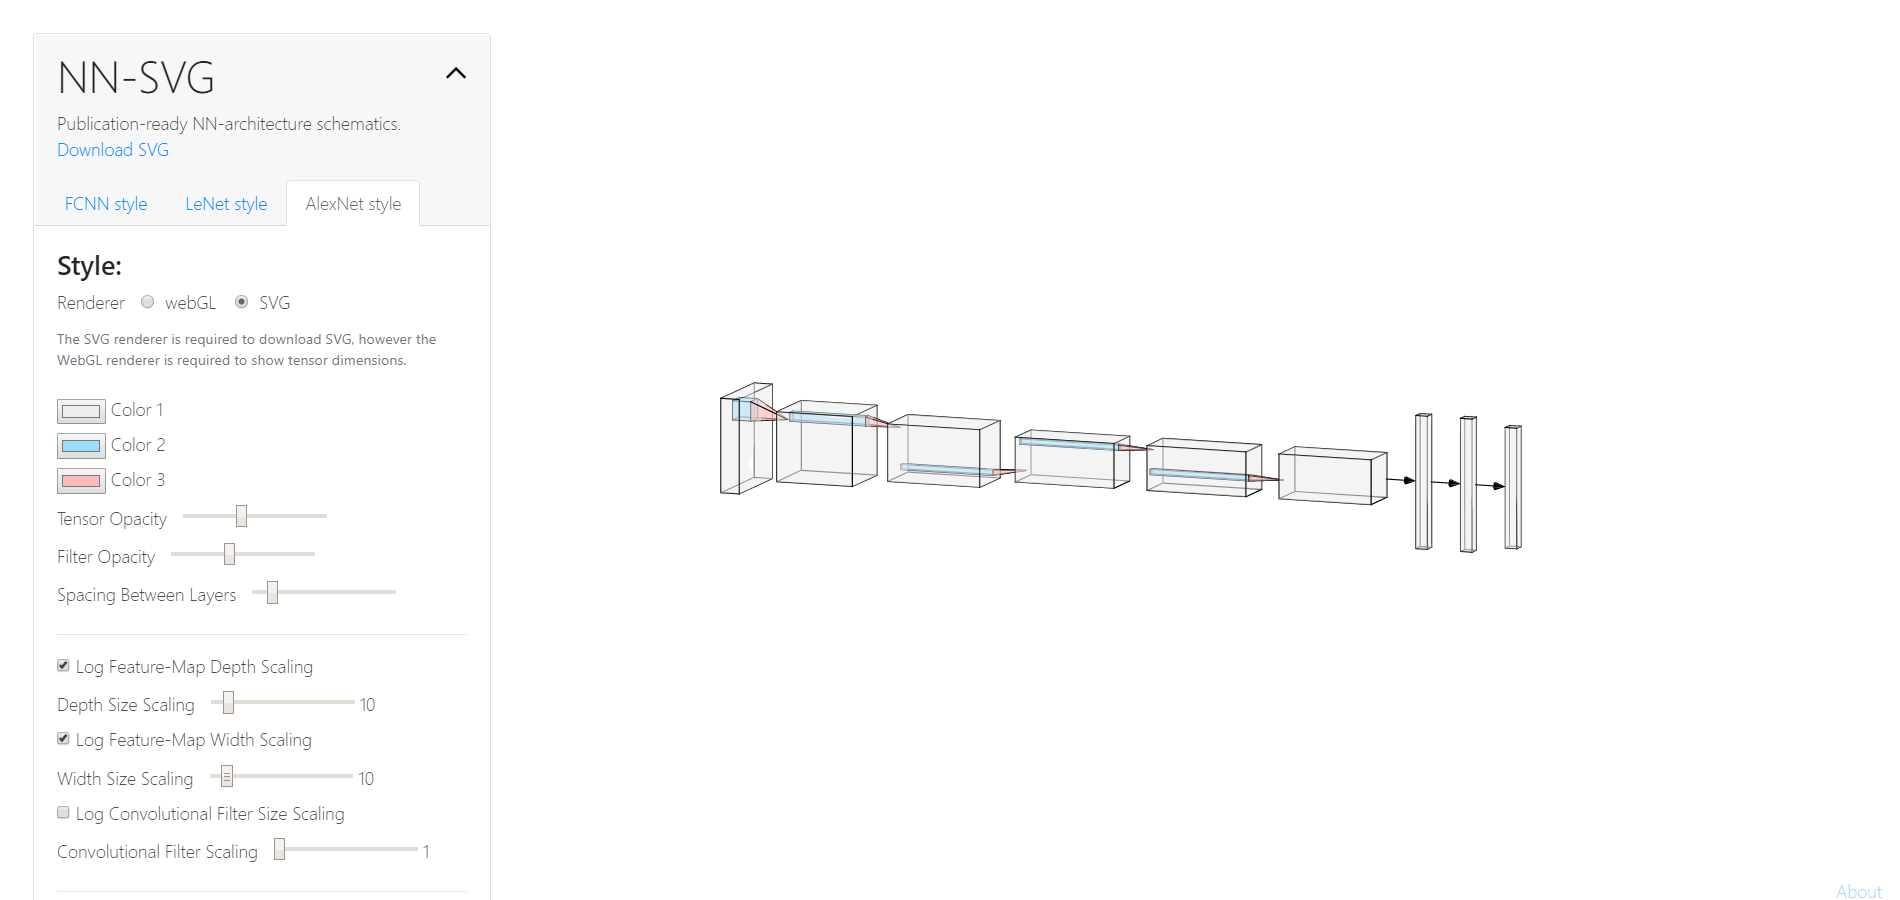
- NN SVG
- 官方地址
- 过去一段时间内比较喜欢用的,特点是很方便,提供给用户的是个交互式的Web页面。
- 特点
- 方便,各层直接界面控制增减及变化。
- 支持三种风格,选择空间大。
- 支持SVG格式下载。
- 缺点
- 可视化界面的最大问题就是很多用户期待的功能为考虑全面,定制程度低。
- 各层连接不是很好看。
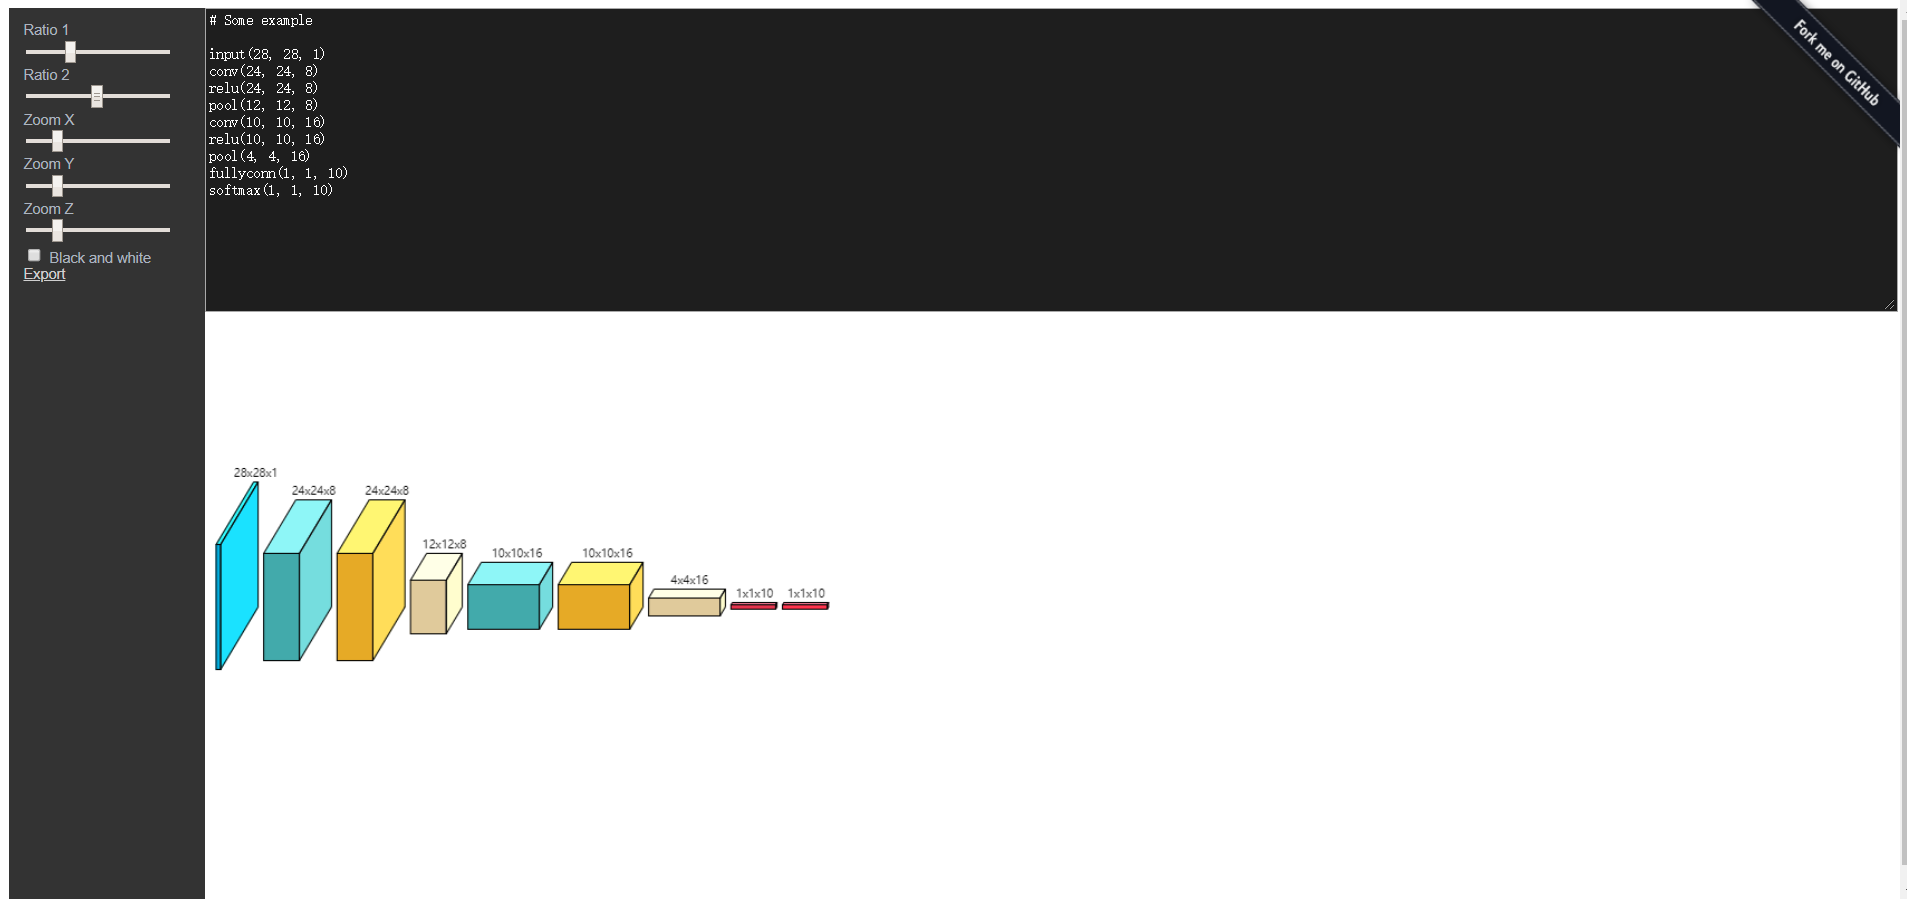
- ConvNetDraw
- 官方地址
- 从未使用过,很多博主推荐,但是观感劝退了我。
- 特点
- 脚本化控制
- 尺度自定义
- 直观
- 缺点
- 既没有做到脚本化的自由度,又没有做到交互界面的观感。
- 不好看。
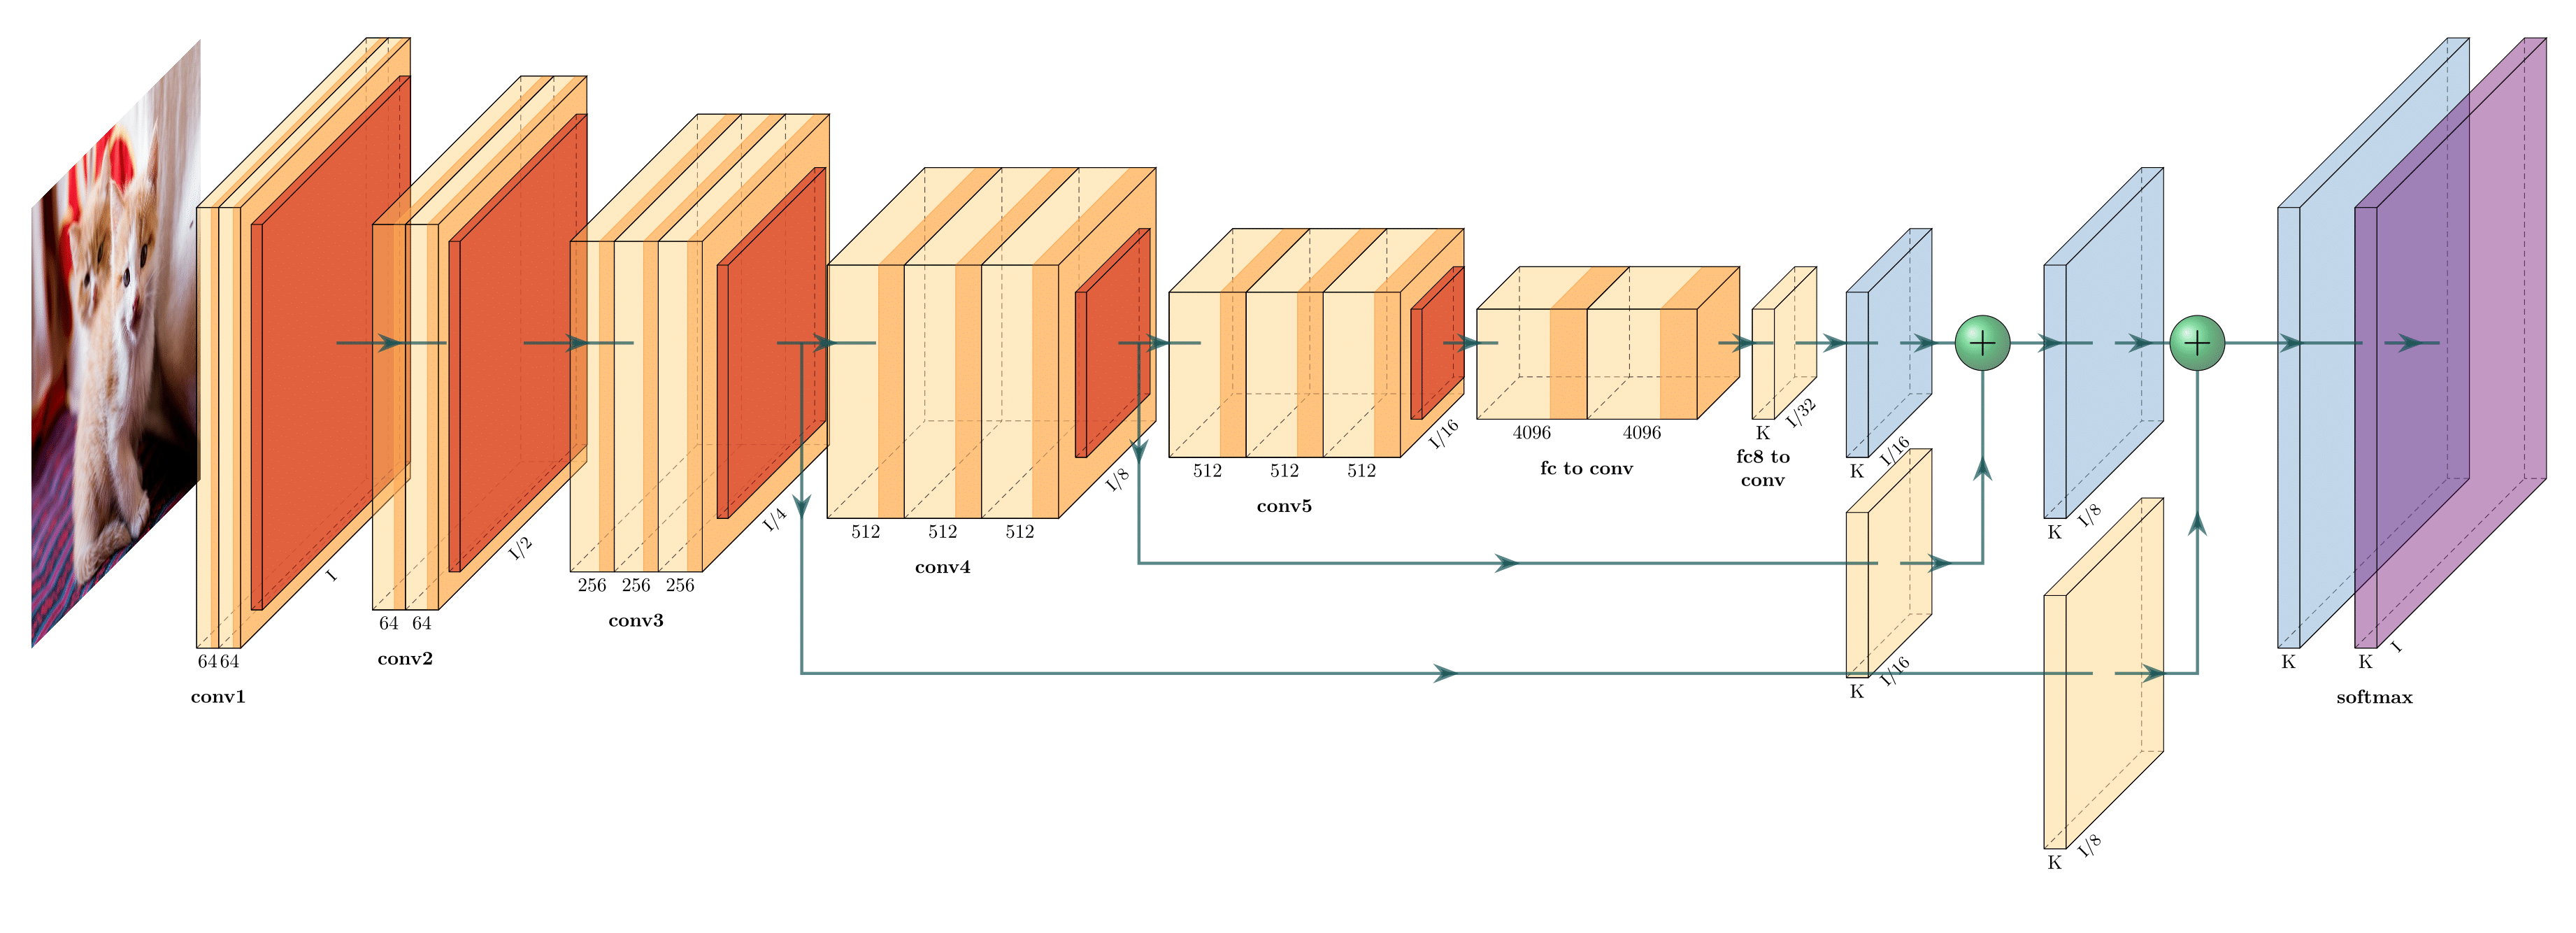
- PlotNeuralNet
- 官方地址
- 这是我极力推荐的工具,尽管它的上手难度略高于之前两个,但学会之后很好用,不少论文就是使用这个工具可视化的。
- 特点
- 脚本化,使用LaTex编写或者使用Python脚本编写结构模型,自由度高。
- 缺点
- 无交互界面,上手略有难度。
- NN SVG
- 使用教程
- 说明
- 基于Linux或者有bash的环境,我只在Ubuntu系统下测试成功。(事实上,深度学习首选的环境之一就是Linux的Ubuntu)
- 只介绍Python脚本绘制的方式,不介绍LaTex方式。
- 需要安装前置软件,如LaTex解析器。
- 前置准备
- 安装textlive
- 调用LaTex解析生成PDF,需要安装LaTex,这里使用TextLive。
wget https://mirrors.tuna.tsinghua.edu.cn/CTAN/systems/texlive/Images/texlive2019.iso- 上面命令为下载镜像到当前目录,失败则可能换源,去掉上述链接的最后文件,在Web中查看合适文件下载即可。
sudo apt-get install perl-tk- 安装图形界面
sudo mount -o loop texlive.iso /mnt- 挂载镜像
cd /mnt- 切换到挂载目录
sudo ./install-tl -gui- 使用图形界面安装
sudo apt-get install texlive-latex-extra- 安装扩展包
- 安装textlive
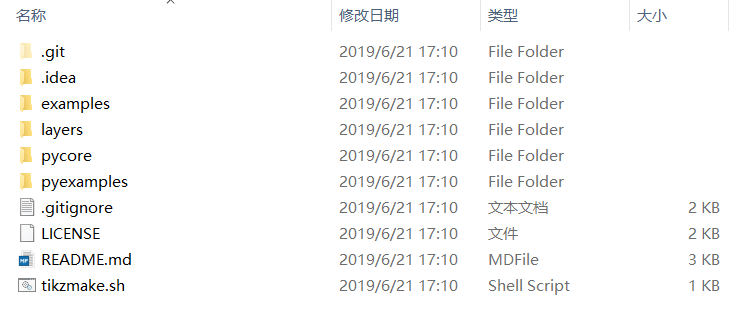
- 下载源码
git clone https://github.com/HarisIqbal88/PlotNeuralNet.git- 源码目录结构
- 其中pycore下的tikzeng.py是核心文件,定义了绘图过程(所有to开头的函数),可以绘制的层,py脚本向LaTex的转换。
- 代码比较易懂,这里不做解析了。
- 绘制
- 一般将自己写的py脚本放在clone的项目的pyexamples目录下。
- 源目录下有两个py脚本,对其进行详细注释,包含了常用的语法。
- 代码1-test_simple.py
- cd到pyexamples目录执行
bash ../tikzmake.sh test_simple(注意不加py后缀,且有些错误正常,观察是否生成pdf文件即可) -
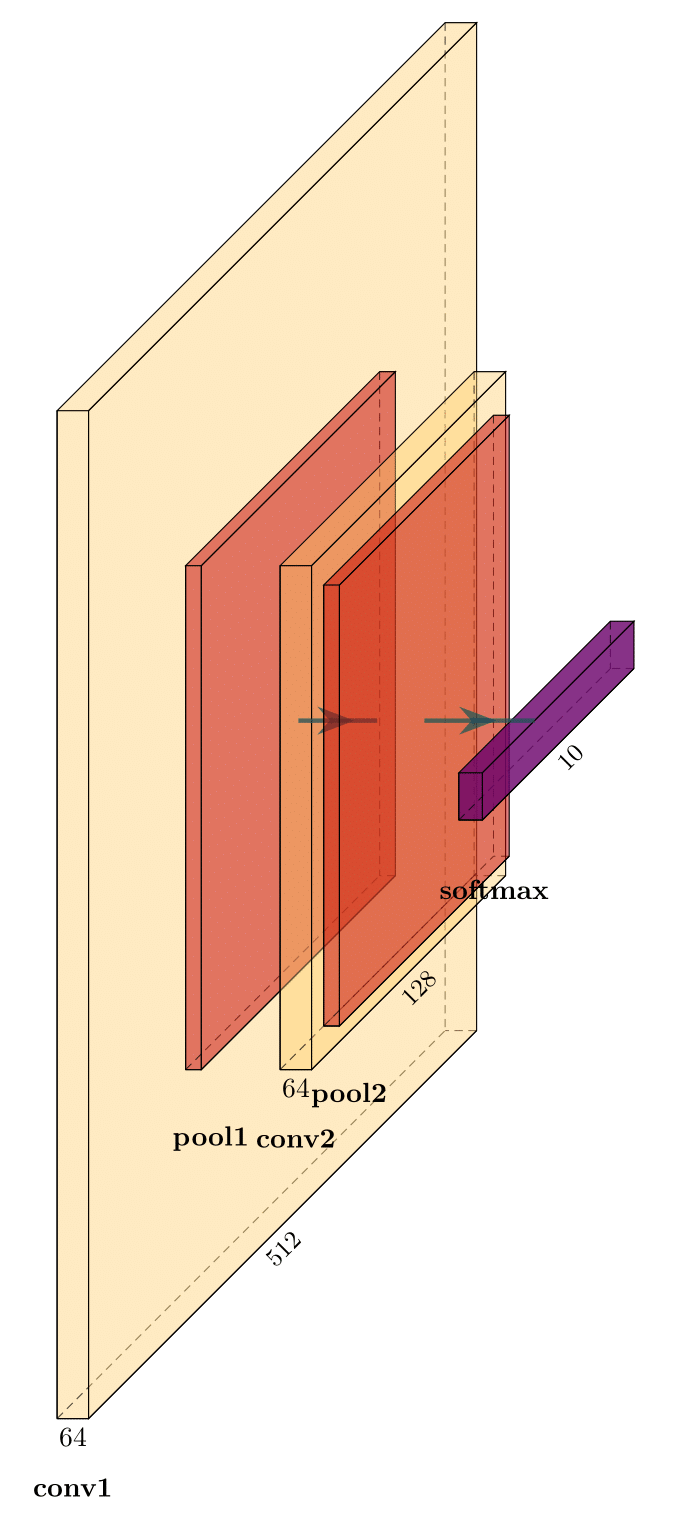
  import sys
  sys.path.append('../')  # 添加自定义库的目录
  from pycore.tikzeng import *  #  导入自定义库

  # defined your arch
  arch = [
      # 添加头
      to_head( '..' ),
      to_cor(),
      to_begin(),
      # 添加卷积层conv1
      to_Conv("conv1", 512, 64, offset="(0,0,0)", to="(0,0,0)", height=64, depth=64, width=2 ),
      # 卷积层conv1东侧添加池化层pool1
      to_Pool("pool1", offset="(0,0,0)", to="(conv1-east)"),
      # 池化层pool1东侧添加卷积层conv2
      to_Conv("conv2", 128, 64, offset="(1,0,0)", to="(pool1-east)", height=32, depth=32, width=2 ),
      # 建立pool1到conv2的连接箭头
      to_connection( "pool1", "conv2"),
      # conv2东侧添加pool2
      to_Pool("pool2", offset="(0,0,0)", to="(conv2-east)", height=28, depth=28, width=1),
      # pool1东侧添加softmax层但是偏移3单位
      to_SoftMax("soft1", 10 ,"(3,0,0)", "(pool1-east)", caption="SOFT"  ),
      # 建立pool2到soft1的连接箭头
      to_connection("pool2", "soft1"),
      # 结束
      to_end()
      ]


  def main():
      namefile = str(sys.argv[0]).split('.')[0]
      to_generate(arch, namefile + '.tex' )


  if __name__ == '__main__':
      main()
- 执行结果
- cd到pyexamples目录执行
- 代码2-unet.py
-
  import sys
  sys.path.append('../')
  from pycore.tikzeng import *
  from pycore.blocks  import *

  arch = [
      # 开头
      to_head('..'),
      to_cor(),
      to_begin(),

      # 添加输入层
      to_input( '../examples/fcn8s/cats.jpg' ),

      #  添加block1包含一个二重卷积接relu
      to_ConvConvRelu( name='ccr_b1', s_filer=500, n_filer=(64,64), offset="(0,0,0)", to="(0,0,0)", width=(2,2), height=40, depth=40  ),
      to_Pool(name="pool_b1", offset="(0,0,0)", to="(ccr_b1-east)", width=1, height=32, depth=32, opacity=0.5),
      #  添加三个block,每个包含三个二卷积加一池化
      *block_2ConvPool( name='b2', botton='pool_b1', top='pool_b2', s_filer=256, n_filer=128, offset="(1,0,0)", size=(32,32,3.5), opacity=0.5 ),
      *block_2ConvPool( name='b3', botton='pool_b2', top='pool_b3', s_filer=128, n_filer=256, offset="(1,0,0)", size=(25,25,4.5), opacity=0.5 ),
      *block_2ConvPool( name='b4', botton='pool_b3', top='pool_b4', s_filer=64,  n_filer=512, offset="(1,0,0)", size=(16,16,5.5), opacity=0.5 ),

      #  瓶颈,为block5
      to_ConvConvRelu( name='ccr_b5', s_filer=32, n_filer=(1024,1024), offset="(2,0,0)", to="(pool_b4-east)", width=(8,8), height=8, depth=8, caption="Bottleneck"  ),
      to_connection( "pool_b4", "ccr_b5"),

      # 解码器
      #  多个block,每个为unconv
      *block_Unconv( name="b6", botton="ccr_b5", top='end_b6', s_filer=64,  n_filer=512, offset="(2.1,0,0)", size=(16,16,5.0), opacity=0.5 ),
      to_skip( of='ccr_b4', to='ccr_res_b6', pos=1.25),
      *block_Unconv( name="b7", botton="end_b6", top='end_b7', s_filer=128, n_filer=256, offset="(2.1,0,0)", size=(25,25,4.5), opacity=0.5 ),
      to_skip( of='ccr_b3', to='ccr_res_b7', pos=1.25),
      *block_Unconv( name="b8", botton="end_b7", top='end_b8', s_filer=256, n_filer=128, offset="(2.1,0,0)", size=(32,32,3.5), opacity=0.5 ),
      to_skip( of='ccr_b2', to='ccr_res_b8', pos=1.25),

      *block_Unconv( name="b9", botton="end_b8", top='end_b9', s_filer=512, n_filer=64,  offset="(2.1,0,0)", size=(40,40,2.5), opacity=0.5 ),
      to_skip( of='ccr_b1', to='ccr_res_b9', pos=1.25),

      to_ConvSoftMax( name="soft1", s_filer=512, offset="(0.75,0,0)", to="(end_b9-east)", width=1, height=40, depth=40, caption="SOFT" ),
      to_connection( "end_b9", "soft1"),
      #  结束
      to_end()
      ]


  def main():
      namefile = str(sys.argv[0]).split('.')[0]
      to_generate(arch, namefile + '.tex' )

  if __name__ == '__main__':
      main()
-
- 执行结果
- 说明
- 补充说明
- 封装的各类层函数都在tikzeng.py文件中。
- 具体的代码和结果可以在我的Github找到,欢迎star或者fork。
- 实际项目请按照官方项目更新为主。
yujilin / plotneuralnet Goto Github PK
View Code? Open in Web Editor NEWThis project forked from luanshiyinyang/plotneuralnet
包含PlotNeuralNet绘制神经网络结构图的教程源码