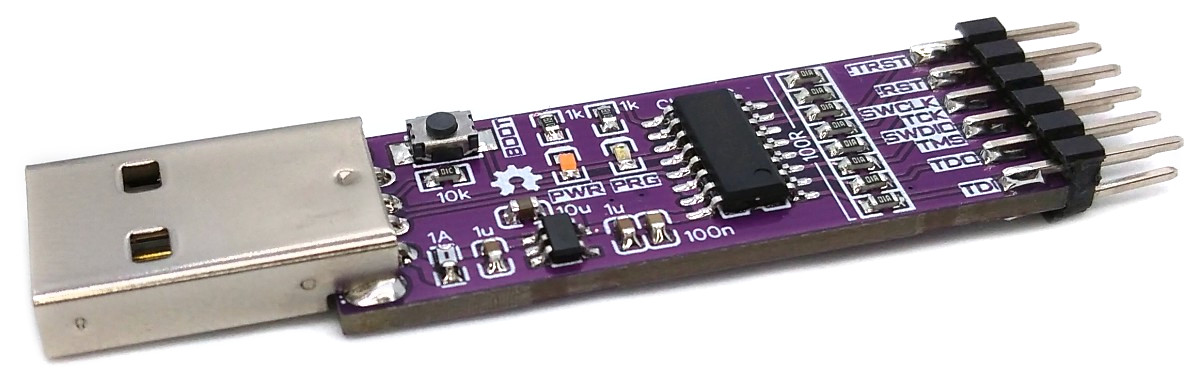
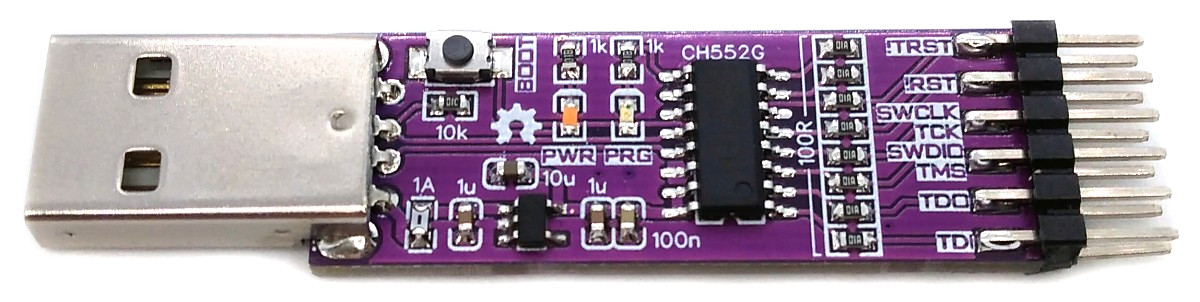
The DAPLink, based on the CH552 microcontroller, is a debugging probe that follows the CMSIS-DAP standard. It supports both SWD and JTAG protocols, making it suitable for programming Microchip SAM and other ARM-based microcontrollers. In addition, it includes a Virtual COM Port (VCP) which adds an extra debugging capability. The SWD firmware is derived from Ralph Doncaster's DAPLink implementation for CH55x microcontrollers, along with Deqing Sun's CH55xduino port.
CMSIS-DAP provides a standardized way to access the Coresight Debug Access Port (DAP) of an ARM Cortex microcontroller via USB. CMSIS-DAP is generally implemented as an on-board interface chip, providing direct USB connection from a development board to a debugger running on a host computer on one side, and over JTAG (Joint Test Action Group) or SWD (Serial Wire Debug) to the target device to access the Coresight DAP on the other. As a USB HID compliant device, it typically does not require any drivers for the operating system. For more information refer to the CMSIS-DAP Handbook.

On Linux you do not need to install a driver. However, by default Linux will not expose enough permission to upload your code with the USB bootloader. In order to fix this, open a terminal and run the following commands:
echo 'SUBSYSTEM=="usb", ATTR{idVendor}=="4348", ATTR{idProduct}=="55e0", MODE="666"' | sudo tee /etc/udev/rules.d/99-ch55x.rules
sudo service udev restart
For Windows, you need the CH372 driver. Alternatively, you can also use the Zadig Tool to install the correct driver. Here, click "Options" and "List All Devices" to select the USB module, and then install the libusb-win32 driver. To do this, the board must be connected and the CH55x must be in bootloader mode.
A brand new chip starts automatically in bootloader mode as soon as it is connected to the PC via USB. Once firmware has been uploaded, the bootloader must be started manually for new uploads. To do this, the board must first be disconnected from the USB port and all voltage sources. Now press the BOOT button and keep it pressed while reconnecting the board to the USB port of your PC. The chip now starts again in bootloader mode, the BOOT button can be released and new firmware can be uploaded within the next couple of seconds.
Install the SDCC Compiler. In order for the programming tool to work, Python3 must be installed on your system. To do this, follow these instructions. In addition pyusb must be installed. On Linux (Debian-based), all of this can be done with the following commands:
sudo apt install build-essential sdcc python3 python3-pip
sudo pip install pyusb
- Open a terminal.
- Navigate to the folder with the makefile.
- Connect the board and make sure the CH552 is in bootloader mode.
- Run
make flashto compile and upload the firmware. - If you don't want to compile the firmware yourself, you can also upload the precompiled binary. To do this, just run
python3 ./tools/chprog.py daplink.bin.
Connect the DAPLink to the target board via the pin header. You can supply power via the 3V3 pin or the 5V pin (max 400 mA). Plug the DAPLink into a USB port on your PC. Since it is recognized as a Human Interface Device (HID), no driver installation is required. However, Windows users may need to install a CDC driver for the Virtual COM Port (VCP) using the Zadig Tool. The DAPLink should work with any debugging software that supports CMSIS-DAP (e.g. OpenOCD or PyOCD). Of course, it also works with the SAMD DevBoards in the Arduino IDE (Tools -> Programmer -> Generic CMSIS-DAP). The virtual COM port (8N1 only) can be used with any serial monitor.
- EasyEDA Design Files
- ARMmbed DAPLink
- CH55xduino
- Ralph Doncaster's Implementation
- CMSIS-DAP Handbook
- SDCC Compiler
- CH55x SDK for SDCC
- OpenOCD
- SAMD DevBoards
- picoDAP
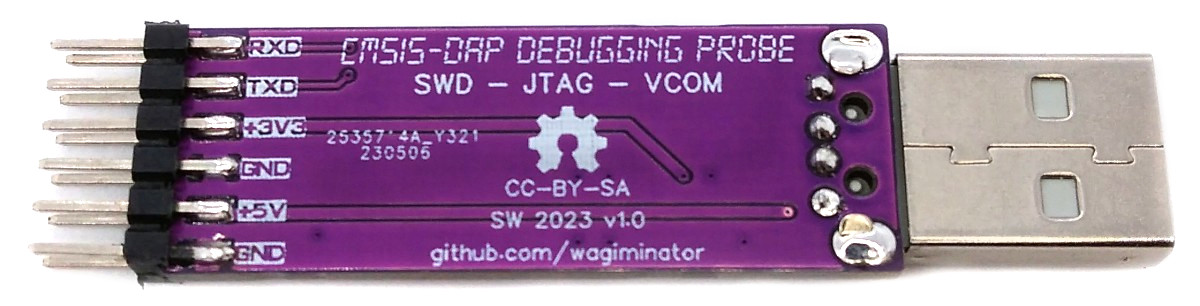

This work is licensed under Creative Commons Attribution-ShareAlike 3.0 Unported License. (http://creativecommons.org/licenses/by-sa/3.0/)