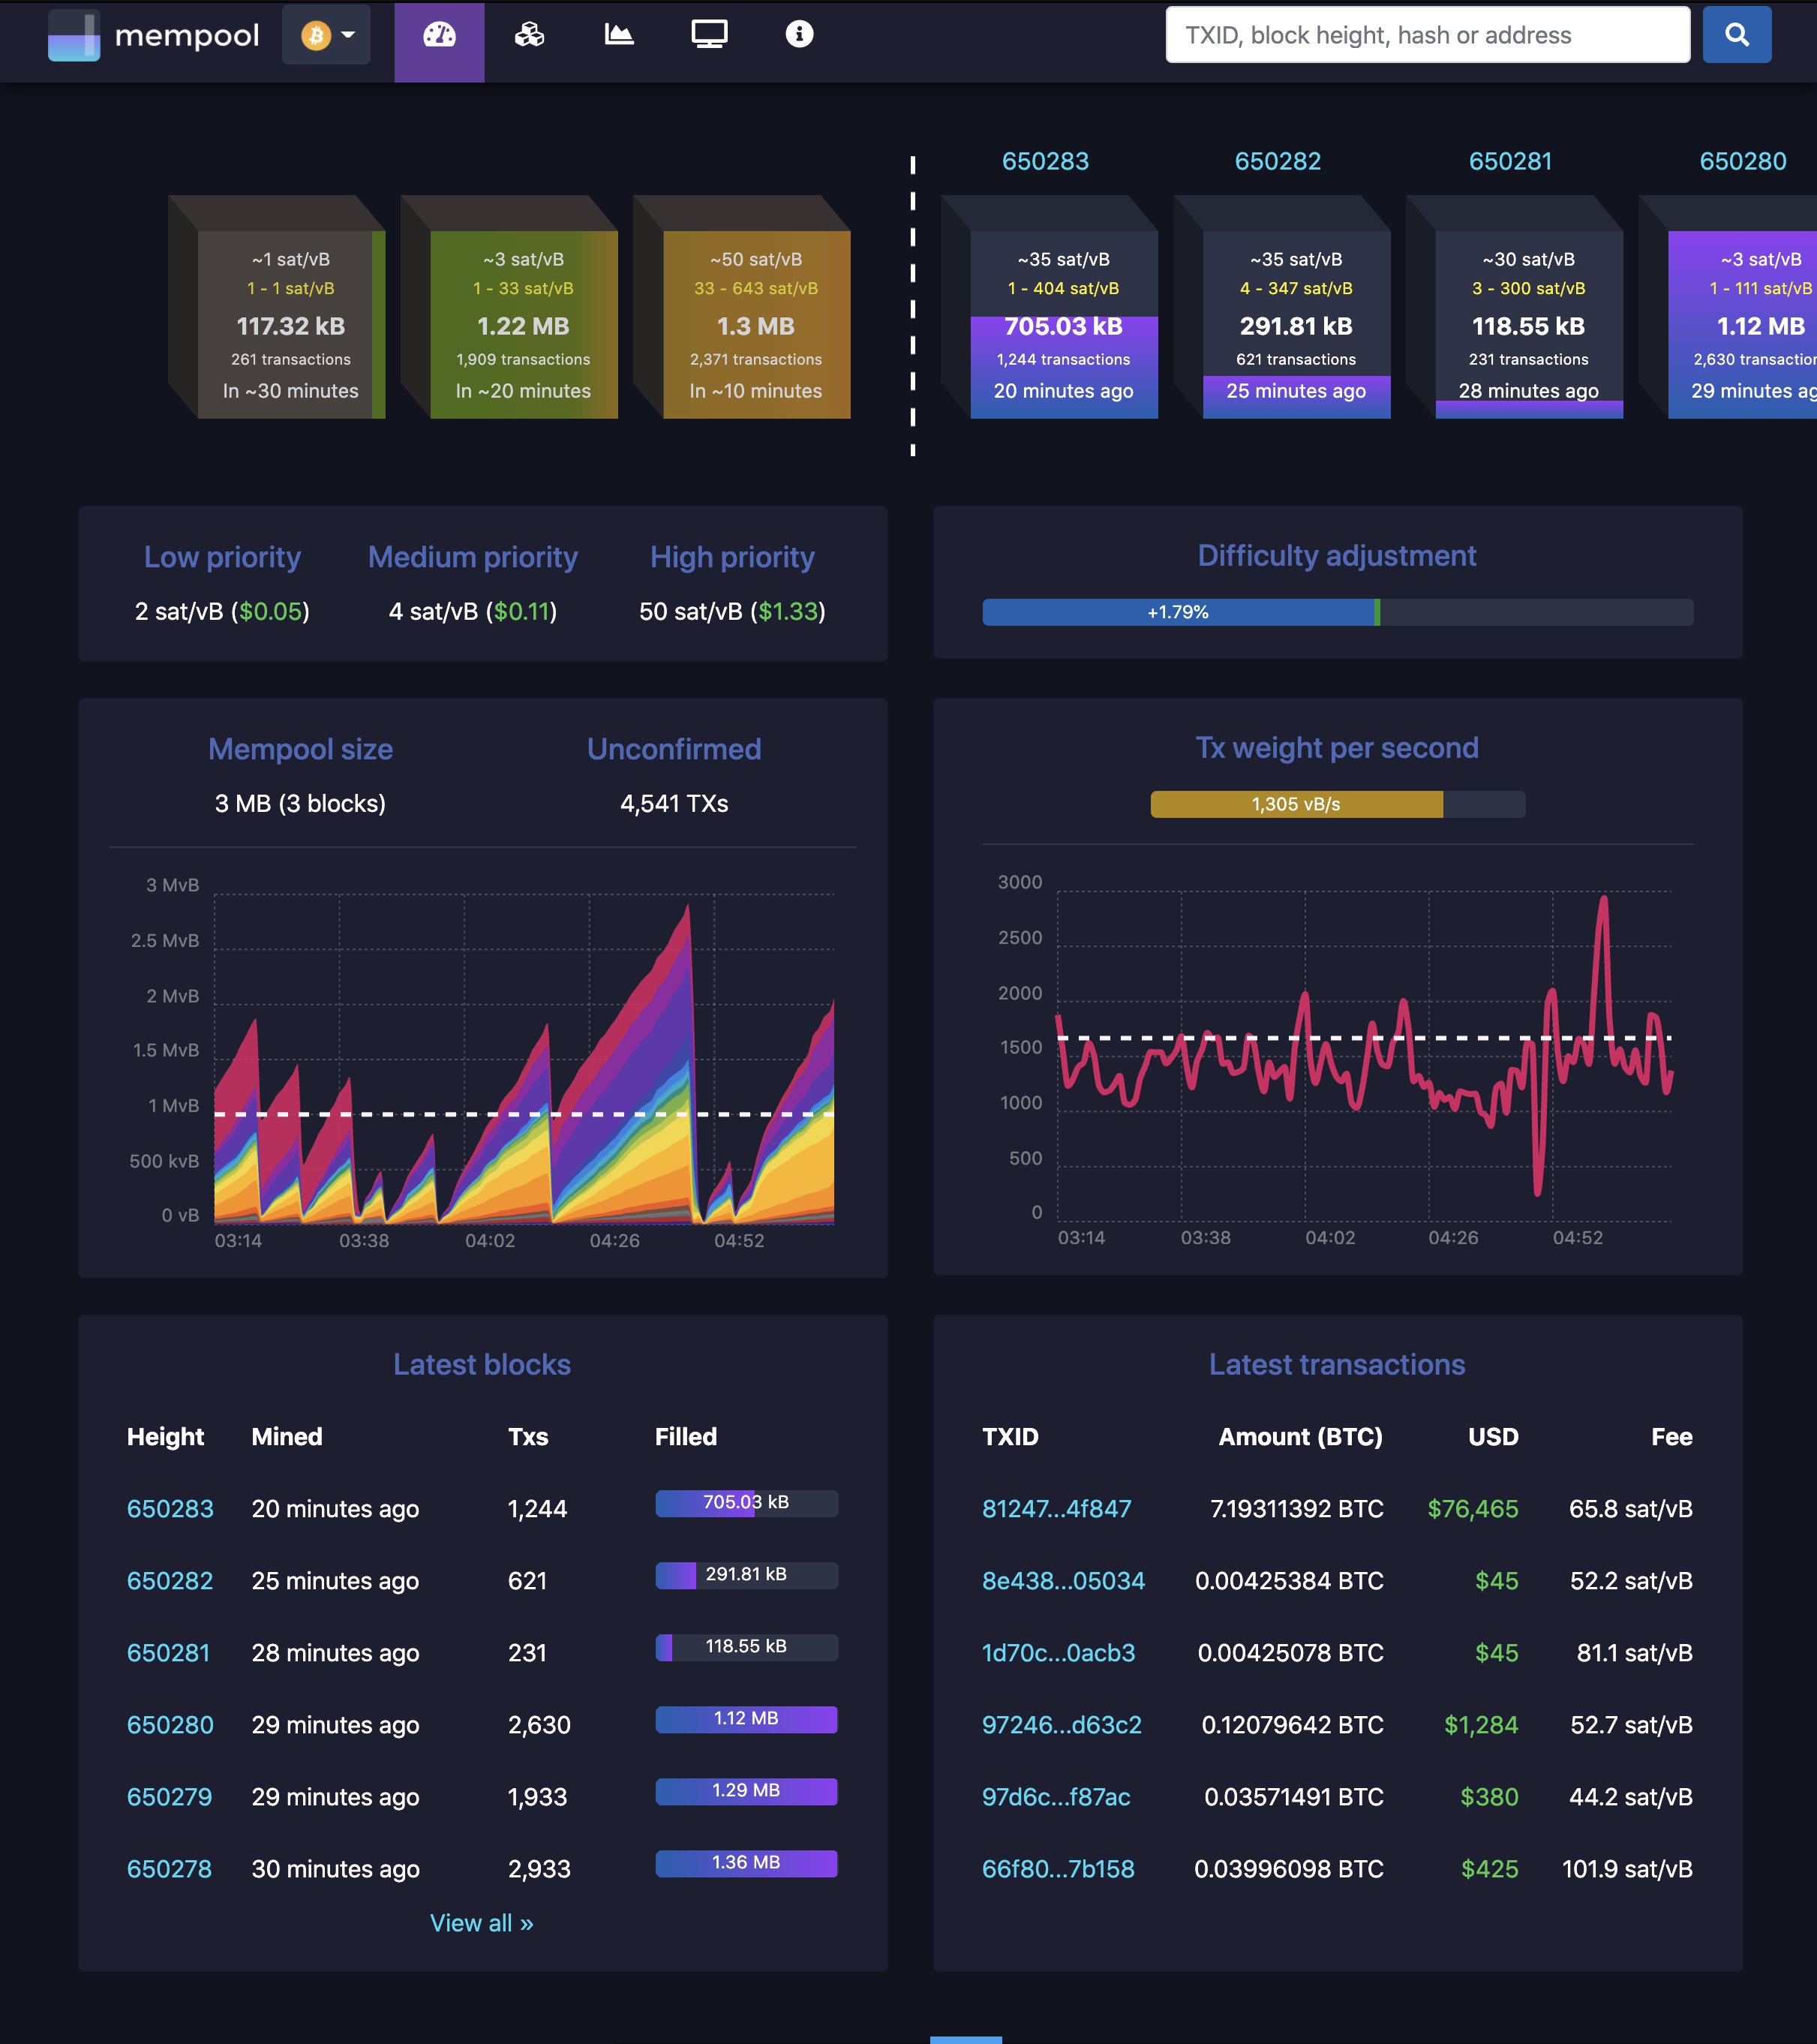
Mempool is the fully featured mempool visualizer and block explorer website and API service running on mempool.space. The instructions below are for most users at home running on low-powered Raspberry Pi devices, but if you want to run a production website on a powerful server, see the production setup guide
- Bitcoin Core (no pruning, txindex=1)
- Electrum Server (romanz/electrs)
- NodeJS (official stable LTS)
- MariaDB (default config)
- Nginx (use supplied nginx.conf and nginx-mempool.conf)
Clone the mempool repo, and checkout the latest release tag:
  git clone https://github.com/mempool/mempool
  cd mempool
  latestrelease=$(curl -s https://api.github.com/repos/mempool/mempool/releases/latest|grep tag_name|head -1|cut -d '"' -f4)
git checkout $latestreleaseEnable RPC and txindex in bitcoin.conf:
  rpcuser=mempool
  rpcpassword=71b61986da5b03a5694d7c7d5165ece5
txindex=1Install MariaDB from OS package manager:
  # Linux
  apt-get install mariadb-server mariadb-client

  # macOS
  brew install mariadb
  brew services start mariadb
Create database and grant privileges:
  MariaDB [(none)]> drop database mempool;
  Query OK, 0 rows affected (0.00 sec)

  MariaDB [(none)]> create database mempool;
  Query OK, 1 row affected (0.00 sec)

  MariaDB [(none)]> grant all privileges on mempool.* to 'mempool'@'%' identified by 'mempool';
  Query OK, 0 rows affected (0.00 sec)
From the mempool repo's top-level folder, import the database structure:
mysql -u mempool -p mempool < mariadb-structure.sqlInstall mempool dependencies from npm and build the backend:
  # backend
  cd ../backend/
  npm install
  npm run build
In the backend folder, make a copy of the sample config and modify it to fit your settings.
cp mempool-config.sample.json mempool-config.jsonEdit mempool-config.json to add your Bitcoin Core node RPC credentials:
{
  "MEMPOOL": {
    "NETWORK": "mainnet",
    "BACKEND": "electrum",
    "HTTP_PORT": 8999,
    "API_URL_PREFIX": "/api/v1/",
    "POLL_RATE_MS": 2000
  },
  "CORE_RPC": {
    "USERNAME": "mempool",
    "PASSWORD": "71b61986da5b03a5694d7c7d5165ece5"
  },
  "ELECTRUM": {
    "HOST": "127.0.0.1",
    "PORT": 50002,
    "TLS_ENABLED": true,
  },
  "DATABASE": {
    "ENABLED": true,
    "HOST": "127.0.0.1",
    "PORT": 3306,
    "USERNAME": "mempool",
    "PASSWORD": "mempool",
    "DATABASE": "mempool"
  },
  "STATISTICS": {
    "ENABLED": true,
    "TX_PER_SECOND_SAMPLE_PERIOD": 150
  }
}
Start the backend:
npm run startWhen it's running you should see output like this:
  Mempool updated in 0.189 seconds
  Updating mempool
  Mempool updated in 0.096 seconds
  Updating mempool
  Mempool updated in 0.099 seconds
  Updating mempool
  Calculated fee for transaction 1 / 10
  Calculated fee for transaction 2 / 10
  Calculated fee for transaction 3 / 10
  Calculated fee for transaction 4 / 10
  Calculated fee for transaction 5 / 10
  Calculated fee for transaction 6 / 10
  Calculated fee for transaction 7 / 10
  Calculated fee for transaction 8 / 10
  Calculated fee for transaction 9 / 10
  Calculated fee for transaction 10 / 10
  Mempool updated in 0.243 seconds
Updating mempoolInstall mempool dependencies from npm and build the frontend static HTML/CSS/JS:
  # frontend
  cd frontend
  npm install
  npm run build
Install the output into nginx webroot folder:
sudo rsync -av --delete dist/mempool/ /var/www/html/Install the supplied nginx.conf and nginx-mempool.conf in /etc/nginx
  # install nginx and certbot
  apt-get install -y nginx python-certbot-nginx

  # install the mempool configuration for nginx
  cp nginx.conf nginx-mempool.conf /etc/nginx/nginx.conf

  # replace example.com with your domain name
  certbot --nginx -d example.com
If everything went okay you should see the beautiful mempool 😁
If you get stuck on "loading blocks", this means the websocket can't connect. Check your nginx proxy setup, firewalls, etc. and open an issue if you need help.

