Week 3 Step 7 ⬤⬤⬤⬤⬤⬤⬤◯◯ | 🕐 Estimated completion: 20-30 minutes
Leaky secrets
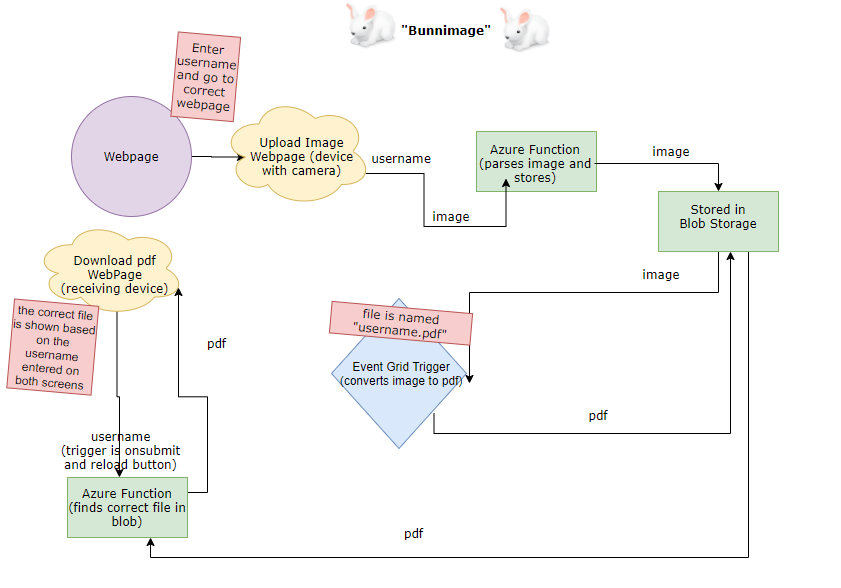
Store a message from Twilio in CosmosDB and return the most recent message
✅ Task:
❗ Make sure to return your message in this format:
Thanks 😊! Stored your secret "insert_user's_message". 😯 Someone confessed that: "the_most_recent_message"
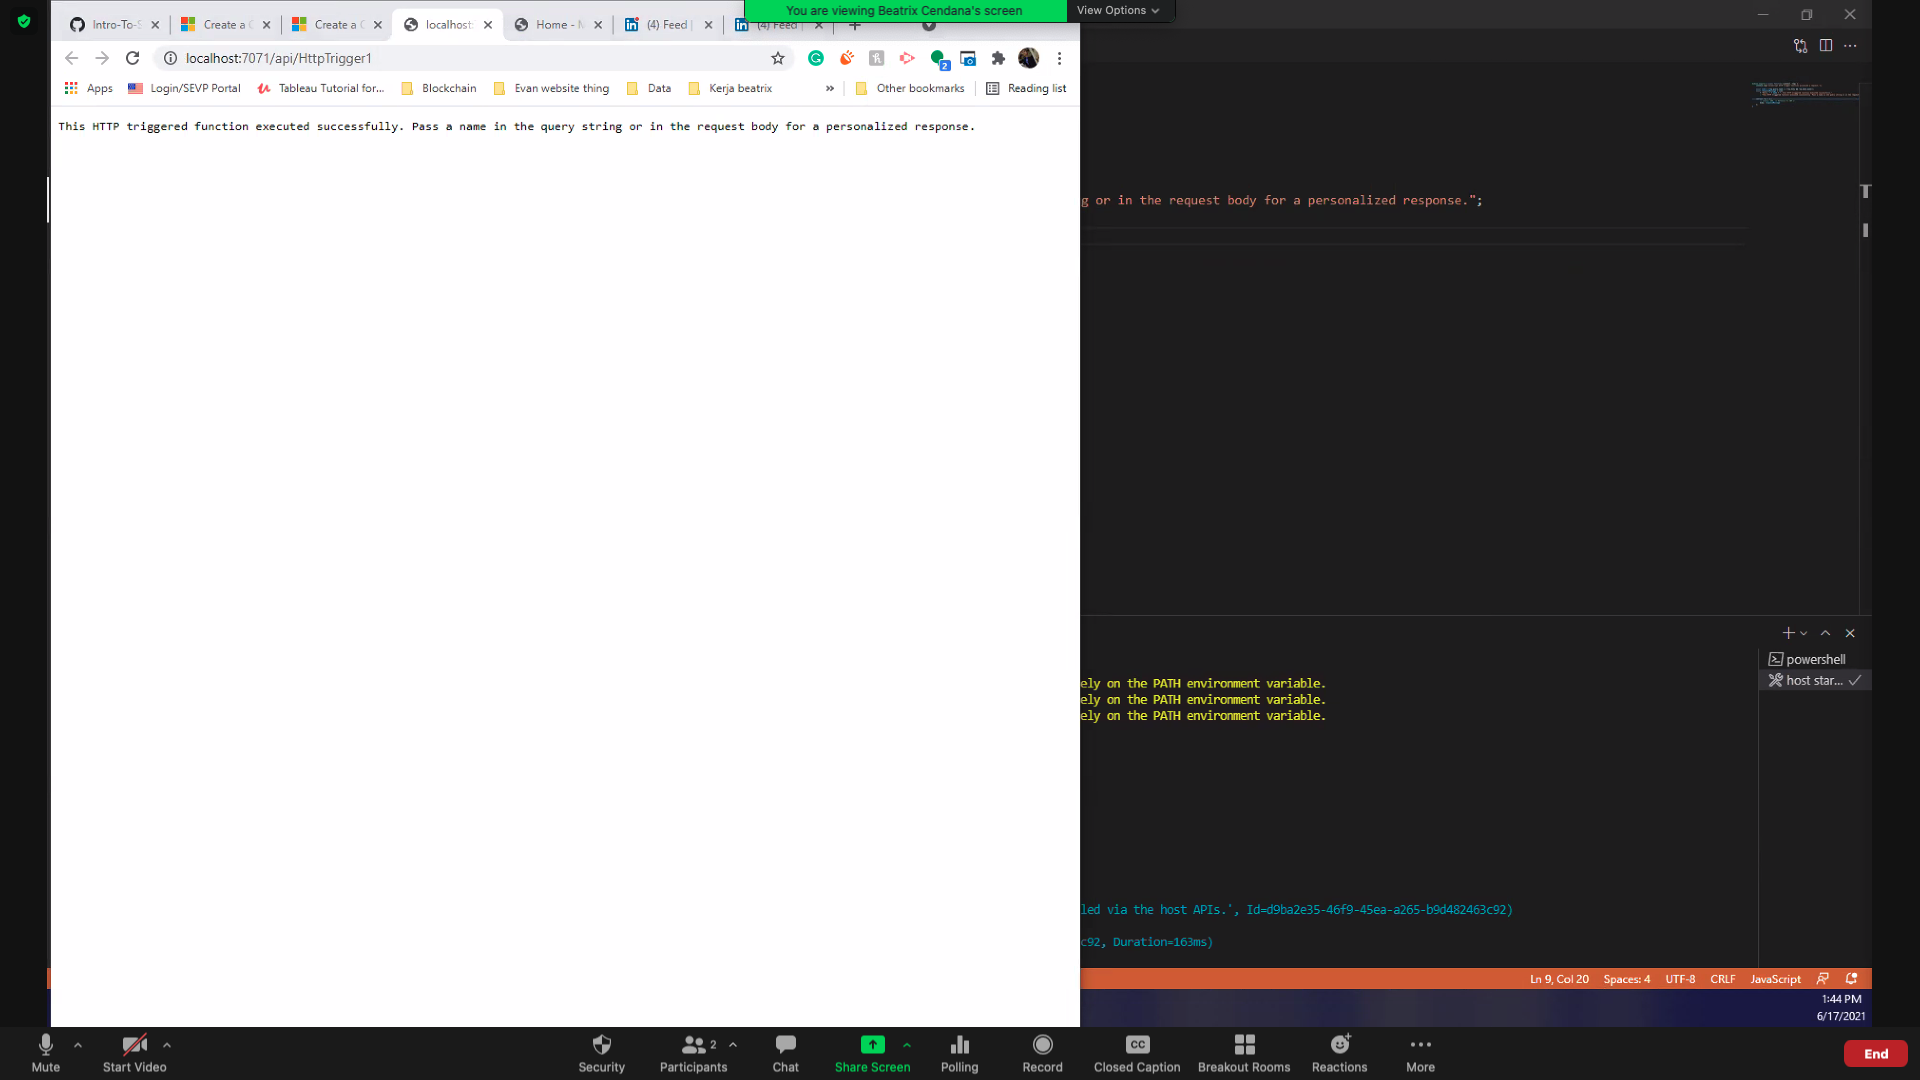
🚧 Test Your Work
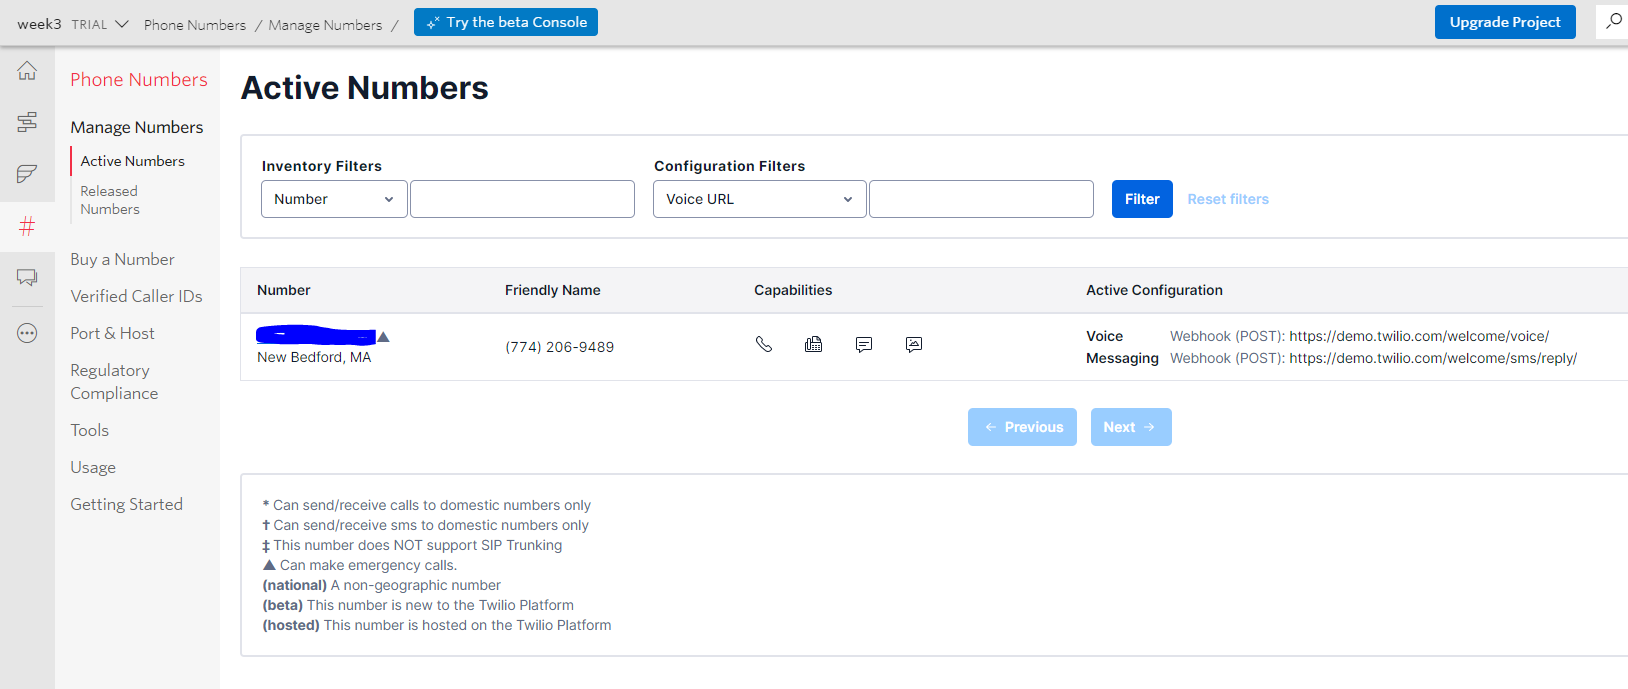
To test your work, send your Twilio number a text message. Once you do so, if you navigate to your Cosmos database account, go to Data Explorer, and the dropdowns underneath your new SecretStorer database, you should see an item that contains a message with your text message!

Important Note: If you are triggering the function for the first time, you may see an error message like the one below:
TypeError: Cannot read property 'message' of undefinedStack: TypeError: Cannot read property 'message' of undefinedat module.exports (C:\home\site....)
Don't worry! Try sending another text message, and everything should work fine the second time around. This error occurs because you don't have anything stored in CosmosDB yet.
💡 Yay! This means you've successfully connected Twilio with your Azure Cosmos database and Function.
1: Create your Cosmos Databases
Before we do anything else, we'll want to create our Cosmos DB account.
❓ How do I create my Cosmos DB account?
- Navigate to your Azure Portal and click on
Azure Cosmos DB under Azure Services.

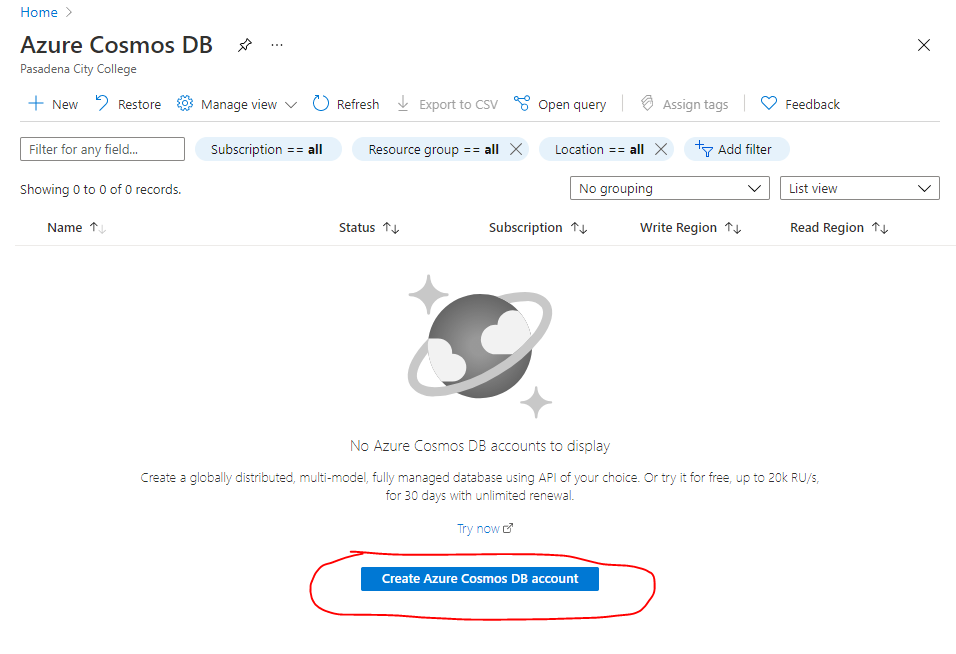
- Click
Create Azure Cosmos DB Account.
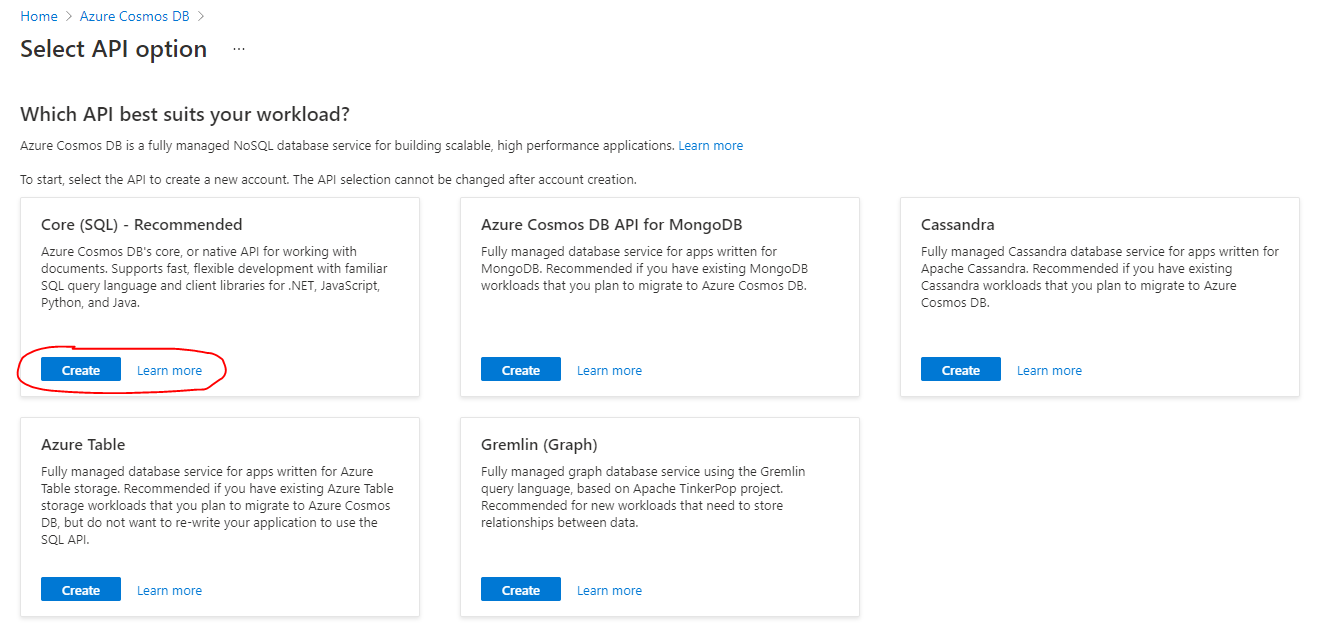
- Under
Select API Option, choose Core (SQL) - Recommended.
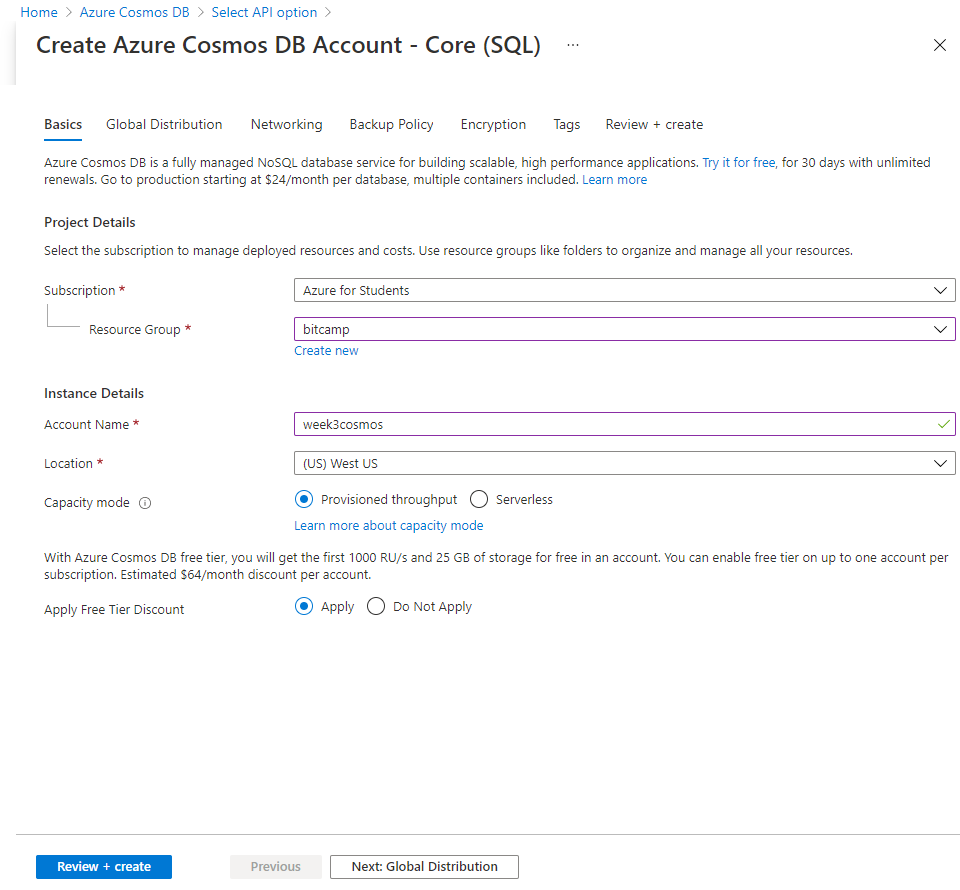
- Fill in your account name, leave default options as they are, and click
Review + create.
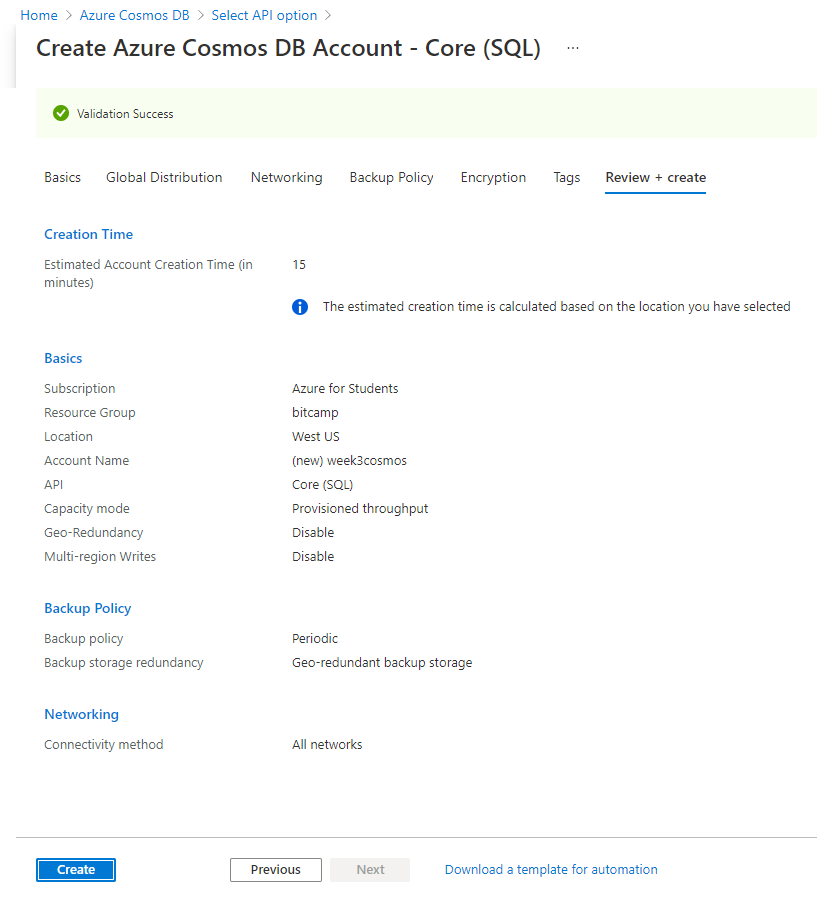
- Click
Create a final time.
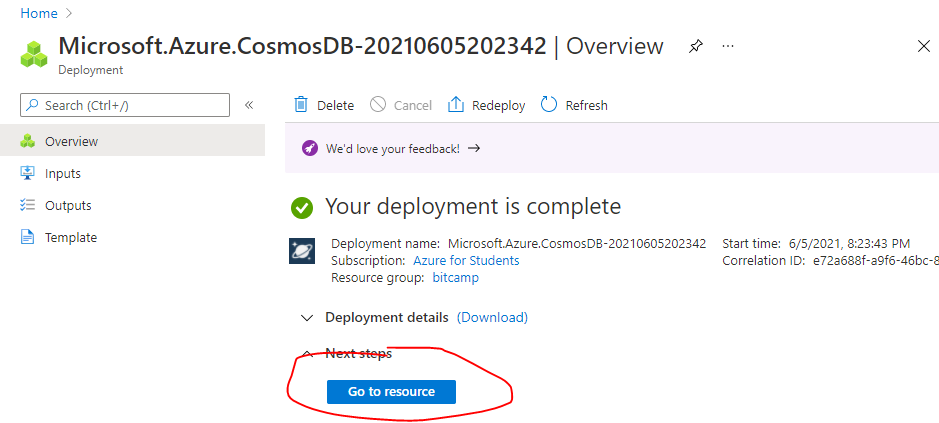
- Once deployment is complete, click
Go to resource.
-
Before you return to VSCODE, record the Cosmos Database URI and Key. That should be under Setting/Keys

-
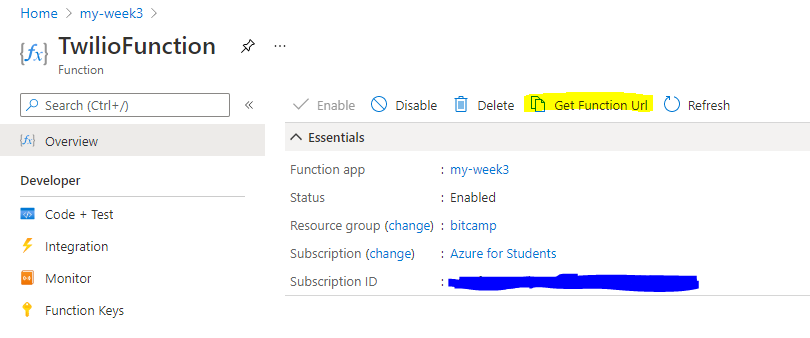
Create new Azure function application settings per Azure App Setting. Label them COSMOS_ENDPOINT with the cosmos URI as the value and COSMOS_KEY with the cosmos Key as the value.

1. Install @azure/cosmos
Now that your Azure Cosmos DB account is created, we should install the npm package @azure/cosmos.
🔧 1. Configuration
First, we need to instantiate a variable CosmosClient from the @azure/cosmos package we just downloaded.
const CosmosClient = require("@azure/cosmos").CosmosClient;Create a config object that contains all of the sensitive information that we need to manipulate our data.
Call it config, and place keys for endpoint, key, databaseId, containerId, and partitionKey.
❓ What should my config object look like?
Here is an example of the config object. Make sure your databaseId, containerId, and partitionKey are correct.
const config = {
  endpoint: process.env.COSMOS_ENDPOINT,
  key: process.env.COSMOS_KEY,
  databaseId: "SecretStorer",
  containerId: "secrets",
  partitionKey: {kind: "Hash", paths: ["/secrets"]}
};
2. The create Function
Now, we want to write an asynchronous create function that takes in the parameter of client (this will be our CosmosClient), databaseId, and containerId.
The create function will:
⭐️ Use the client to create a database with an id of databaseId if it does not exist.
⭐️ Use the client to create a container inside the database of ID databaseId. This container will have an ID of containerId and a key of partitionKey.
⭐️ The create function should be async because within it we are accessing CosmosDB.
⭐️ The create function does not need to have a return value.
❓ How do we do this?
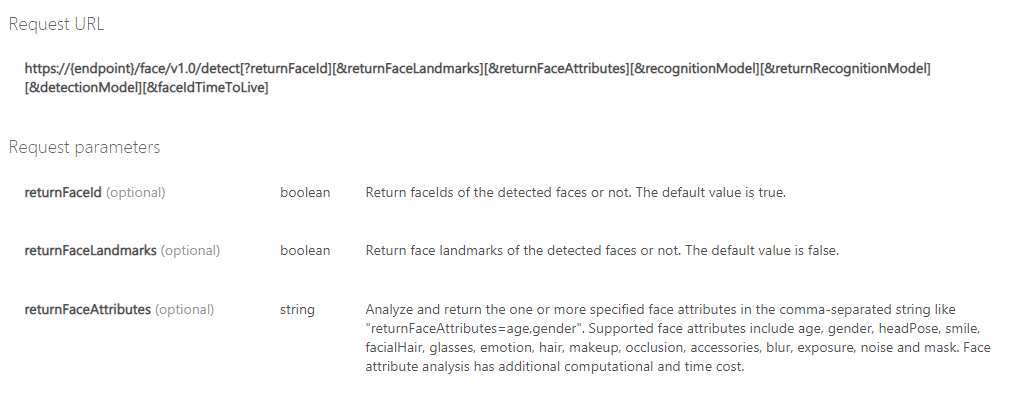
Read Microsoft's documentation on how to create a database and container.
You will need to find which part of the docs to use, because in the real-world, you aren't always given the picture perfect instructions. You will need to figure out what code you need.
Hint: You don't need to create a new file like the docs say, because we already have our index.js file.
You also do not need the module.exports, because this function will be in our index.js file, and that is where we will be using it.
💡 Hint: The config.[value] variables are accessed from the config object you created earlier.
📜 2. The createDocument Function
⭐️ The createDocument async function will create a new document within the database container that contains the newItem data.
⭐️ newItem should be a parameter that is passed into the createDocument function.
⭐️ return your items object from the function which contains the most recent message.
- In the
createDocument function, we first need to establish a connection with your Azure Cosmos account. This way, your code can tell the database what it wants, and the database will respond!
- In order to create this connection, read these docs
Note: remember when we created the create function? We need to use that function now! You will need to slightly modify one line of code in the docs to work with yoru create function!
- After creating a connection with the CosmosDB, we need to query the database for the most recent document (so you can see someone else's secret 👀)
Note: Instead of their SQL query, we need to use SELECT top 1 * FROM c order by c._ts desc to only get the most recent document!
- After stealing someone else's secret, it is only fair that we upload our own!
- We need to create a new item in the database!
- Return that secret that we stole ‼️‼️
3: The Main Function
Instead of directly passing queryObject.Body (the SMS message) to context.res:
⭐️ You'll instead save it in a JSON object with a key of message.
⭐️ Then, pass the JSON object containing the SMS message into the createDocument function you just coded to get your items object.
⭐️ Finally, create a custom response that you can send back to the original texter.
❓ How do I create a new document with queryObject.Body?
const queryObject = // use the `qs` npm package to parse the request body
let message = queryObject.Body;
let document = // create an object with the string `"message"` as the key, and the variable `message` as its value
let items = // call the createDocument function with the document we just made
Your response message must adhere to this format! Make sure to change the variable names message and items if you named them something different.
const responseMessage = `Thanks 😊! Stored your secret "${message}". 😯 Someone confessed that: ${JSON.stringify(items[0].message)}`📹 Walkthrough Video
![counselorbot[bot] avatar](https://avatars.githubusercontent.com/in/127924?v=4 "counselorbot[bot]")


