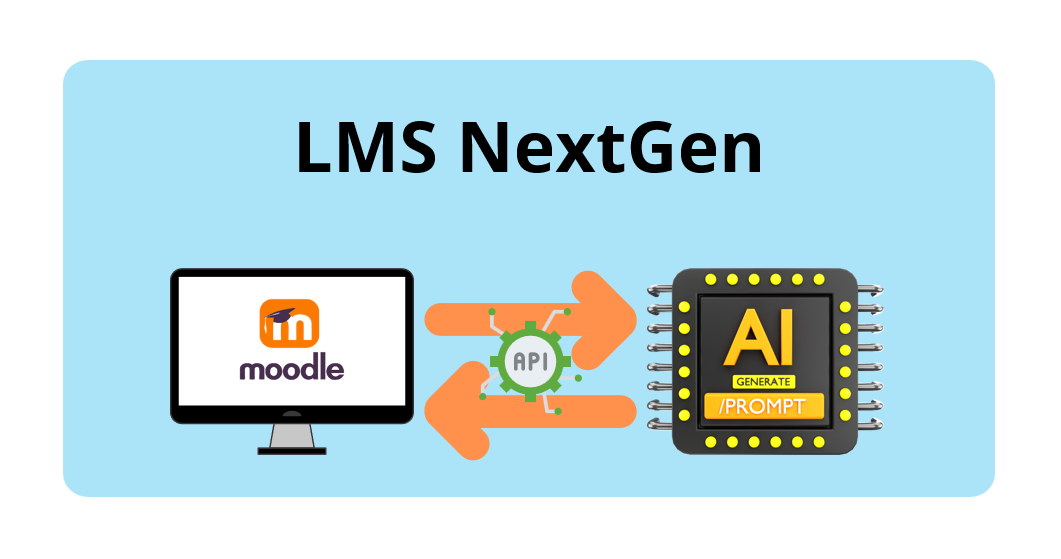
LMSNextGen is an LMS system integrated with AI features. This repository follows the structured approach outlined by DEHA Company and encompasses three key functionalities:
- Recommendation System:
- Feature dedicated to providing personalized recommendations based on user preferences and behavior.
- Auto-Generated and Auto-Graded Assignments:
- Streamlined functionality allowing automatic generation and grading of assignments using uploaded documentation.
- Grammar Error Correction and Grading English Writing Tasks:
- Incorporates capabilities for identifying and correcting grammar errors, along with grading English writing tasks based on the CEFR (Common European Framework of Reference for Languages) level.
This project aims to offer a comprehensive Learning Management System (LMS) with a focus on user-friendly features and efficient task management.
Feel free to explore the code and use it as a reference for your own projects and don't forget to star this 😁
- Recommend couses based on enrolled course and course skills.
- Automatic generation of assignments from documentation files (PDF, DOC, DOCX, TXT).
- Automated assignment grading.
- Grammar error correction.
- Tenses prediction.
- CEFR levels prediction.
If you feel interesting in our model concept, check Traning folder and gec.ipynb notebook for a deeper understanding.
Watch the demo video by clicking on the image below 👇🏻

-
Backend and Frontend: Moodle
- Moodle serves as the backend and frontend for the LMS, handling course management, user authentication, and providing an intuitive interface for users.
-
API Design and Integration: Flask
- Flask is used to design and implement APIs for integrating AI features into the LMS. These APIs facilitate communication between the AI modules and the Moodle system, allowing seamless integration of recommendation systems, assignment generation, and grammar error correction functionalities.
-
Pretrained Models:
- T5 Transformer: Utilized for natural language processing tasks such as text generation and grammar error correction.
- BERT (Bidirectional Encoder Representations from Transformers): Used for tasks such as text classification and language understanding.
For detailed installation instructions, please refer to this guide (in vietnamese).
Database requiements:
- MariaDB>=10.6.7
- MySQL>=8.0
- Postgres==13
- Oracle=19c
- Access Moodle and download version 4.1.6.
- After extract the downdload file, Run the file Start Moodle.exe in your folder.
- Run XAMPP in the directory
server/xampp-control.exe. You might get some error in when running Moodle. However, don't worry just follows the instruction of Moodle and Fix these error
In XAMPP GUI, Click on Config then select config PHP (php.ini). Following the Moodle instruction and comment or uncomment the necessary library or extension.

1. Replace moodle fodler
Replace sever/moodle folder in Moodle with this folder, note that you have to make sure that the folder name is moodle after replacing.
2. Open Shell
Run xampp-control.exe and open Shell in XAMPP GUI. Other terminal won work in this situation.
3. To upgrade your database. Run the following commands.
cd sever/moodle
php admin/cli/upgrade.php
4. Migrate database Down load this database.sql
Run the SQL file in the Moodle database that you have initialized during the initial setup.
For the convenience of demonstrating AI features, the developers have decided to create additional tables with the prefix "mdl_demo". Note: These tables have not been designed in a rigorous manner and may have some degree of redundancy. They are mainly used for quickly demoing AI features.

5. Clear cache
To save changes to the Moodle system, it is necessary to clear the saved caches.
Select Site admin >> Development >> Debugging, then select option DEVELOPER: extra Moodle debug messages for developers in Debug messages
Finally, click on Purge all caches at the footer of the page
To set up the Python environment and necessary libraries to run this Flask application, you can follow the steps below:
First, you need to install Python on your computer. You can download Python from the official Python website (https://www.python.org/downloads/) and then install it following the instructions on the website.

Download from the driver and unzip directly into the API_Service directory. Link download: pretrained model and sample training dataset
Launch cmd, then navigate to the directory containing the Flask application source code using the cd command:

cd <path to the API_Service Directory>to perform the following tasks:
Using pip, you can install the necessary Python libraries for the Flask project. You can create a Python virtual environment to manage the project's libraries. Open a command prompt and execute the following commands:
python -m venv myenvmyenv\Scripts\activatepip install -r requirements.txtmyenv\Scripts\activatepython api_service.py
After executing all the above commands, your terminal will display the address where the application is running. Use this address to route service processing for the Moodle LMS system.
After running this command, the API Service will start and be ready to operate on your computer
Endpoint /questions-generate:
__Payload
{
   "uploaded_file_path": "/path/to/your/uploaded/file.txt"
}__Response
{
   "summarize_texts": [
       {
           "id": 1,
           "summarize": "Summarized text 1"
       },
       {
           "id": 2,
           "summarize": "Summarized text 2"
       },
       ...
   ],
   "questions_generated": [
       {
           "id": 1,
           "question": "Generated Question 1",
           "answer": "Answer 1"
       },
       {
           "id": 2,
           "question": "Generated Question 2",
           "answer": "Answer 2"
       },
       ...
   ]
}
Endpoint /recommend-course:
__Payload
["Course ID 1", "Course ID 2", "Course ID 3"]__Response
{
   "recommended_list": [4, 5, 6]
}
Endpoint /grammar-analysis
__Payload
{
   "student_answer": "Student's answer goes here."
}__Response
{
   "student_answer": "Student's answer goes here.",
   "predicted_level": "Predicted English level",
   "corrected_texts": [
       {
           "id": 1,
           "corrected_text": "Corrected text 1"
       },
       {
           "id": 2,
           "corrected_text": "Corrected text 2"
       },
       ...
   ],
   "spell_check": [
       {
           "wrong": "Misspelled word",
           "correct": "Corrected word"
       },
       ...
   ],
   "grammar_check": [
       {
           "sentence": "Incorrect sentence",
           "tense": "Predicted tense"
       },
       ...
   ]
}
Endpoint /check-legit-answer:
__Payload
{
   "student_answer": "Student's answer goes here.",
   "summarize": "Summarized text to compare with"
}__Response
{
   "label": "Label"
}This app was built using the following open-source libraries, tools and datasets:


