“It’s elementary, my dear…”
A best-practices application template for elementary OS 6 (Odin).

Watch the introductory screencast.
Status: Beta.
I’ve now backported everything I learned and created while making Comet into Watson.
Once Comet is on the AppCenter and I’m happy that Watson captures and supports the full elementary OS development cycle, I’ll remove the Beta status.
- For feedback, ideas, and suggestions, please see Discussions.
- For bug reports for Watson and generated projects, please open an issue.
- Want to jump right in? See Getting Started.
Watson gets you up and running quickly with a bare-bones single-window elementary OS 6 (Odin) app that is based on the elementary OS Developer Documentation as well as a review of the conventions employed by the core apps that ship with elementary OS (like Code and Calculator).
It also makes it equally easy for other developers to build and run your application on their own machines after they clone your project’s repository.
Watson includes a number of scripts – to create and run Flatpak packages, update translations, and even take screenshots of your app and preview your app in AppCenter – that make the everyday tasks of working with your application easier.
Finally, Watson includes a simple web site for your app that’s automatically generated from your app’s metadata and contains a basic, progressively-enhanced and accessible carousel of your screenshots as well as a Flatpak repository for your app where people can sideload your app from. To host the generated site, you simply have to turn on GitHub Pages for your app and use the provided publish task script to publish your app and push to your GitHub repository. (You can also host your site on any static host, e.g., using Site.js. If you decide to put your app on the elementary OS AppCenter you can also uncomment a “Get It On AppCenter” button that will open AppCenter at your app’s page. To see an example how you can build on and customise this base site, see the web site for Comet.
When deciding what to include and what to leave out of the generated app, the guiding principle is to include base functionality expected of any elementary OS 6 app. The goal is for you to only have to add to the generated template, not remove from it or change the generated code for common types of apps (with the understanding that multi-window applications and highly custom apps might require a bit of fiddling).
Most importantly, the generated skeletal app complies with the elementary OS Human Interface Guidelines and follows other recommended elementary OS 6 conventions like coding style. If you haven’t already done so, please read through both of those important resources before continuing. Also, to refer to language or library details during development, bookmark Valadoc.
Once you’ve made the generated app your own by customising it and adding to it, you can submit it for inclusion in the elementary OS AppCenter as a curated app.
Watson is not a substitute for knowing what you’re doing. Watson is meant to lower the barrier of entry to creating an elementary OS application by automating the start of a new project to ensure you do not misconfigure your project or leave out important aspects (like window state preservation or translations). So, again, please read the above documents before starting to develop apps for elementary OS.
-
The time from when a developer decides to make an elementary OS app to when they have a working project using Watson should be < 60 seconds.
-
The time from when a developer clones a Watson-generated elementary OS application to when they have it up and running on their own machine should be < 60 seconds.
Furthermore, the generated project must:
-
Adhere to platform human interface guidelines, conventions, and other recommended practices.
-
Be maintainable.
-
Adhere to DRY (Don’t Repeat Yourself) principles.
- Press the green “Use this template” button for this repository to create your new project’s repository using Watson as the template.
-
Clone your project and switch to its directory in Terminal:
git clone [email protected]:<my-org>/<my-app>.git
cd <my-app>
-
Initialise your project:
./watson
Note on the GitHub-centric workflow: The elementary OS AppCenter currently ties application bundle IDs and the directory structure for assets, etc., to the GitHub project. So your project’s application bundle ID will be something like com.github.small_tech.comet (the init script will automatically convert dashes to underscores as per flatpak’s naming requirements). I have raised my concerns about this both from a legal perspective as it is a trademark violation and, more generally, because it gives Microsoft a de-facto veto right on what apps are allowed on elementary OS. I do hope that this decision will be reviewed going forward. In the meanwhile, however, Watson is designed to make full use of the current system to make setting up a new elementary OS project as simple as possible while following all relevant platform guidelines and encouraging good practices. – Aral
Watson will ask for your app details in a series of graphical dialogue windows and update the necessary bits of the template files (application bundle IDs, asset paths, etc.) to customise them for your project based on your answers.
It will also replace this README and the CHANGELOG with your application’s versions, recreate the git repository (so you start with a fresh history), make an initial commit, and set up your git remote so origin points to your repository.
Next, Watson will run the install task (task/install).
The install task is also what developers who clone your project will run to ensure that they can build and run your project.
The install task first checks whether you have the elementary OS development libraries installed and asks you to install them if it can’t find them.
The elementary OS development libraries – also known as the elementary OS Software Development Kit (SDK) – are a metapackage of elementary OS libraries required when creating apps for elementary OS. You can see which libraries are included in the SDK based on the architecture of your development machine by reviewing the following metapackage definitions: AMD64, ARM64, ARMHF.
Next, Watson will check if you have VSCodium installed. If you do, it will check whether or not you have useful set of VSCodium extensions for elementary OS development installed and ask you to install them if you don’t.
You do not need to use VSCodium to create elementary OS apps. You can, for instance, use elementary OS Code, which comes preinstalled, or a different third-party editor like Builder. However, if you do have VSCodium installed, there are a number of extensions that will make creating your elementary OS app easier (Vala, Meson, CodeLLDB, XML, YAML). If Watson cannot find these extensions installed, it will ask you if you’d like to install them now. With these extensions installed, once you’ve initialised your project, you can simple open it in VSCodium and hit F5 to run/debug it and Ctrl + Shift + B → Build all targets to rebuild it after making changes. You will also get code intelligence, etc., for all your source files. Finally, your project will also inform VSCodium of the set of recommended extensions for your project so even if you choose not to install them now, you can easily find and install them later yourself.
Once the install task is done, Watson will delete itself, leaving only your project behind.
It will also commit and push the changes to your git repository.
And that’s it!
At this point, your project is ready and you can customise the template further to create your own unique and wonderful app, knowing you have a base that adheres to elementary OS guidelines.
You can also run your project using the run script:
task/run
Or, if you’re using VSCodium, just open your project and hit F5 to run/debug it and Ctrl + Shift + B → Build all targets to rebuild it after making changes.
You can find more task scripts in the task folder of your project and the workflow is also documented in the README file that’s generated for your project.
Here’s hoping Watson will make it easier for you to start building and maintaining excellent apps for elementary OS.
-
A prompt to install the elementary OS development libraries if they don’t already exist on your machine.
-
A prompt to install recommended VSCodium Vala development and debugging extensions (Vala, Meson, CodeLLDB, EditorConfig for VS Code, XML, YAML) if you have VSCodium installed and are missing any of them.
-
VSCodium launch.json for CodeLLDB (press F5 to run/debug your project in VSCodium).
-
A basic
Applicationclass that instantiates a single window (MainWindow). -
A basic Handy application window (
MainWindow). (While this is not yet reflected in the elementary OS Developer Documentation, the core apps that ship with elementary OS – like Code and Calculator – all use the Handy library so I’ve based the template on them.) -
A basic Handy header bar, as part of the basic window.
-
Actions wired up for quit and fullscreen with keyboard shortcut accelerators (Ctrl+Q, and F11, respectively). The code is set up so you can easily expand the list of actions and accelerators with your own in a maintainable manner.
-
Granite library for application launchers, badges, progress bars, etc.
-
Window state preservation using a gschema.xml file and GSettings. Set up to automatically save and restore the last window state (dimensions, location, and whether it is maximised or fullscreen).
-
Set up for custom resources (custom icons, etc.). No custom resources are provided but you can easily add your own to the
data/directory and declare them in the provided gresource.xml file. -
Colour scheme support (automatically uses person’s dark/light mode preference and updates the app’s appearance should they change it while the app is running).
-
elementary OS colours as constants. Refer to
Constants.Colors(US spelling as used elsewhere in the libraries) in your app to access them. -
.desktop file for information about your app that’s displayed in the Application Menu and Dock.
-
AppData.xml file for information need to list your app in AppCenter.
-
LICENSE file for the GNU GPL license.
-
Meson configuration files and a build script.
-
Placeholder app icon. Just replace the provided ones with your own custom icon.
-
Flatpak manifest for packaging your application.
-
Continuous Integration GitHub workflow.
-
The recommended EditorConfig for elementary OS Code and other compatible editors for enforcing the suggested code style.
-
Basic .gitignore file that ensures build directories are not accidentally added to your project.
-
Task for building and running the app (with Meson/Ninja and with Flatpak), updating translations, taking localised screenshots, and previewing your app locally in the elementary OS AppCenter (with support for localisations).
Watson creates a basic single-window elementary OS application using good practices.
Watson’s goal with the generated app is that you should only have to either customise existing functionality (e.g., replace the app logo SVGs with your own), use existing functionality (e.g., add your custom icons or your own translations), or add specialised logic to the generated app. So you shouldn’t have to remove any of the generated functionality. This is why there are no sample widgets or even basic layout generated as that will differ from app to app.
The generated skeleton is just that, the structure you need to quickly get you started with building your own application.
In other words, Watson does not generate a sample app. For widget demos of the underlying libraries, see the Granite demo (sudo apt install granite-demo && granite-demo) and Gtk+ 3 examples/demo (sudo apt install gtk-3-examples && gtk3-demo).
Watson is also not meant to teach you how to build an elementary OS app (see the elementary OS Developer Documentation) and is not a substitute for knowing and applying the elementary OS Human Interface Guidelines as you develop your app.
Finally, while Watson will install the elementary OS development tools and even the recommended VSCodium extensions for you if you ask it to, you need to configure your GitHub account and set up git on your machine yourself. For instructions on how to do this, please see the Basic Setup section of the elementary OS Developer Documentation.
Here are some quick links showing you how to add common functionality to your app after you’ve generated it:
At the risk of sounding like a broken record, please work your way through the elementary OS Developer Documentation) and elementary OS Human Interface Guidelines before starting to create an app for elementary OS 6.
Also please review the AppCenter publishing requirements before you submit your app.
Other important references include:
- Vala documentation
- Handy documentation
- Gtk3 documentation
- Gtk4 documentation (elementary OS does not use Gtk4 yet but since elementary OS apps are Flatpaks, you can, if you like, use it in your own apps. Note that this will currently result in a large download if the person downloading your app doesn’t already have the Gtk4 platform image installed. Here’s a good guide if you want to use Gtk4 in your apps today. Bear in mind that elementary OS will move to Gtk4 eventually so it’s good to start learning about it today.)
- The elementary OS core projects – Code, Calculator, Tasks, Calendar, etc. – are a valuable learning resource. Read through the code to see how they do things. (See elementary OS on GitHub for more.)
-
Valdo by Princeton Ferro (of Vala Language Server fame. Make sure you watch his excellent elementary Developer Weekend talk on Improving App Development in Vala). Valdo is an app that helps you create a new Vala project from a repository of templates. Valdo is not designed specifically for elementary OS but it does feature an elementary OS app template.
-
Develop is an app for elementary OS 5 (Hera) that has starters for apps, Switchboard Plugs, and Wingpanel indicators.
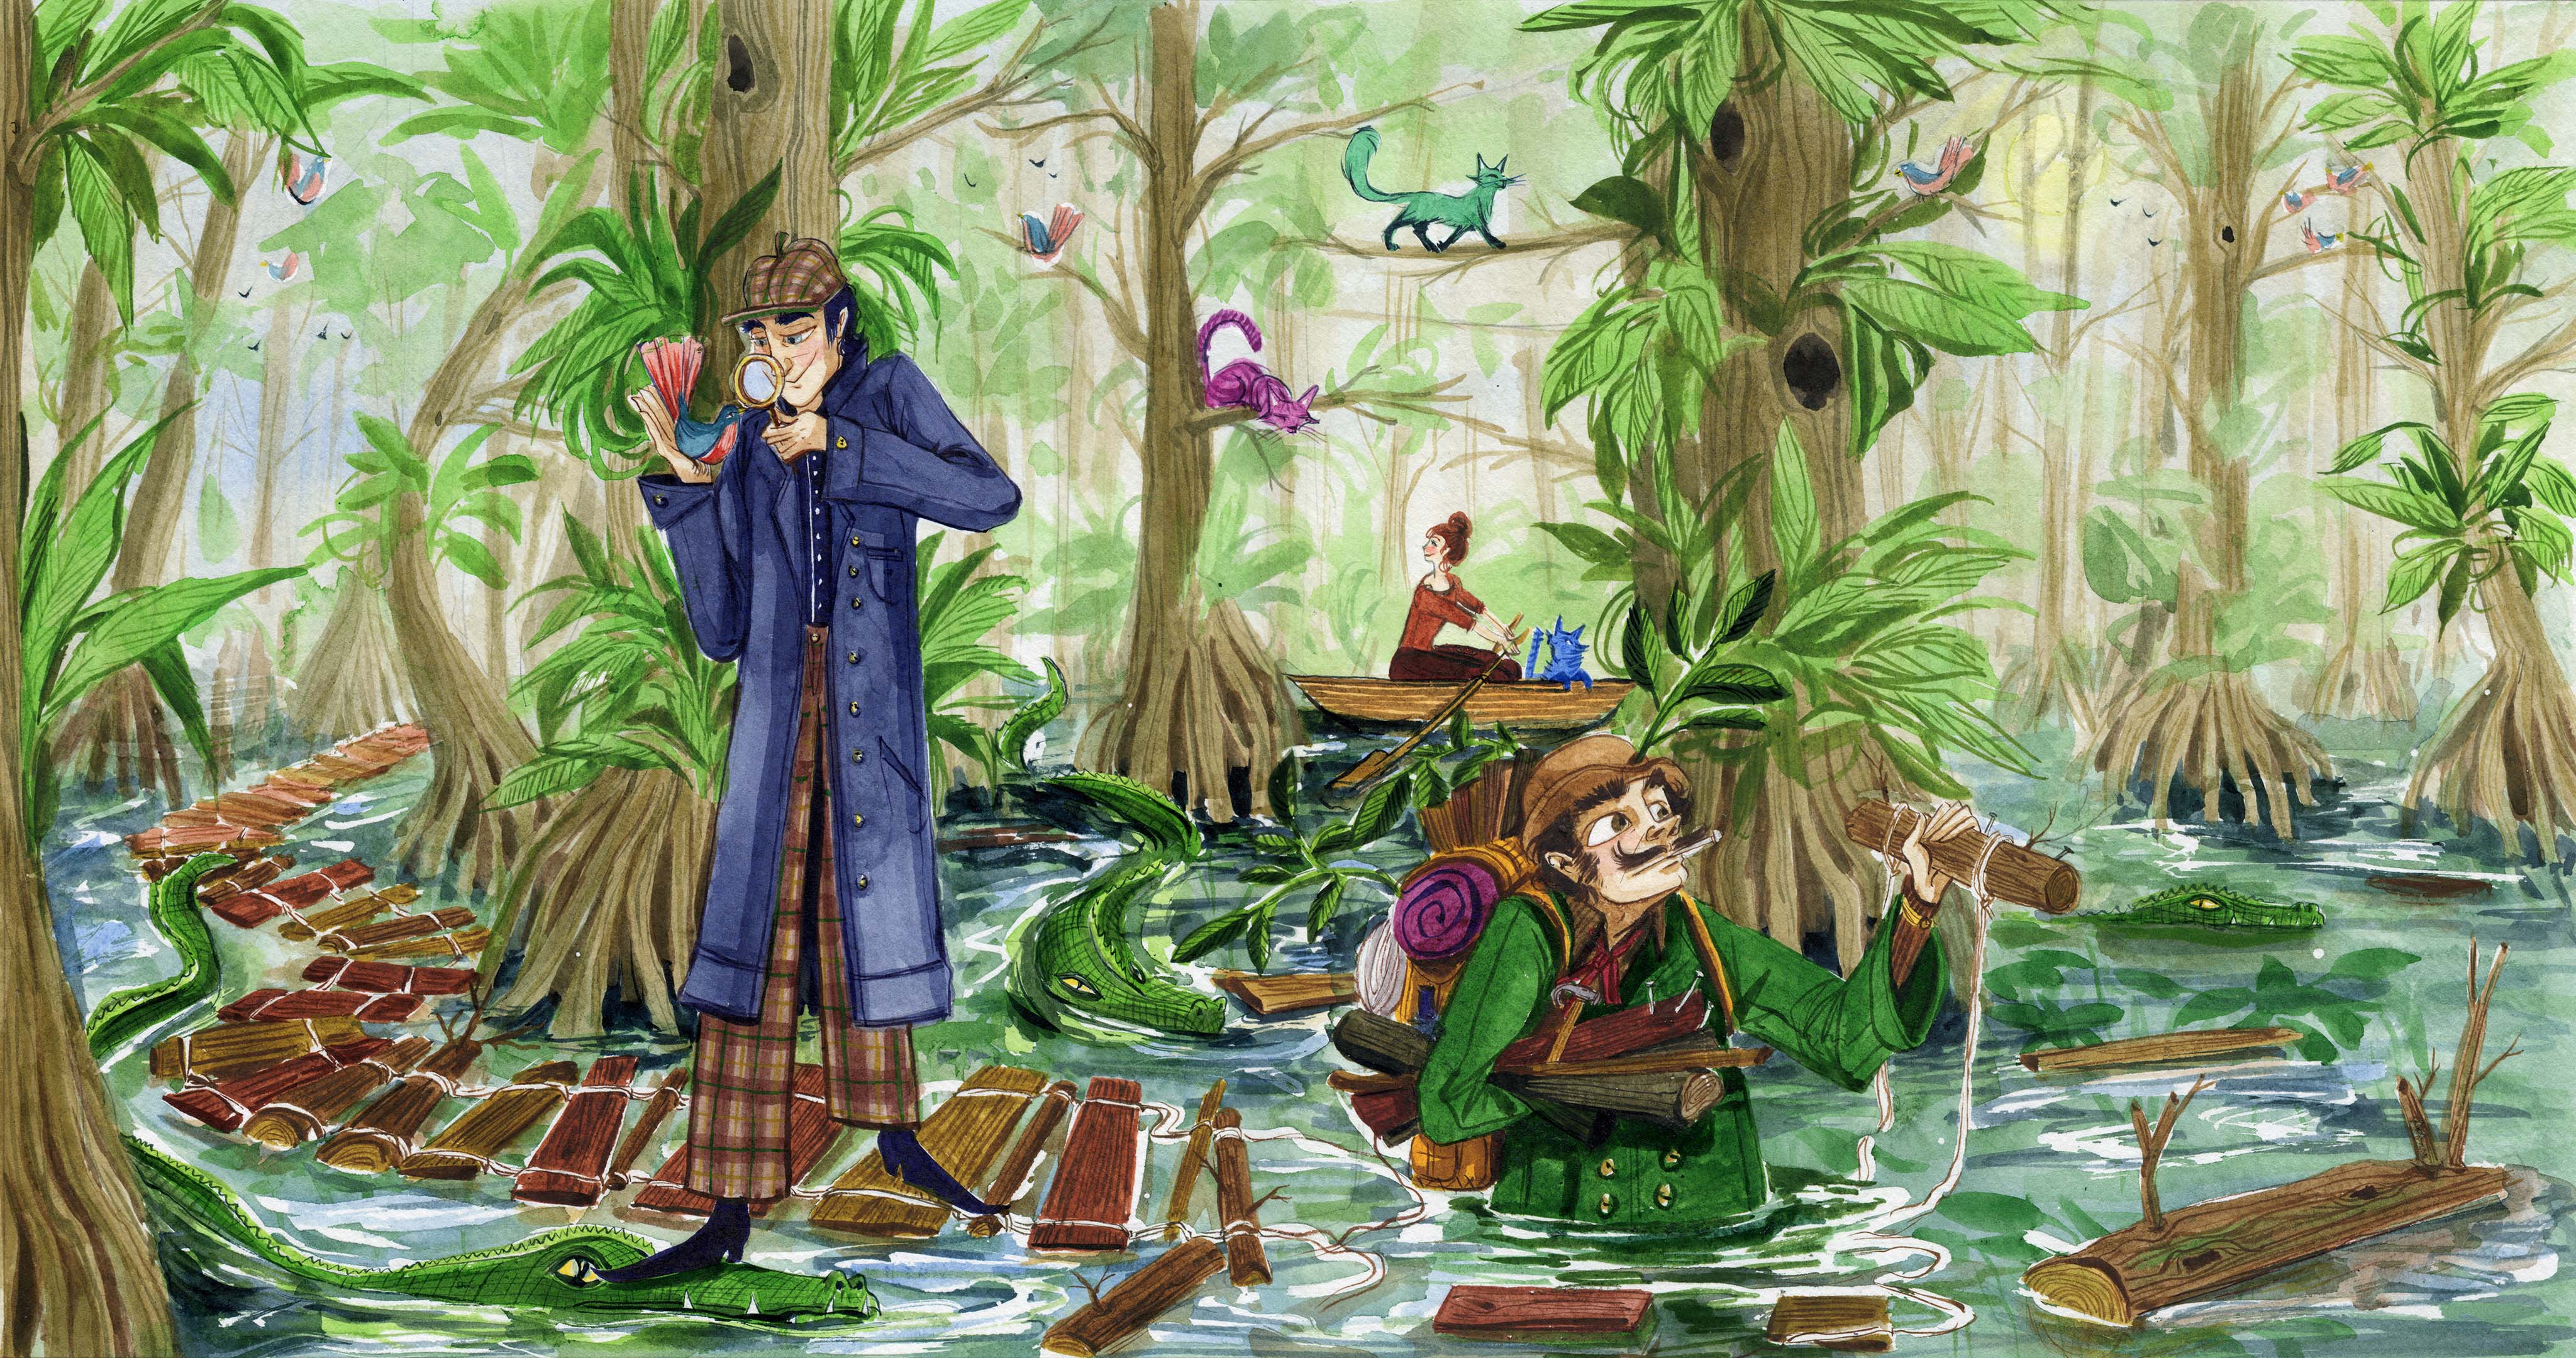
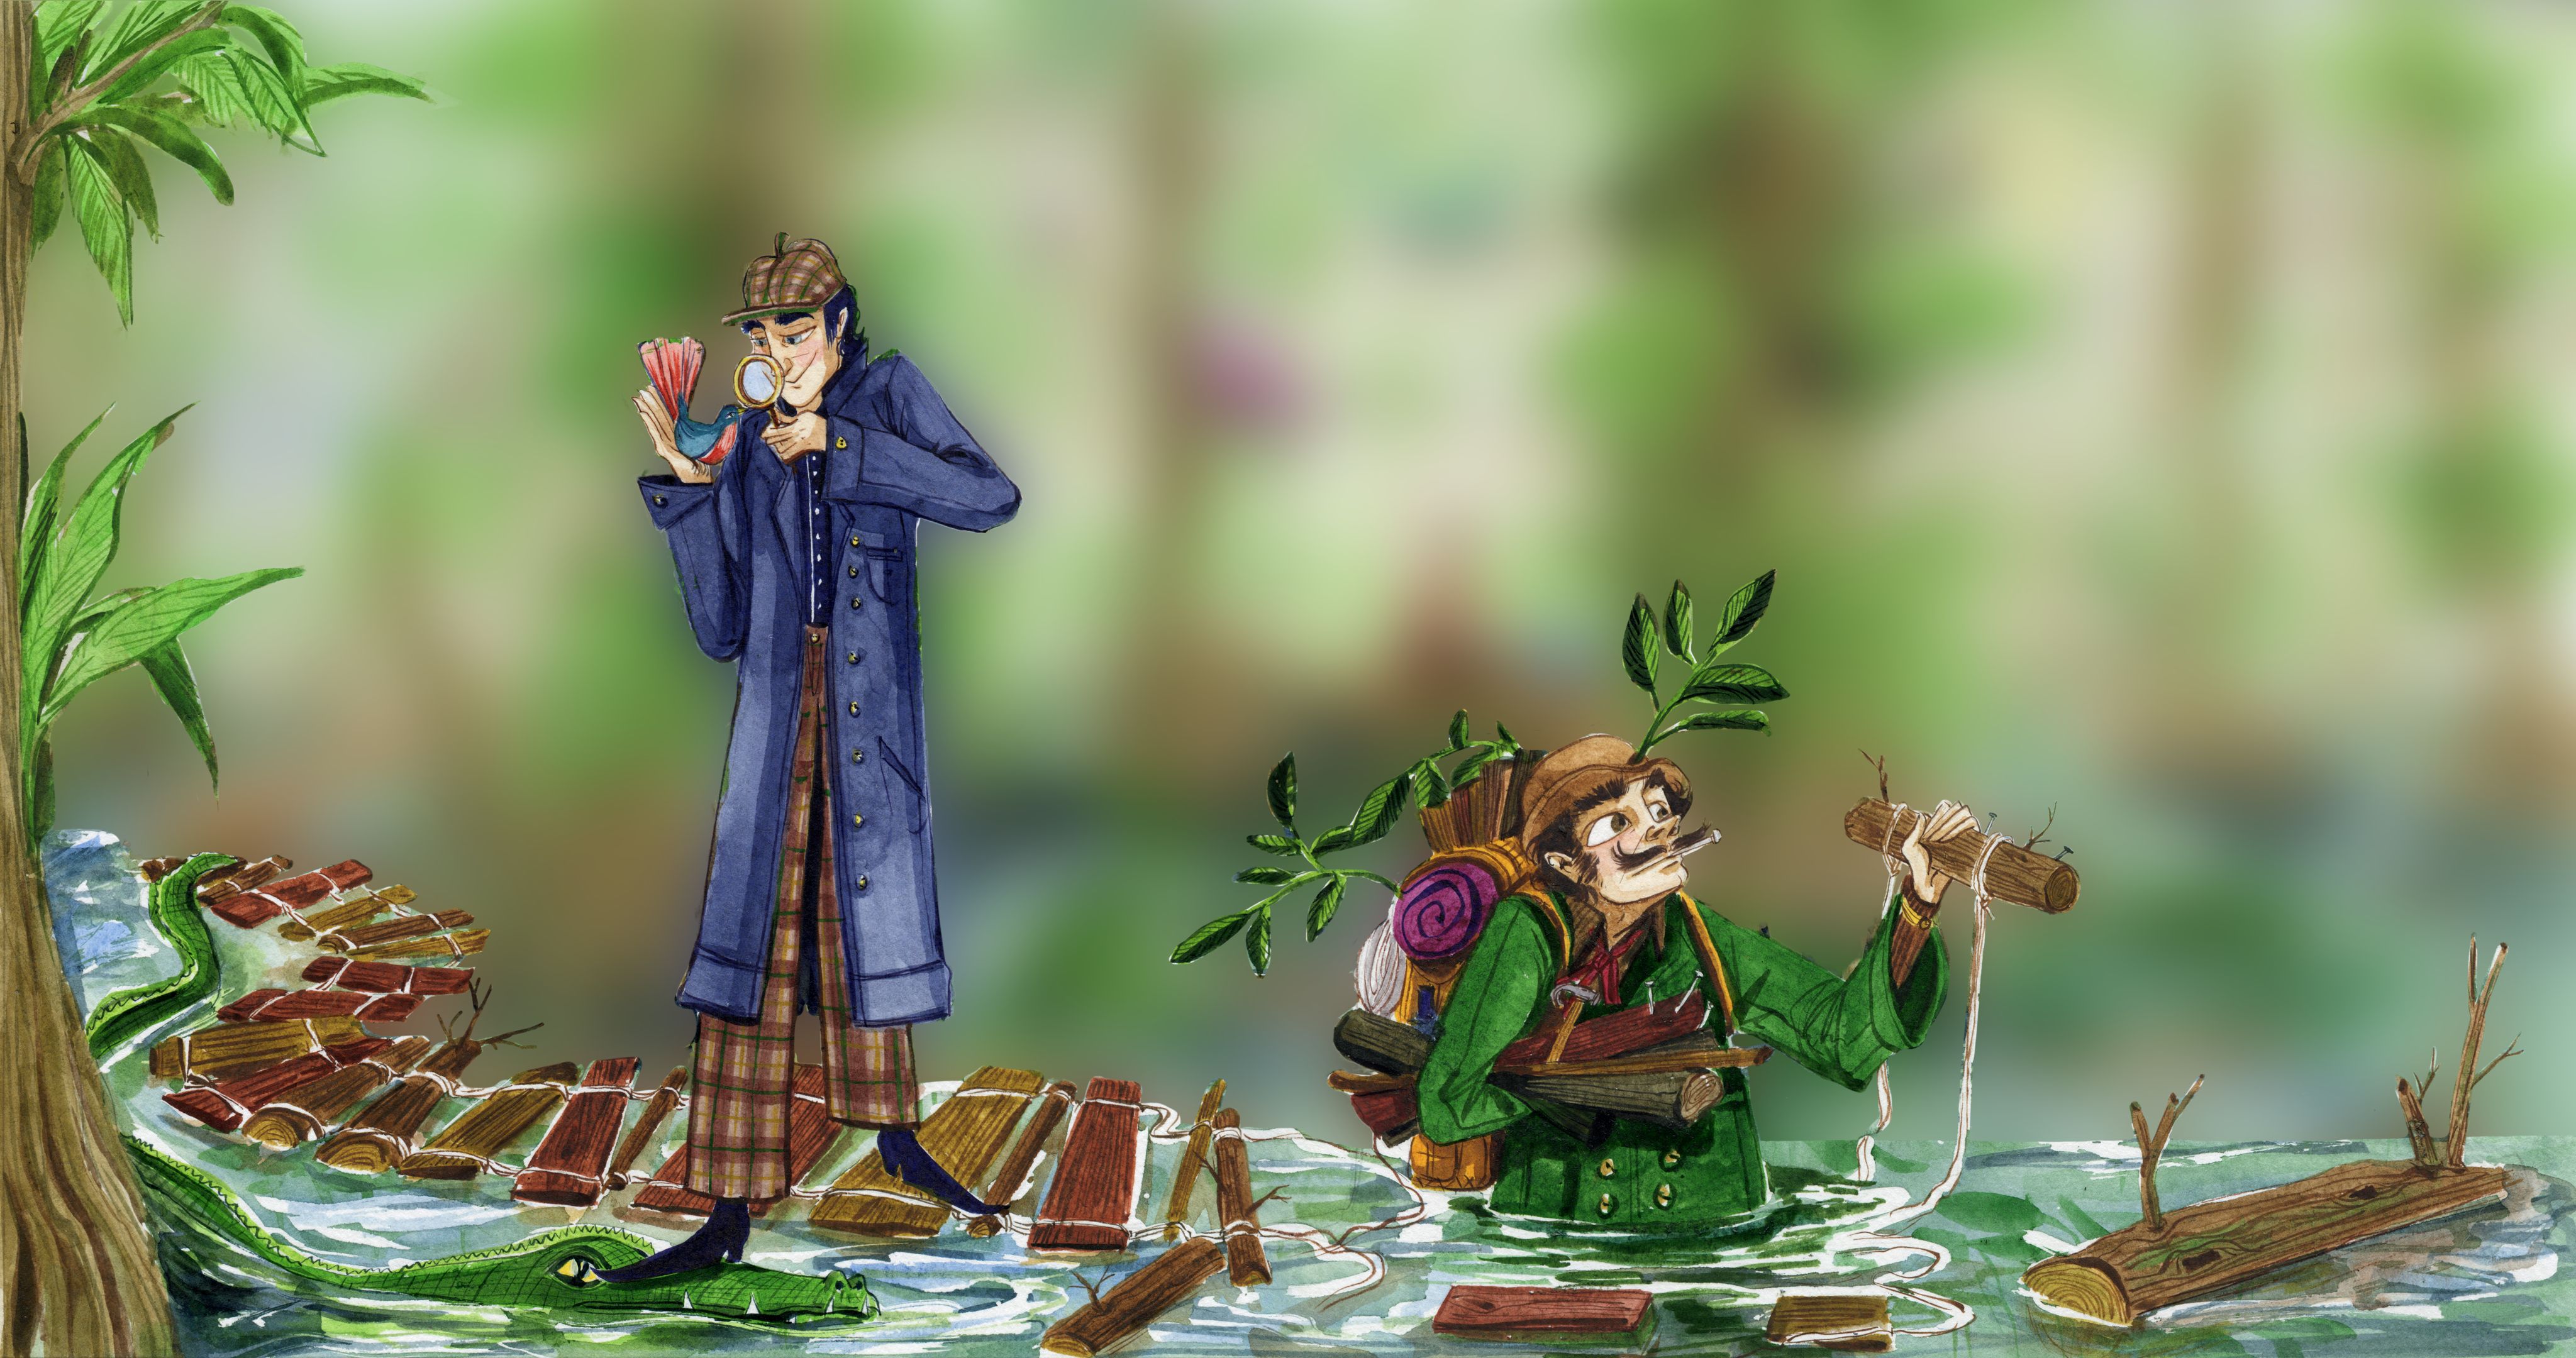
The wallpaper you see in the screencast was commissioned for Watson from the singular Margo de Weerdt. And you’re welcome to download and use it in all its 4K glory on your own computer if you like.
(Also available with shallower depth of field – and even shallower depth of field – which you might prefer if you place icons on your desktop so they don’t get lost in the detail.)
Released under Creative Commons Attribution-NonCommercial-ShareAlike 4.0 International License. Please credit Margo de Weerdt and Watson by Small Technology Foundation.
Small Technology Foundation is a tiny, independent not-for-profit.
We exist in part thanks to patronage by people like you. If you share our vision and want to support our work, please become a patron or donate to us today and help us continue to exist.
© 2021-present Aral Balkan, Small Technology Foundation.


