Project created for educational purposes!
Service developed in Python 4.11 with Django 4.2.3 framework, following PEP 8 regulations such as (Flake8 6.0 and MyPy 1.4). Front-End made with HTML5, CSS3 and JavaScript. Docker container was used to run the local server and the Postgresql server.
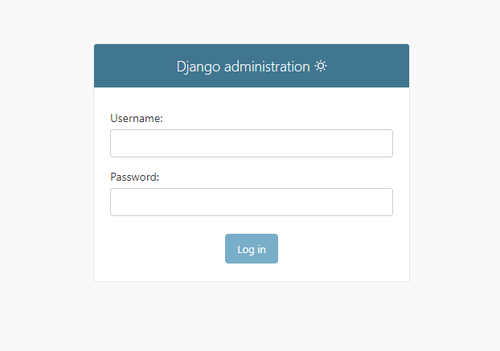
The blog has a customized administrative area of Django itself, protected with loggin and Django-Axes 6.0 to avoid forced entry by malicious agents.
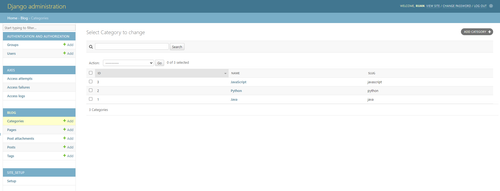
Through the administrative area it is possible to make posts in HTML with the help of Django-Summernote 0.8, upload post cover images and post content images with the help of Pillow 9.5 for automatic resizing of the images, define which posts will appear publicly, register and choose categories and tags for publications.
As an administrator, you can configure elements of the site itself, such as header, footer, menu and shortcut links. Add and remove pages that are content apart from the blog.
(PT-BR) Serviço desenvolvido em python 4.11 com framework django 4.2, seguindo normativas da PEP 8 como (flake8 6.0 e mypy 1.4). Front-End foi feito com HTML5, CSS3 e JavaScript. Utilizou-se conteiner Docker para rodar o servidor local e o servidor Postgresql. O blog possui área administrativa customizada do próprio django, protegida com loggin e Django-Axes 6.0 para evitar entrada forçada de agentes maliciosos. Pela área administrativa é possível fazer posts em HTML com auxilio do Django-Summernote 0.8, upload de imagens de capa do posts e imagens de conteúdo do post com auxilio do Pillow 9.5 para redimensionamento automatico das imagens, definir quais postagens irão aparecer publicamente, cadastrar e escolher categorias e tags para as publicações. Como adminitrador, pode-se configurar elementos do próprio site, como cabeçalho, rodapé, menu e links de atalhos. Adicionar e remover páginas que são conteúdos a parte do blog.
To access the project's localhost, install Docker and download the complete project.
Afterwards, rename the /dotenv_files/.env-example file to /dotenv_files/.env and modify the data contained within the file. The SECRET_KEY can be obtained by the command:
python -c "import string as s;from secrets import SystemRandom as SR;print(''.join(SR().choices(s.ascii_letters + s.digits + s.punctuation, k=64)));"
Open the project folder in VisualStudio Code and run docker-compose in the root folder:
docker-compose up --build
Afterwards, with docker running and in a new terminal, create the superuser to access the django admin page:
docker-compose run --rm djangoapp python manage.py createsuperuser
After that, you will have access to the blog's admin page at 127.0.0.1:8000/admin. The blog will be running at address 127.0.0.1:8000
To stop the server just press Ctrl + C in the Docker terminal.
After creating the docker image, just type the command below to start the server again:
docker-compose up
Para acesso em localhost do projeto deve-se instalar o Docker e baixar o projeto completo. Após, renomeie o arquivo /dotenv_files/.env-example para /dotenv_files/.env e modifique os dados contidos dentro do aquivo. A SECRET_KEY pode ser conseguida pela comando:
python -c "import string as s;from secrets import SystemRandom as SR;print(''.join(SR().choices(s.ascii_letters + s.digits + s.punctuation, k=64)));"
Abra a pasta do projeto no VisualStudio Code e execute o docker-compose na pasta raiz:
docker-compose up --build
Após, com o docker rodando e em um novo terminal, crie o super-usuário para acessar a pagina de admin do django:
docker-compose run --rm djangoapp python manage.py createsuperuser
Após isso você terá acesso á pagina admin do blog pelo endereço 127.0.0.1:8000/admin. O blog irá estar rodando no endereço 127.0.0.1:8000
Para parar o servidor basta presionar Ctrl + C no terminal Docker. Após criada a imagem docker, basta digitar o comando abaixo para iniciar o servidor novamente:
docker-compose up
blog.720.1.mp4