
                     Current Branch: main
                     Last Commit: 09/25/22 - 5:11:32 AM
- Step 0. Before we get started...which Linux is the right Linux?
- Step 1. Getting started
- Step 2. Configure Controller Passthrough
- (Optional) Step 3. Configure Android QEMU Install Script
- Step 4. Configure Launch Script
- Step 5. First Run
- Step 6. ADB To Install APKs
- Step 7. PROFIT
- QEMU Shortcuts
- Starting the VM
- Known Issues
- Extra Goodies
If you've never used Linux before you might have already given up on this project and no longer want to attempt it... but fear not! Linux is very easy to learn, understand, and use! Not only will you unlock the full power of your system by running a completely different Operating System, with an amazing Kernel such that is the Linux Kernel, you will learn and acquire many new skills along the way.
You can get Linux by downloading one of its many Distributions. If you're a new Linux User, I would recommend you download and install the Latest Ubuntu Desktop ISO and software like Rufus to flash an 8GB or higher flashdrive to boot.

If you're looking for something closer to a more... Minty, vibe... You can run Linux Mint Cinnamon! Download the latest release here and please note that I suggest you dual boot install!

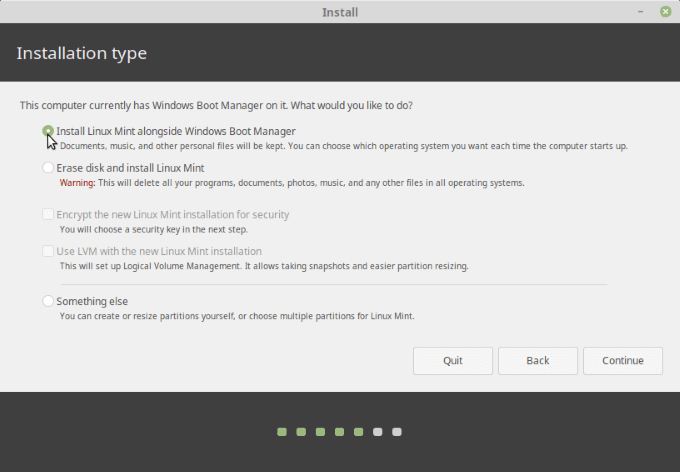
It's incredibly easy to dual-boot in either of these Debian Linux based OS's. Simply follow along with the install and eventually you will be asked if you'd like to install alongside Windows. Select Yes and continue until booted in.
Example in Ubuntu:


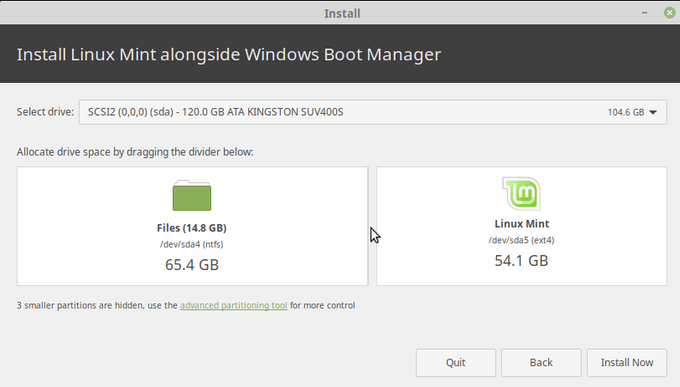
Example in Linux Mint:
Welcome To Linux!
To get started with SideswipeOnQEMU, you'll need to clone the repository into a directory, preferably on Desktop.
Install git by opening a terminal(search for it or do Ctrl+Alt+T) and typing out:
sudo apt-get update
sudo apt-get install git
To initialize your local repository using git, use the following coommand on your desktop:
git clone --recursive https://github.com/royalgraphx/SideswipeOnQEMU.git
Make sure you download the following ISO and store it in as its required to install Android
SideswipeOnQEMU/iso
- Step 1.
We need to modify
SideswipeOnQEMU/xinput.rulesto passthrough our controller correctly
  # Bus 001 Device 004: ID 054c:0ce6 Sony Corp. Wireless Controller
SUBSYSTEM=="usb", ATTRS{idVendor}=="054c", ATTRS{idProduct}=="0ce6", MODE="0666"
SUBSYSTEM=="usb_device", ATTRS{idVendor}=="054c", ATTRS{idProduct}=="0ce6", MODE="0666"
It's already preconfigured to work right away with PS5 DualSense Controllers. To set this to yours, you'll run a command in your terminal and use the ID to fill in the vendor and product ID. Find your controller and take note of the ID using lsusb in a terminal. Here's an output example.
# lsusb

Bus 001 Device 006: ID 0b05:1939 ASUSTek Computer, Inc. AURA LED Controller
Bus 001 Device 004: ID 054c:0ce6 Sony Corp. Wireless Controller  <--- This is what I want to passthrough
Bus 001 Device 002: ID 05ac:1392 Apple, Inc. Apple Watch charger
My controller says ID 054c:0ce6 in lsusb, so what I have to do is, open the xinput.rules in text editor and edit the following parts to fit my controller in both of the lines for both subsystems. Don't edit the mode values, everything else is right.
ATTRS{idVendor}=="054c" ATTRS{idProduct}=="0ce6"
ATTRS{idVendor}=="054c" ATTRS{idProduct}=="0ce6"- Step 2.
Change the launch.sh in
SideswipeOnQEMU/launch_scripts/launch.shto use the controller
Please note, after the first run and boot of Android, you must REBOOT, this loads the mentioned udev rule and allows QEMU to passthrough the below configured controller.
-usb -device usb-tablet,bus=usb-bus.0 -device usb-host,vendorid=0x054c,productid=0x0ce6SideswipeOnQEMU/install_scripts/android_install_qemu_sideswipe.sh
You can change the size of the Hard Disk for the Android VM ! Edit the following lines; 14GB is minimum.
# create disk image and move over everything
qemu-img create -f raw android.img 30G
for more advanced users, if for some reason you need a bigger system partition, thats changeable here
sudo truncate -s 5G system.img
SideswipeOnQEMU/launch_scripts/launch.sh
There are several variables in the launch script, this is how you customize the VM. A breakdown of what can be configured is below.
Some changes are required to get the script to work, such as the amount of threads, and RAM to dedicate. It will fail if you don't have it correct.
-smp 4       <--- How many threads you can assign, I have 8 cores 16 threads so I dedicated 12.
-m 4G        <--- This is the amount of RAM the VM will passthrough.


-device AC97 <--- this specifies audio, if not working, try -soundhw all- To Set Resolution, just modify the following values.
-device virtio-vga,xres=1920,yres=1080
"root=/dev/ram0 quiet GRALLOC=gbm video=1920x1080 SRC=/"You've made it! it seems as though you've now completed setting everything up, so lets get started!
Launch a terminal window inside of SideswipeOnQEMU directory, and proceed with the following command:
./preinstall.sh
This might take a while! it's going to extract the qemu src code and then build it, which takes a bit. Once QEMU is built, the ISO is going to be expanded to retrieve files needed for the android.img that will appear inside of sideswipe-vm on your desktop, thats your virtual hard disk that QEMU uses. Once it's complete it'll autostart the android VM !
You must press escape when promted to enter recovery. when promted with this screen, choose option 2

Currently we have a custom build of QEMU that is using VirGL as a display adapter, but our current build doesn't come with drivers right away, and without doing this next step, it wouldn't boot at all. So please install the Mesa package located in /system/ then make sure to do a reboot.


Once that's done installing, press escape until you can see the reboot option. Use Arrow Key Right and Enter to select it.
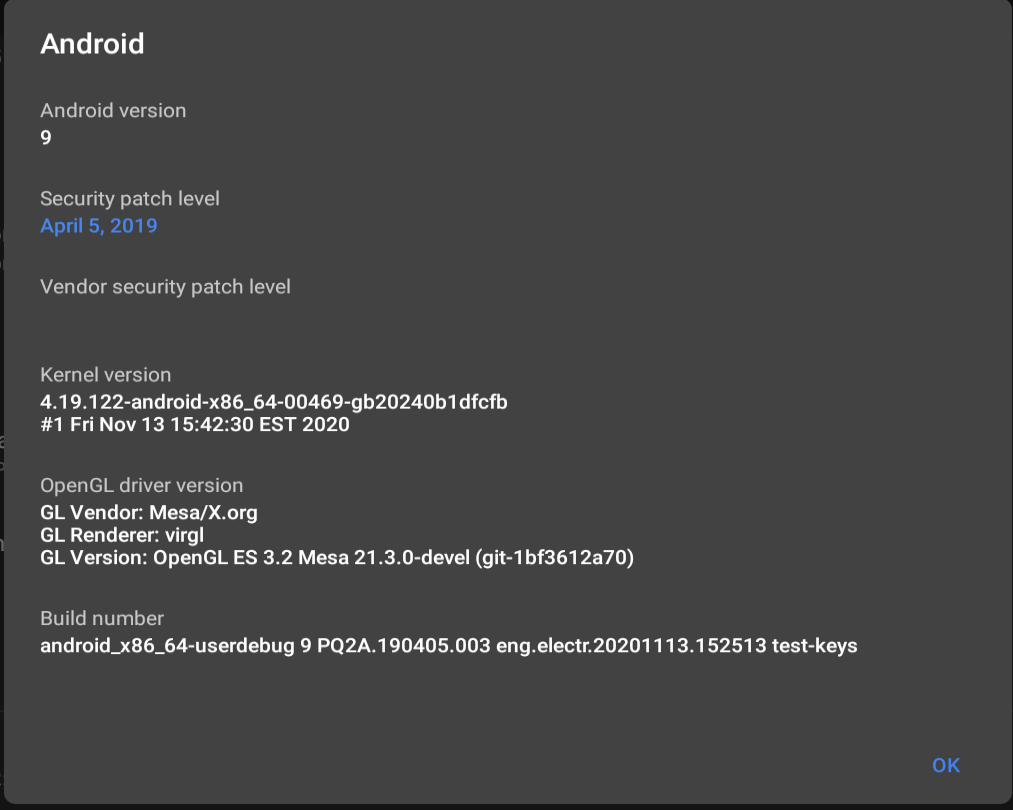
You'll then reboot into Android!
By default, we use VirtWifi to passthrough connectivity to the VM, make sure to go to settings and connect to it!

The modified ramdisk allows us to start adb on the VM once we connect to VirtWifi. Open Terminal from the installed apps in android and do the following:

You can now open a fresh terminal window on your linux host machine and do the following commands in the dir where the apk is at:
adb connect localhost:5555
adb install <apk file>
If you experience the following error about multiple devices, try this:
adb -s localhost:5555 install <apk file>Season 4

Season 5

Please note that you must be in fullscreen mode for Touch Input to work correctly!
Ctrl + Alt + G = Lock Mouse In/Out VM
Ctrl + Alt + F = Fullscreen Toggle
Okay so it launched and worked after I did the install, but how do I start the emulator once I close it? On your desktop is a sideswipe-vm folder, it contains its own launch.sh you can run by double clicking it! if that doesn't work, either open a terminal and cd to the folder, or right click and click open in terminal.
simply run:
./launch.sh
Audio
When starting the VM, sometimes the audio will be 'slowed down'.
Reinstalls using ./android_install_sideswipe.sh have shown to fix it.
Sometimes even just restarting helps.
Video
None, Stutters are due to Shader Cache.
Once something is rendered, it should no longer lag to show said render.
i.e The first time a goal explosion is shown, it will stutter to cache.
Touch
Must be in fullscreen or else inputs aren't correctly passed through
As some of you may already know, Windows changes audio output when new devices gets plugged in, well so does Linux. Thing is, we're starting and stopping the VM constantly, and basically connecting/disconnecting the controller, This causes the audio to keep switching to the controller and it's really annoying. Here's the fix! Run these two lines in a new fresh terminal.
sudo sed -ri 's/^(load-module module-switch-on-.*$)/# \1/' /etc/pulse/default.pa
pulseaudio -k
the changes made to qemu, system, and any other changes are specific to this repo. i wish no redistribution takes place. the scripts work because everything is condensed and made to work, the many workarounds and things I had to try for over a month to get this to work, was incredibly laborious and i'd like everything to stay here. no forks, no implementation outside of this enviroment, its specifically made to improve the lifes of those seeking to play Sideswipe. I have literally not tested any other games, if they work, great, but I broke things in order for them to work in sideswipe, and who knows how that can affect other games or whatever you try outside of what I just mentioned above. thank you for attempting this if you did, and im here to help.
you can ping me in the following server.
Future Plans:
- Windows Support, 64-Bit, WHPX only.
- All Controllers supported by default, removes need for configuring passthrough
- Custom Android built from Source, Move away from BlissOS 11.13
- Support Multicore passthrough, better performance.


