TorchIO


🎉 News: the paper is out! 🎉
See the Credits section for more information.
torchio is a Python package containing a set of tools to efficiently
read, sample and write 3D medical images in deep learning applications
written in PyTorch,
including intensity and spatial transforms
for data augmentation and preprocessing. Transforms include typical computer vision operations
such as random affine transformations and also domain-specific ones such as
simulation of intensity artifacts due to
MRI magnetic field inhomogeneity
or k-space motion artifacts.
This package has been greatly inspired by NiftyNet.
Jupyter notebook
The best way to quickly understand and try the library is the Jupyter notebook hosted by Google Colab. It includes many examples and visualization of most of the classes and even training of a 3D U-Net for brain segmentation of T1-weighted MRI with whole images and patch-based sampling.
Credits
If you like this repository, please click on Star!
If you use this package for your research, please cite the paper:
BibTeX entry:
@misc{fern2020torchio,
    title={TorchIO: a Python library for efficient loading, preprocessing, augmentation and patch-based sampling of medical images in deep learning},
    author={Fernando Pérez-García and Rachel Sparks and Sebastien Ourselin},
    year={2020},
    eprint={2003.04696},
    archivePrefix={arXiv},
    primaryClass={eess.IV}
}
Installation
This package is on the Python Package Index (PyPI). To install the latest published version, just run the following command in a terminal:
$ pip install --upgrade torchioDocumentation
The docs are a work in progress, but some classes such as
ImagesDataset
are already fairly well documented.
Index
Features
Medical image datasets
IXI
The Information eXtraction from Images (IXI) dataset contains "nearly 600 MR images from normal, healthy subjects", including "T1, T2 and PD-weighted images, MRA images and Diffusion-weighted images (15 directions)".
The usage is very similar to torchvision.datasets:
import torchio
import torchvision

transforms = [
    torchio.ToCanonical(),  # to RAS
    torchio.Resample((1, 1, 1)),  # to 1 mm iso
]

ixi_dataset = torchio.datasets.IXI(
    'path/to/ixi_root/',
    modalities=('T1', 'T2'),
    transform=torchvision.transforms.Compose(transforms),
    download=True,
)
print('Number of subjects in dataset:', len(ixi_dataset))  # 577

sample_subject = ixi_dataset[0]
print('Keys in subject sample:', tuple(sample_subject.keys()))  # ('T1', 'T2')
print('Shape of T1 data:', sample_subject['T1'][torchio.DATA].shape)  # [1, 180, 268, 268]
print('Shape of T2 data:', sample_subject['T2'][torchio.DATA].shape)  # [1, 241, 257, 188]
Tiny IXI
This is the dataset used in the notebook. It is a tiny version of IXI, containing 566 T1-weighted brain MR images and their corresponding brain segmentations, all with size (83 x 44 x 55).
Data handling
ImagesDataset
ImagesDataset is a reader of 3D medical images that directly inherits from
torch.utils.Dataset.
It can be used with a
torch.utils.DataLoader
for efficient loading and data augmentation.
It receives a list of subjects, where each subject is an instance of
torchio.Subject containing instances of
torchio.Image.
The file format must be compatible with NiBabel or
SimpleITK readers.
It can also be a directory containing
DICOM files.
import torchio
from torchio import ImagesDataset, Image, Subject

subject_a = Subject([
    Image('t1', '~/Dropbox/MRI/t1.nrrd', torchio.INTENSITY),
    Image('label', '~/Dropbox/MRI/t1_seg.nii.gz', torchio.LABEL),
])
subject_b = Subject(
    Image('t1', '/tmp/colin27_t1_tal_lin.nii.gz', torchio.INTENSITY),
    Image('t2', '/tmp/colin27_t2_tal_lin.nii', torchio.INTENSITY),
    Image('label', '/tmp/colin27_seg1.nii.gz', torchio.LABEL),
)
subjects_list = [subject_a, subject_b]
subjects_dataset = ImagesDataset(subjects_list)
subject_sample = subjects_dataset[0]
Samplers and aggregators
TorchIO includes grid, uniform and label patch samplers. There is also an aggregator used for dense predictions. For more information about patch-based training, see NiftyNet docs.
import torch
import torch.nn as nn
import torchio

CHANNELS_DIMENSION = 1
patch_overlap = 4
patch_size = 128

grid_sampler = torchio.inference.GridSampler(
    input_data,  # some PyTorch tensor or NumPy array
    patch_size,
    patch_overlap,
)
patch_loader = torch.utils.data.DataLoader(grid_sampler, batch_size=4)
aggregator = torchio.inference.GridAggregator(
    input_data,  # some PyTorch tensor or NumPy array
    patch_overlap,
)

model = nn.Module()
model.to(device)
model.eval()
with torch.no_grad():
    for patches_batch in patch_loader:
        input_tensor = patches_batch['image'].to(device)
        locations = patches_batch['location']
        logits = model(input_tensor)
        labels = logits.argmax(dim=CHANNELS_DIMENSION, keepdim=True)
        outputs = labels
        aggregator.add_batch(outputs, locations)

output_tensor = aggregator.get_output_tensor()
Queue
A patches Queue (or buffer) can be used for randomized patch-based sampling
during training.
This interactive animation
can be used to understand how the queue works.
import torch
import torchio

patches_queue = torchio.Queue(
    subjects_dataset=subjects_dataset,  # instance of torchio.ImagesDataset
    max_length=300,
    samples_per_volume=10,
    patch_size=96,
    sampler_class=torchio.sampler.ImageSampler,
    num_workers=4,
    shuffle_subjects=True,
    shuffle_patches=True,
)
patches_loader = DataLoader(patches_queue, batch_size=4)

num_epochs = 20
for epoch_index in range(num_epochs):
    for patches_batch in patches_loader:
        logits = model(patches_batch)  # model is some torch.nn.Module
Transforms
The transforms module should remind users of
torchvision.transforms.
TorchIO transforms take as input samples generated by an ImagesDataset.
A transform can be quickly applied to an image file using the command-line
tool torchio-transform:
$ torchio-transform input.nii.gz RandomMotion output.nii.gz --kwargs "proportion_to_augment=1 num_transforms=4"Augmentation
Intensity
MRI k-space motion artifacts
See the docs.
MRI k-space ghosting artifacts
See the docs.
MRI k-space spike artifacts
See the docs.
MRI magnetic field inhomogeneity
See the docs.

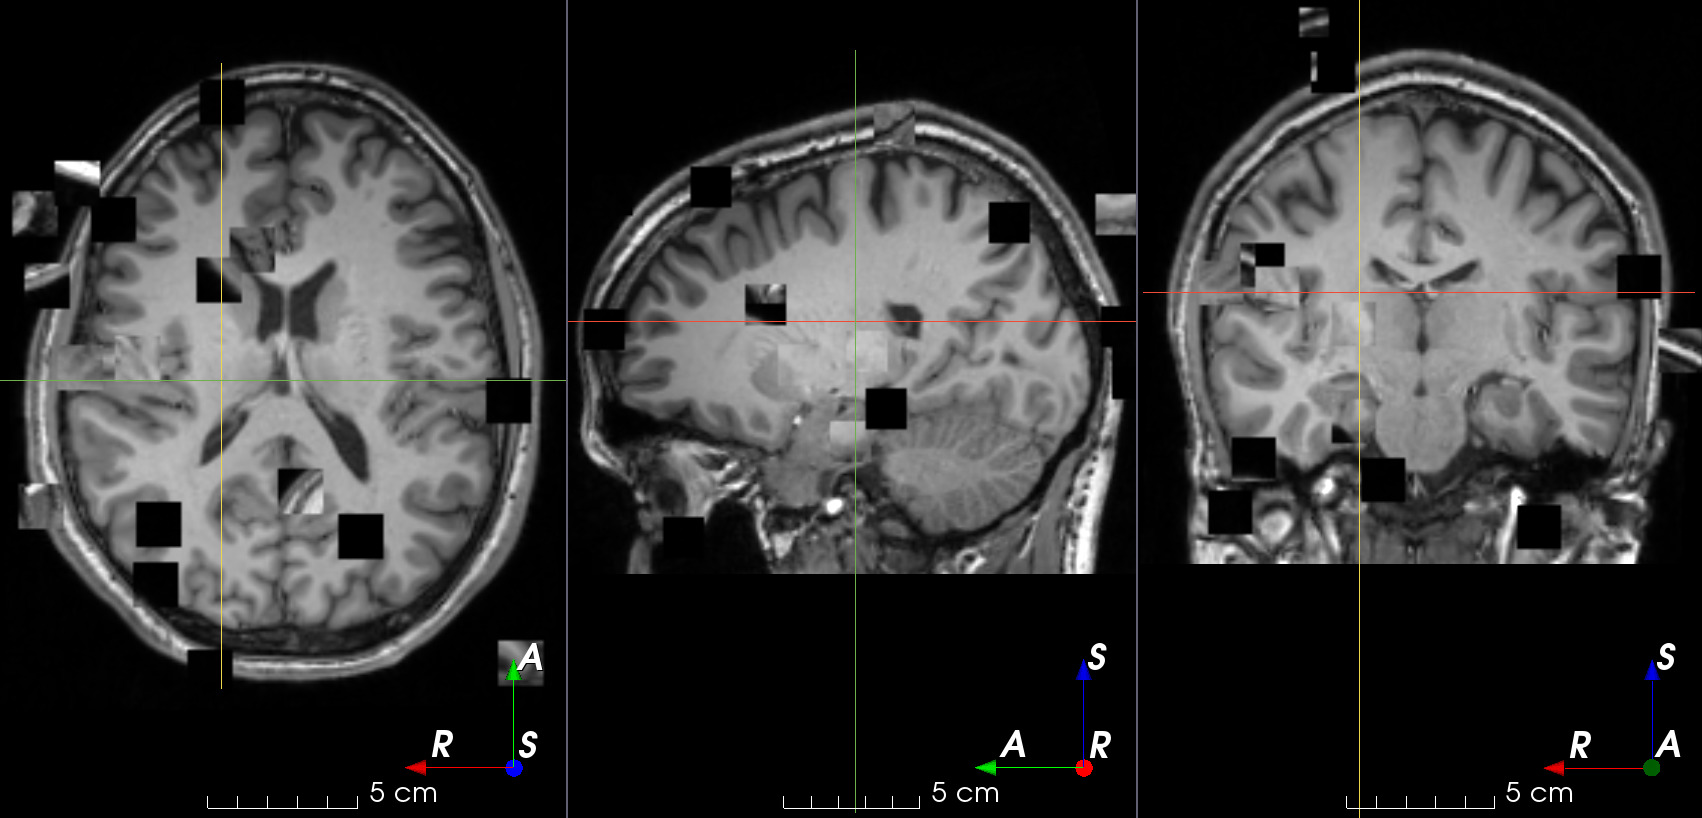
Patch swap
See the docs.
Gaussian noise
See the docs.
Gaussian blurring
See the docs.
Spatial
B-spline dense elastic deformation
See the docs.
Flip
See the docs.
Affine transform
See the docs.
Preprocessing
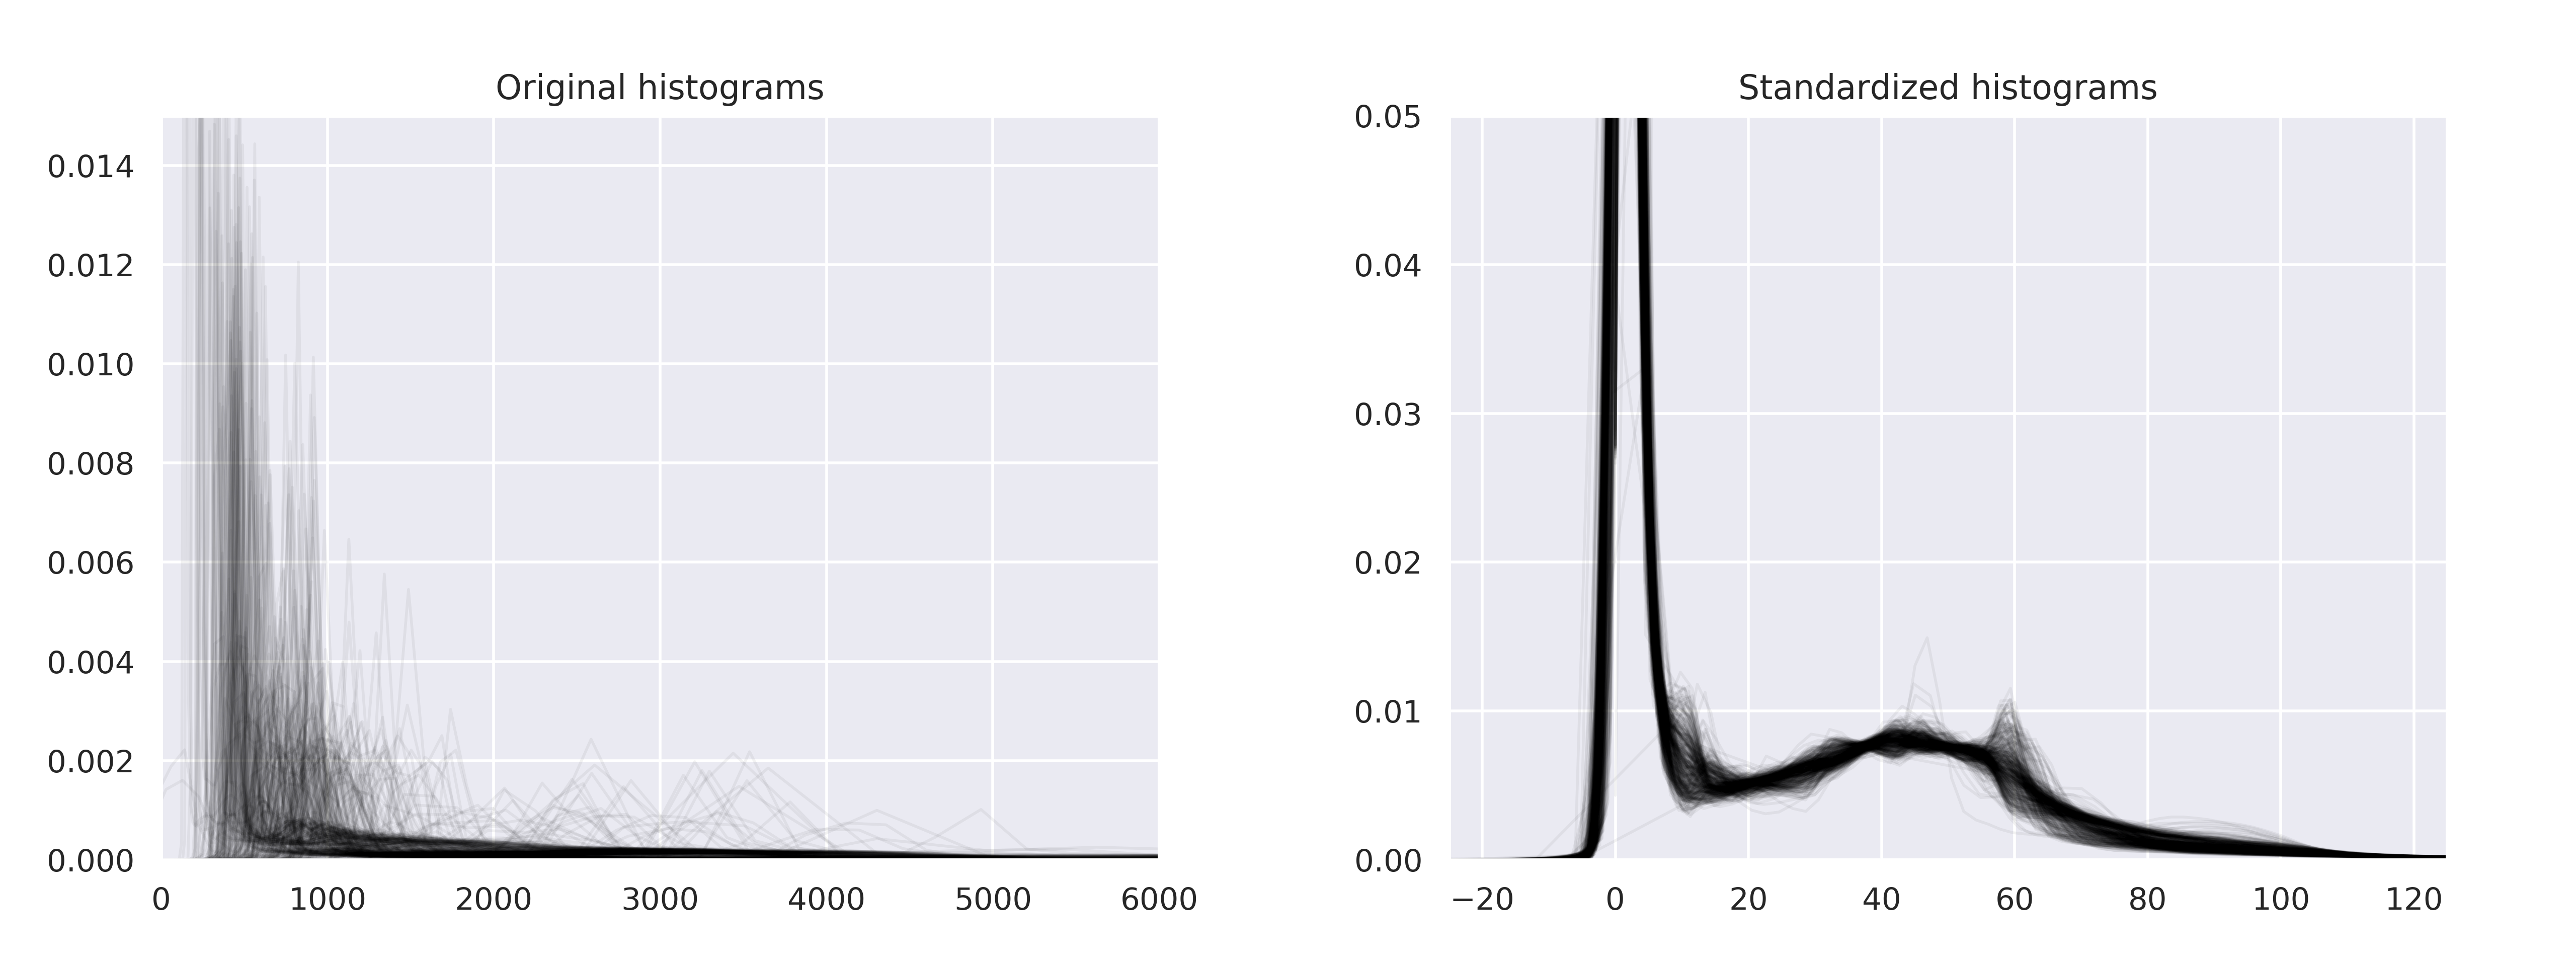
Histogram standardization
Implementation of New variants of a method of MRI scale standardization adapted from NiftyNet.
Rescale
See the docs.
Z-normalization
See the docs.
Resample
See the docs.
Pad
See the docs.
Crop
See the docs.
ToCanonical
See the docs.
CenterCropOrPad
See the docs.
Others
Lambda
See the docs.
Example
This example shows the improvement in performance when multiple workers are used to load and preprocess the volumes using multiple workers.
import time
import multiprocessing as mp

from tqdm import trange

import torch.nn as nn
from torch.utils.data import DataLoader
from torchvision.transforms import Compose

from torchio import ImagesDataset, Queue, DATA
from torchio.data.sampler import ImageSampler
from torchio.utils import create_dummy_dataset
from torchio.transforms import (
    ZNormalization,
    RandomNoise,
    RandomFlip,
    RandomAffine,
)


# Define training and patches sampling parameters
num_epochs = 4
patch_size = 128
queue_length = 400
samples_per_volume = 10
batch_size = 4

class Network(nn.Module):
    def __init__(self):
        super().__init__()
        self.conv = nn.Conv3d(
            in_channels=1,
            out_channels=3,
            kernel_size=3,
        )
    def forward(self, x):
        return self.conv(x)

model = Network()

# Create a dummy dataset in the temporary directory, for this example
subjects_list = create_dummy_dataset(
    num_images=100,
    size_range=(193, 229),
    force=False,
)

# Each element of subjects_list is an instance of torchio.Subject:
# subject = Subject(
#     torchio.Image('one_image', path_to_one_image, torchio.INTENSITY),
#     torchio.Image('another_image', path_to_another_image, torchio.INTENSITY),
#     torchio.Image('a_label', path_to_a_label, torchio.LABEL),
# )

# Define transforms for data normalization and augmentation
transforms = (
    ZNormalization(),
    RandomNoise(std_range=(0, 0.25)),
    RandomAffine(scales=(0.9, 1.1), degrees=10),
    RandomFlip(axes=(0,)),
)
transform = Compose(transforms)
subjects_dataset = ImagesDataset(subjects_list, transform)


# Run a benchmark for different numbers of workers
workers = range(mp.cpu_count() + 1)
for num_workers in workers:
    print('Number of workers:', num_workers)

    # Define the dataset as a queue of patches
    queue_dataset = Queue(
        subjects_dataset,
        queue_length,
        samples_per_volume,
        patch_size,
        ImageSampler,
        num_workers=num_workers,
    )
    batch_loader = DataLoader(queue_dataset, batch_size=batch_size)

    start = time.time()
    for epoch_index in trange(num_epochs, leave=False):
        for batch in batch_loader:
            # The keys of batch have been defined in create_dummy_dataset()
            inputs = batch['one_modality'][DATA]
            targets = batch['segmentation'][DATA]
            logits = model(inputs)
    print('Time:', int(time.time() - start), 'seconds')
    print()
Output:
Number of workers: 0
Time: 394 seconds

Number of workers: 1
Time: 372 seconds

Number of workers: 2
Time: 278 seconds

Number of workers: 3
Time: 259 seconds

Number of workers: 4
Time: 242 seconds


