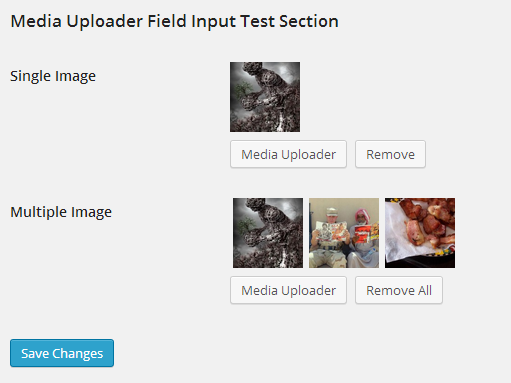
A way to reuse media uploader in WordPress 3.5 or greater which is very very helpful and faster from the old one, OOP with chaining
- just place the plugin folder in you plugins directory and activate it
- the class
WP_Media_Uploader_Inputwill be available to use
$input_settings = array (
// input options
'input_name' => 'image', // input name for back-end handling
'input_id_name' => 'id', // item ID input field name
'input_url_name' => 'url', // item URL input field name
'multiple' => 'no', // select multiple items or not, "yes" or "no"
'data_array' => true, // get id & url as an array or not
'image_placeholder' => WP_MU_URL .'images/placeholder.png', // image placeholder URL
'image_placeholder_width' => '70', // image width
'image_placeholder_height' => '70', // image height
'media_uploader_button_label' => __( 'Media Uploader' ), // Media Uploader button name
'single_remove_button_label' => __( 'Remove' ), // remove all items button label if multiple
'multiple_remove_button_label' => __( 'Remove All' ), // remove item label if not multiple
// Media uploader options
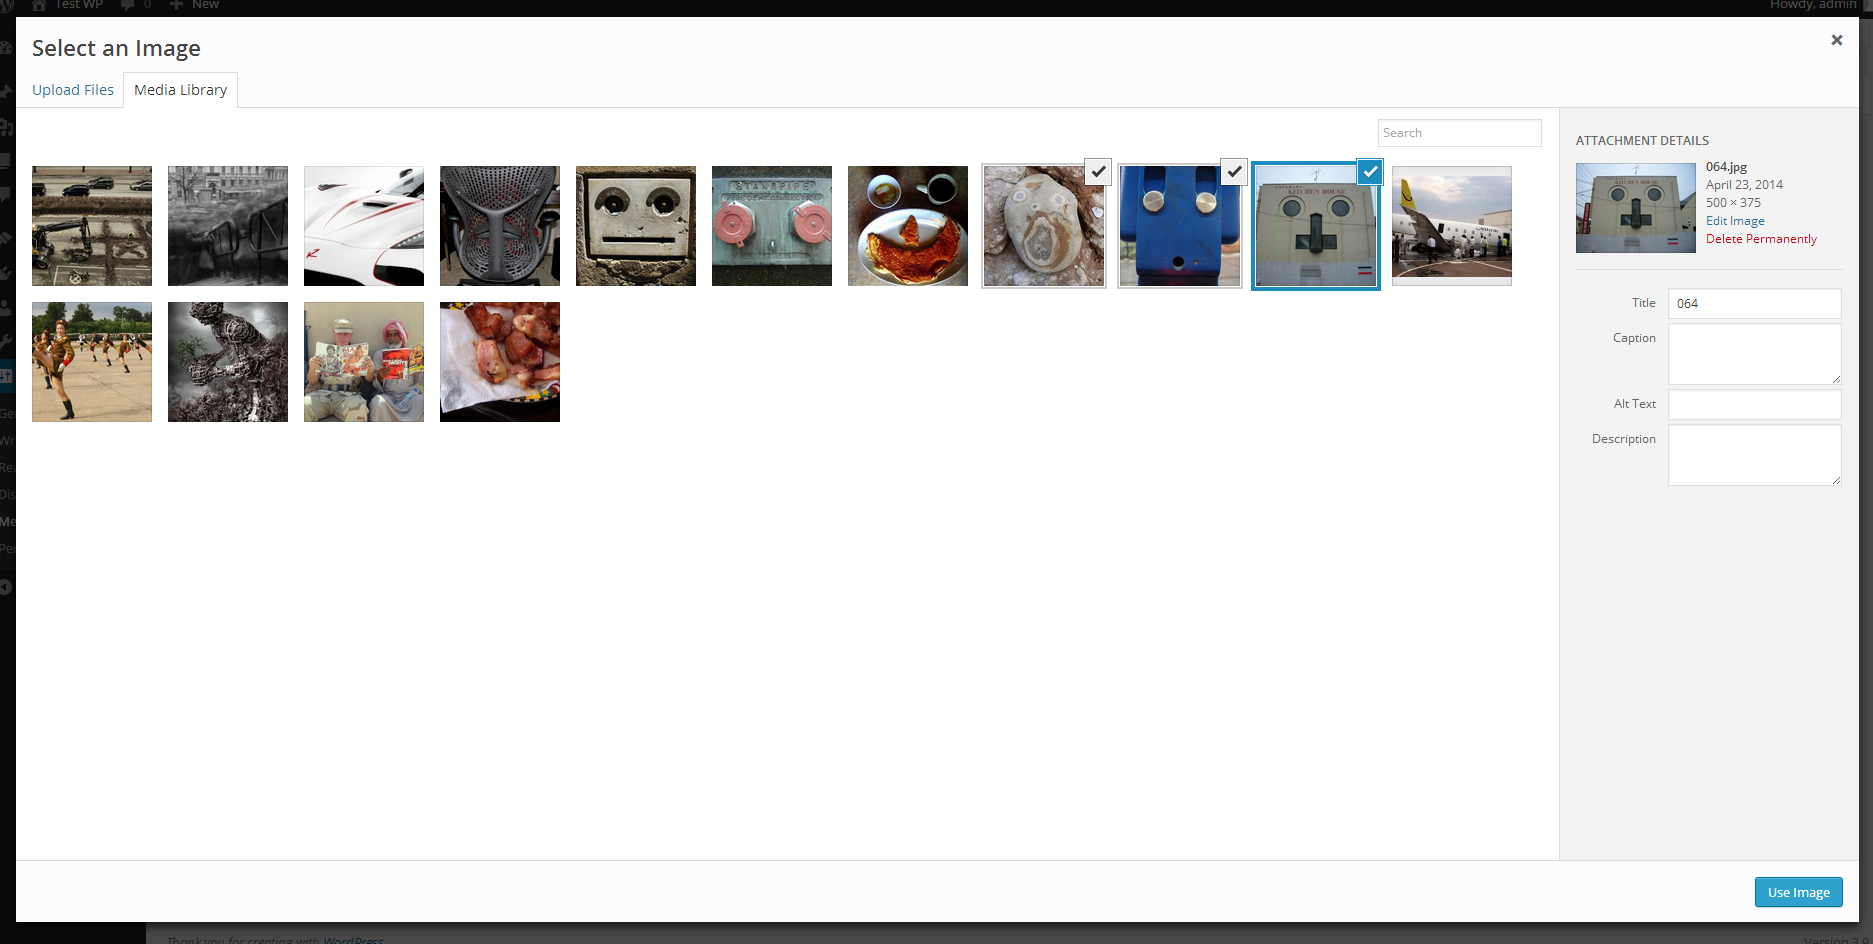
'frame_title' => __( 'Select an Image' ), // Media Upload frame title
'select_button_label' => __( 'Use Image' ), // select button label
'remove_confirm_message' => __( 'Are you sure ?' ), // confirm message on removing item(s)
'remove_confirm_yes' => __( 'Yes' ), // "Yes" answer label
'remove_confirm_no' => __( 'No' ), // "No" answer label
'file_type' => 'image', // file type of items visible on Media Uploader window open
);
// initial input with settings
$input = new WP_Media_Uploader_Input( $input_settings );
// or set settings later
$input->set_options( $input_settings );
// or set a single option
$input->set_option( 'option_name', 'option_value' );
// input value
$input->set_value( array (
'id' => 246,
'url' => 'http://opensource.org/trademarks/opensource/OSI-logo-300x352.png'
)
);
// "output_input" with true passed will echo the layout and if false passed ( Default ) it will return HTML string
$input->output_input( true ); the code is highly customizable through filter hooks and jQuery events
- Download the plugin.
- and define this constant
WP_MU_TEST_MODEin yourwp-config.phpfile. - and go to Dashboard > Settings > Media
// wp-config.php

// test input field enabled
define( 'WP_MU_TEST_MODE', true );

/* That's all, stop editing! Happy blogging. */Note : remember to user those filters before creating an instance
wpmuif_input_value- parameters:
$value - The input default ( initial ) value
- parameters:
wpmuif_input_args- parameters:
$settings - The input settings options parsed with default values
- parameters:
wpmuif_input_field- parameters:
$output,$input_instance - The input HTML layout to display
- parameters:
Example:
add_filter( 'wpmuif_input_field', function( $output ) {
	return '<div class="media-input-wrapper">'. $output .'</div>';
} );Note: remember to listen for those events on the body element
wpmuif_media_frame_opened- parameters:
file_frame,pre_selection - Passes the File ( Media ) frame instance and the items to be selected by default
- parameters:
wpmuif_selected_items- parameters:
file_frame,selected - Passes the File ( Media ) frame instance and the selected items by the user
- parameters:
Example:
$( 'body' ).on( 'wpmuif_media_frame_opened', function( event, file_frame, pre_selection ) {
	console.log( file_frame, pre_selection );
} );
** Contact if there are any problems **
Hope you find it helpful :)
License: GNU General Public License v2 or later License URI: http://www.gnu.org/licenses/gpl-2.0.html