To update the blog you need to have Hugo and Node.js installed.
If you use homebrew run:
brew install hugo
Otherwise read Hugo's installation instructions.
Read the node installation instructions for your OS
Clone this repo. It is a large repo because of all the images.
cd into the repo and run npm install.
After you have everything installed and have made sure your repo is up to date with the latest changes run:
npm run dev
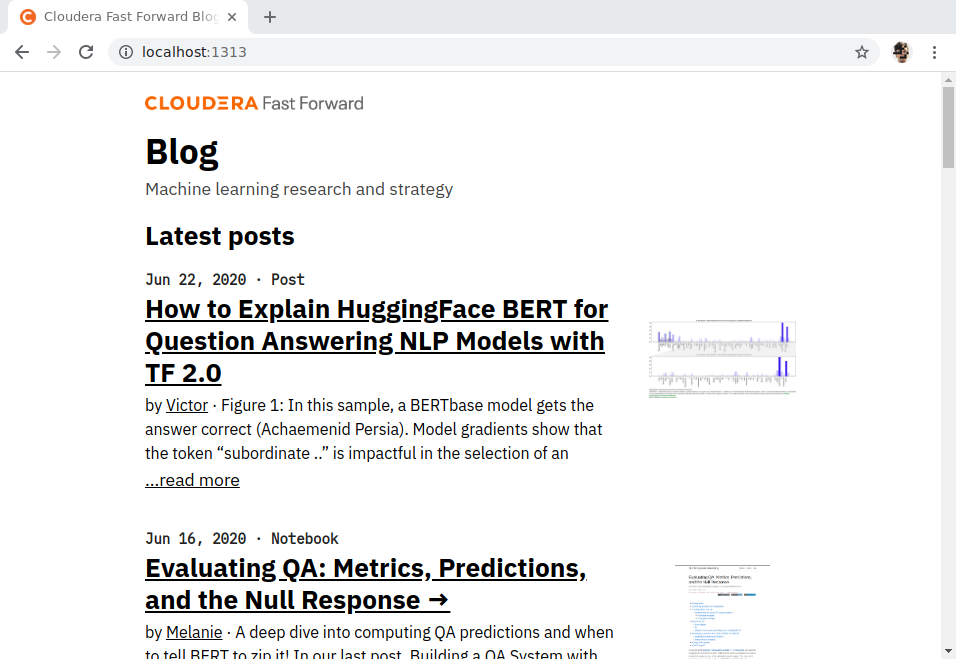
This runs a local version of the blog at localhost:1313. It will automatically update as you make changes. It also runs a form that makes it easy to upload images at localhost:1314.
Posts are markdown files with YAML frontmatter. Run the script
s/new_post
that will guide you through creating the frontmatter. After you have run through that script you can edit the file it creates in the text editor of your choice. It is standard markdown syntax. Note that we generally use an H5 heading (syntax: #####) for image captions. Preview your post on the dev server at localhost:1313.
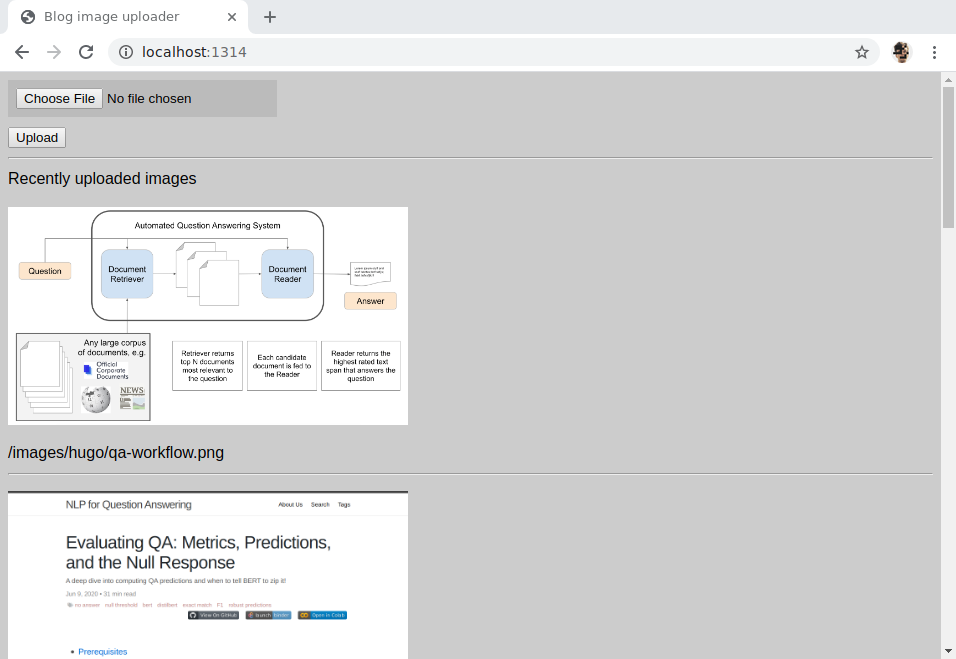
Go to localhost:1314 to use a form for uploading an image to use in a post. The page also lists recently uploaded images. Use the relative link shown below the image to add the image in your post, using standard markdown image syntax: . The relative link (no markdown syntax) will also work for the preview image field.
Before publishing your post, double check the YAML frontmatter and ensure that it does not end in an empty field. An empty field in the last entry will cause the build to be a little wonky: the blog post will only be accessible from the main Blog page when clicking the preview image. If you have nothing to add to the external_url field (the final YAML field in the frontmatter), either remove that field altogther or comment it out like in the example below.
---
title: "Deep Learning for Automatic Offline Signature Verification: An Introduction"
date: 2021-05-26T17:04:38
preview_image: /images/hugo/metricblog/signature_pipeline.png
post_type: Post
# external_url:
---
To publish your post commit your changes and do git push origin master, an automatic Github action will rebuild the site and automatically deploy it. It usually takes around two minutes. You can look under the Github action tab to check its status.
The prototype section contains links to notebooks and prototypes. It is visible at the bottom of the front page and on its own at https://blog.fastforwardlabs.com/prototypes. To add a prototype add the new entry to the top of data/prototypes.toml. Use the previous entries as a guide. The image link can be relative (to an image you added using the process described above) or absolute (to another website) just make sure it is https if it is to another site or it won't show up. Look up the TOML format if you have any formatting issues. Just like adding a post, any new entries will be automatically built and deployed after you commit your changes and do git push origin master.
Adding a link to the report section is similar to adding a prototype link (see above) but it is under data/reports.toml. Use previous report entries as your guide.
We use the blog to generate the newsetter (which is sent through Cloudera marketing ops). Newsletters go here: https://github.com/fastforwardlabs/blog/tree/master/content/newsletters and the html version can be found at URLs like https://blog.fastforwardlabs.com/newsletters/2020-06.html. You also need to inline the CSS (usually we use a Mailchimp tool, maybe someday we'll clean up this process more).
The main part of the blog is run using Hugo, so the Hugo docs should have most relevant info. Node runs the image upload server (which I (Grant) added to try and make it easier to make posts). The node server files are in the s directory, it's a relatively bare-bones node/express app. npm is set to run both hugo and the node server through the package.json dev setting. If you ever want to run hugo only (like if the node part breaks for some reason) you can just use hugo server.
The blog is hosted through Github Pages and built using Hugo through Github Actions. Check the "Actions" tab on this repo and read up on Github actions for more info. It's a pretty default 'build Hugo on push' script.
The blog template supports MathJax. You can write math expressions in latex enclosed in back ticks . Example $(ax^2 + bx + c = 0) $


![dependabot[bot] avatar](https://avatars.githubusercontent.com/in/29110?v=4 "dependabot[bot]")


