- (This page is updating at the end)
Are you looking for a quick, convenient, and easy way to use #GPU on your Python often? Here is a complete and simple explanatory way to do it!
As a deep learning researcher, one of the difficult steps of our job is to train models, for example in my projects on emotion recognition, to train a CNN model using Fer2013 dataset which has more than 37,000 images via a CUP Core i5, I should forget a whole day of my time (training and testing) it's because we decided to use another solution, GPU!
In the following steps which were tested on a Dell laptop with the configuration below, the result is exactly what we wanted. training the model with the same dataset only took 40 minutes!
GPU: Nvidia Geforce RTX 2060 with 6GB memory
CPU: Core i7  with 12MB cache
RAM: 16GB DDR4
OS: Windows10
-
As we know, Anaconda has very good abilities to create and manage the environments and most coding platforms like Spyder, Jupyter and ... Also it has very fast terminals on each environment for installing modules with Conda keyword. It must therefore be installed!
-
You can download it using this link:
https://www.anaconda.com/products/individual
- Your computer's graphics processor must also support Tensorflow, to do this, find your graphics card model in
CUDA-Enabled GeForce and TITAN Products. If the point mentioned on your graphics card is more than 3.5, it means it supports TF.
It is necessary to go to your laptop company's website and update your graphics card.
- As a first step, download the version of the Microsoft Visual Studio community from this link:
https://visualstudio.microsoft.com/vs/community/
- After downloading the file, double click on it and the window below will appear, there is no need to select anything, so just click the install button:

- If you already have Microsoft Visual Studio, skip this step.
- To download the latest version of Cuda, click here:
- But it is recommended to install Cuda version 10.2 because we have tested it and it works great.
1- When you want to install Cuda, go to the custom part and uncheck all the options except CUDA
2- If you install CUDA 10.2 and have trouble in detecting your GPU, you can downgrade CUDA to version 9. If you do this, don't forget the version 9 patches to install!
Depending on your CUDA version, download the CUDNN from the list on the link below:
https://developer.nvidia.com/rdp/cudnn-archive
-
You must have / create an account on the Nvidia website to have access to the download.
-
After downloading cudnn, extract the zip file and open the folder to see 3 folders with the names lib, include and bin.
-
Go to the CUDA folder on your computer which looks like:
C: / Program Files / NVIDIA GPU Computing Toolkit / CUDA / v 10.1
- And now paste the contents of each CUDNN folder separately into the corresponding folder (with the same name) in the CUDA folder. Also accept all comments and notifications.
Bin in CUDNN into Bin in CUDA and include of CUDNN in include in CUDA and lib/x64 of CUDNN into lib/x64 of CUDA
-
Now press the start key on your keyboard and search for
edit the system environment variablesin search box of start menu then hit enter. -
As shown in the windows below, select go to
enviroments variablesthen select theedititem.

- In this window, click on
newand add the address of two CUDAbinandlibvvnfolders installed on your computer such as:
C:/Program Files/NVIDIA GPU Computing Toolkit/CUDA/v 10.1/bin
C:/Program Files/NVIDIA GPU Computing Toolkit/CUDA/v 10.1/ libnvvp

- And now, click Ok Ok OK...
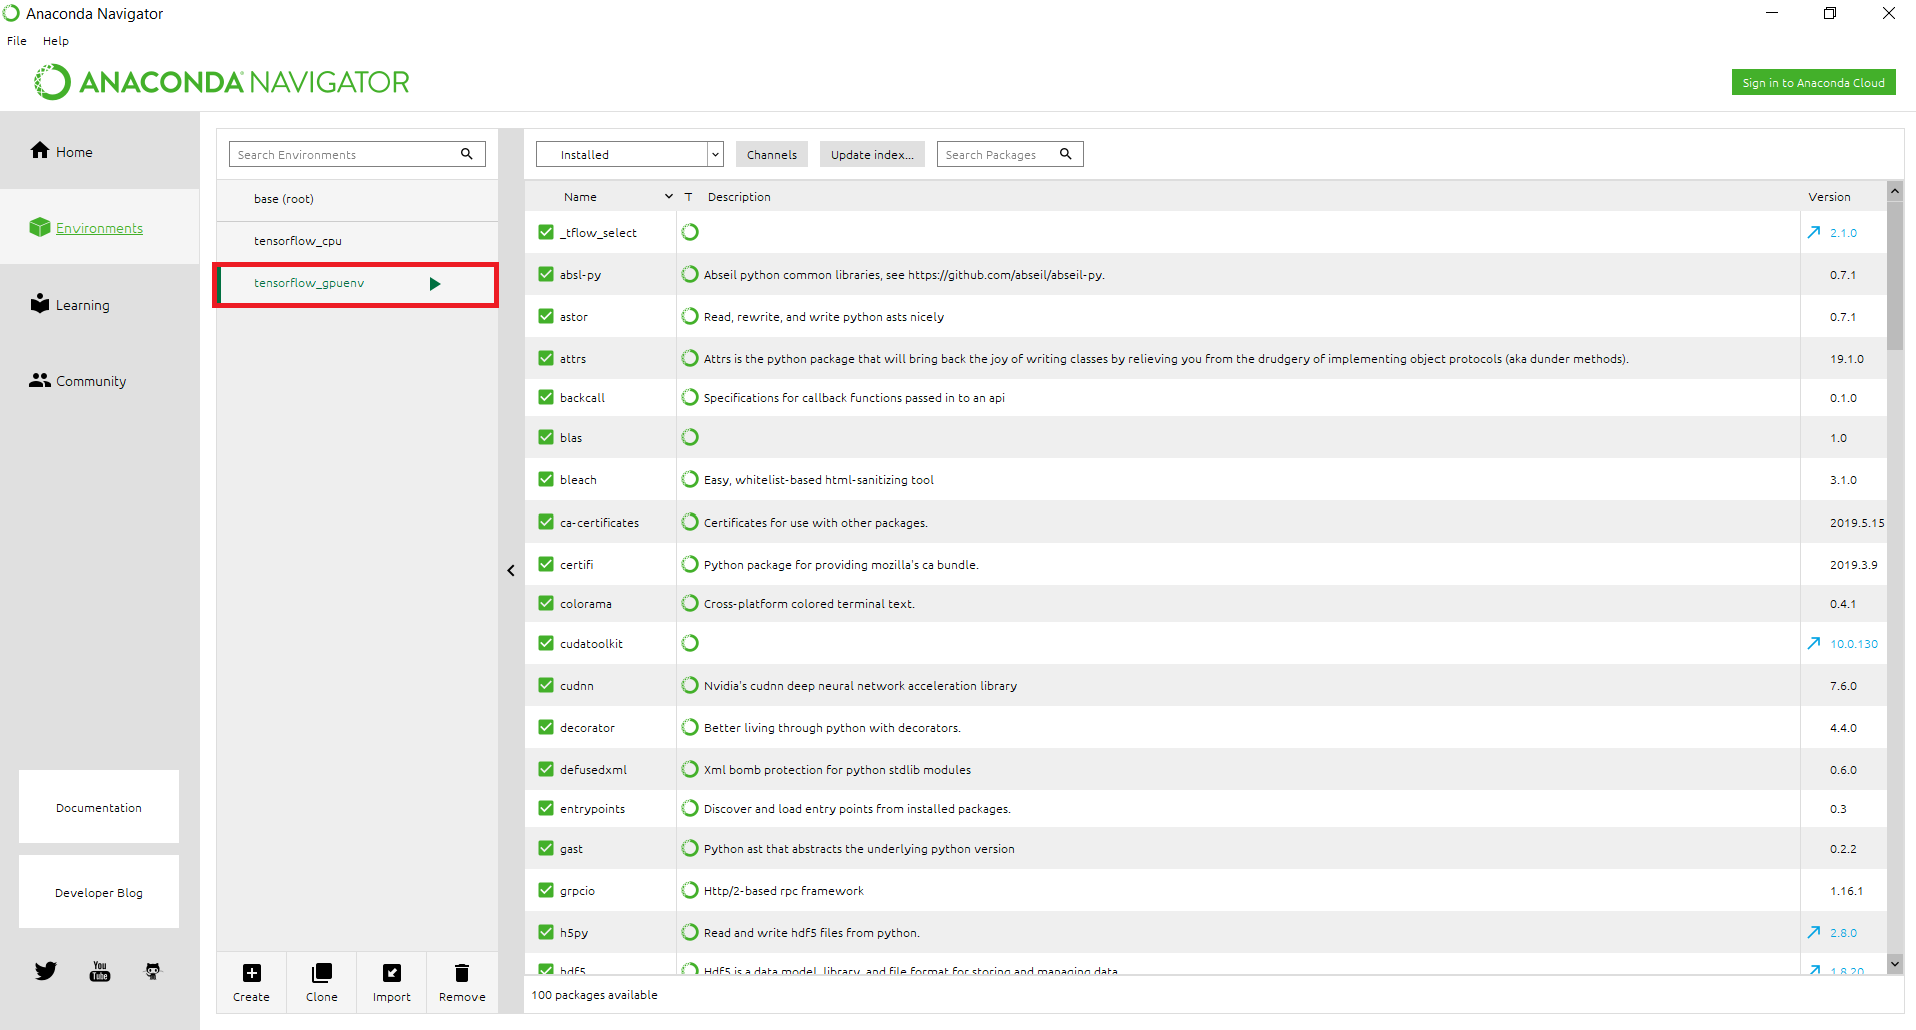
- Open the Anaconda prompt and type this command:
conda create -n tensorflow_gpuenv python=3.6 tensorflow-gpu
conda activate tensorflow_gpuenv
-
Now wait a few minutes to anaconda download and install the necessary packages. Then you will see your environment and the necessary packages.
-
Very important: you have to install
keras-gpuon! the conda code is:
conda install -c anaconda keras-gpu
- Also you can install Spyder and Jupyter with these codes:
conda install -c anaconda spyder
conda install -c anaconda jupyter
At the end, you can run Spyder or Jupyter and run your code, but don't forget to add this line:
import tensorflow as tf
Enjoy of your ## GPU
1- If you are using tensorflow-gpu V2, there is no need to install Keras! 2- Open your anaconda terminal and create an environment using this code:
conda create -n tf-gpu tensorflow-gpu
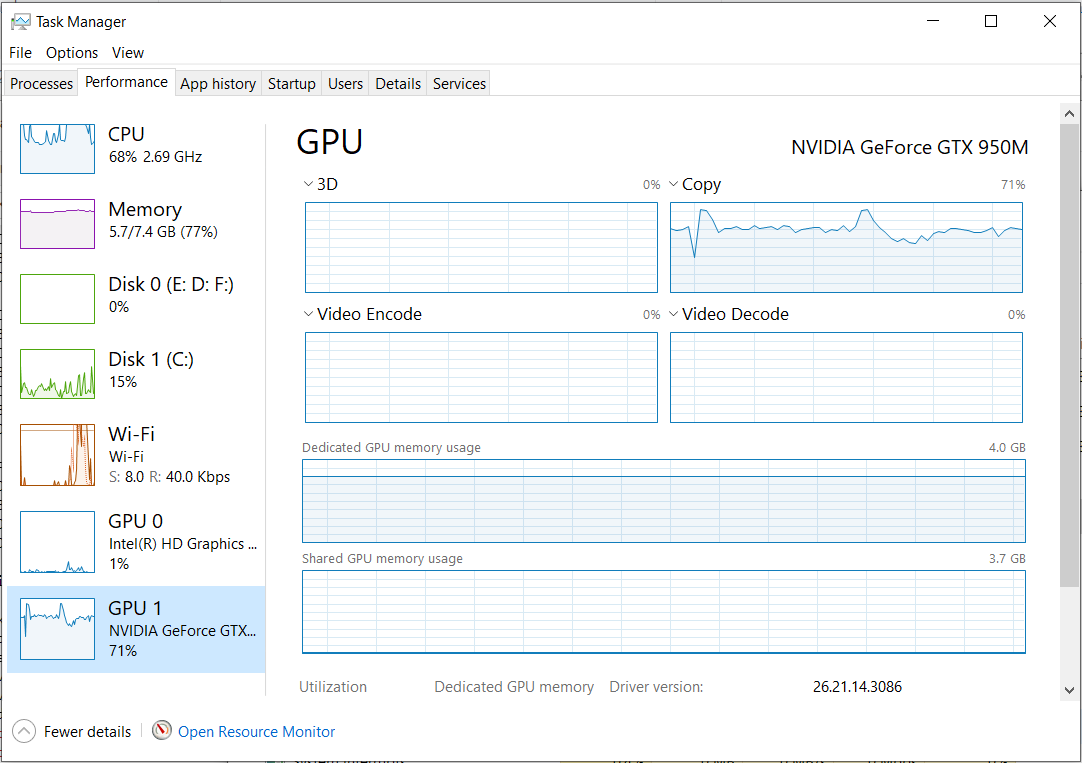
3- Install jupyter notebook on your new environment(meaning tf-gpu) and run this code to check the GPU:
                              import tensorflow as tf
                              print("Num GPUs Available: ", len(tf.config.list_physical_devices('GPU')))
If result is more than 0, your GPU is working!
Special thanks to Amir Hossein Mesbah:
