(work in progress! this page is not finished, and probably full of typos)
This is a small but complete tutorial for those who want to create content and are interested in having an Internet presence. Whether you want to be found because you're selling something, or because you want to market yourself, there is no doubt that one mandatory step is to be active on Social Media, and create original content. You can write about your ideas, your professional experience and show your porfolio and products, and the easiest way to do that is having a website. Maybe it doesn't make sense to you to have a full blown web with pages and sections, so a blog is more fit to your goals.
If you don't know where to start, this tutorial will guide you through the whole process, step by step. By the time you have finished following these instructions, you'll have more than enough to start building your brand (personal or professional).
Examples of blogs you can create:
- Personal blog
- Blog about your favorite topic: travelling, food, photography, movies, music, lifestyle, fashion, relationships, etc
- Promote your company and your products
- Product reviews
So let's start with a basic checklist of all the stuff I will cover. You don't need all of it, but since (almost) everything is for free, why not adding it? Of course, if it doesn't make sense to you, just ignore some of the tools/services I am suggesting. But don't do it because "you don't have the time" to maintain it all active and working. This is a one time setup, and we'll add some automation to connect all the dots. So whenever you create content, it will spread across your network, without effort. Actually, without doing anything at all! Don't be scared, it's SUPER easy to achieve this. You don't need any technical knowledge whatsoever to complete this guide.
- Blog with..
- Google Analytics
- Comment moderation
- A nice looking custom theme
- Supporting Social Media accounts
- Facebook page
- YouTube channel
- Automation, so your content spreads across channels (the Social Media accounts above)
- Extra security to protect it all
- A URL shortener (for vanity URL's)
- Some extra, optional bits to make it look even more profesional! (however, this might not be free)
Well, you might think that's a lot of stuff and probably your first thought is that you don't have time to manage all those accounts. Two commments about that:
- You just worry about writing in your blog. All the other stuff will happen magically.
- Writing content is not easy, so you don't only need to commit yourself to find the time to do it. You also need to spread the word across all popular channels.
Okay, maybe these answers have brought even more questions. Like, magically how? What do I need a YouTube account for if I am not uploading videos? So to finally convince you to go ahead with all the steps. I will start with the "Automation" part, or at least I will explain it to you so you can see the benefits (and you'll forget about spending your day posting stuff on a thousand channels).
If you already know IFTTT, you can completely skip the following part
Well, not really "self-managed", but almost! Would you like to publish something in your blog and having it posted automatically to Twitter and Facebook? How about posting videos on your blog that you've liked on YouTube? Or, how about those Instagram pictures? Would you like to have them also in your blog without doing anything at all? How about featuring those Instagram snaps you've liked in both your Facebook page and blog at once? That's automation, and it doesn't end here. You can add a hundred actions to keep it all connected and working together without effort.
Yes, it's possible, thanks to IFTTT. This is what the free service can do for you:
IFTTT is a web-based service that allows users to create chains of simple conditional statements, called "recipes", which are triggered based on changes to other web services such as Gmail, Facebook, Instagram, YouTube and Pinterest. IFTTT is an abbreviation of "If This Then That" (pronounced like "gift" without the "g"). An example "recipe" might consist of sending an e-mail message if the IFTTT user tweets using a certain hashtag. Or, if the user is tagged by someone on Facebook, then that photo will be added to the user's cloud-based photo archive. (Wikipedia)
IFTTT has brought a whole new way of doing things. It "makes the Internet work for you" (I think this was their marketing pitch when they started). Now it has evolved a lot, and you can even connect your twitter activity to your home's lights. It's just crazy.
But anyway, I hope you understand now that having a lot of Social Media accounts does not mean a lot of work, because you can set it all up to almost work on its own thanks to IFTTT.
## Before you start...
Before you start, a small pause here. Your username. It's not abolutely vital but highly recommended that you use the same username for all accounts you are about to create. Especially when the service or tool creates an accessible profile for you. Having hte same username not only avoids the problem of remembering how to log yourself into the service, it also helps building your brand and keeps you "findable".
So, choose your username wisely, and, if possible, make it similar (or same than) your website URL. For example, I use "luisnomad" everywhere, so if you want to find me in a certain Social Network, you probably will just by using my unique "handle". Or if you google "luisnomad", you'll see everything (public) about me. Your username is your main keyword.
Okay, let's proceed!
We'll just create the account now, later on we'll setup all the automation (recipes) very easily.
- Go to IFTTT and create your profile.
- Go to Preferences > Settings and change your username as we discussed.
- Verify your email address (a verification link has been sent to your inbox after registering)
That's it, for now.
I am speaking like if creating a blog was easily done with a couple of clicks... Well, yes, it really takes a few clicks (and some minor typing) to have your blog ready to rock. In this tutorial, we'll be setting up a Tumblr blog because it's simple and serves our purposes, but you might as well use WordPress or any other system if you prefer it. Most of the instructions explained in this guide can be applied to WordPress with little differences.
So, head to Tumblr. All it takes is typing your username, email and password. That's it. In this case, the username is more important than ever, because it happens to be the URL (the address) of your blog, using this formula:
http://username.tumblr.com
For example, could you guess my Tumblr URL? Super easy: http://luisnomad.tumblr.com/
Anyway, you have you blog! Yes, that's all it took. If you're not familiar with Tumblr, you might want to spend a little while playing around with it. Tumblr allows people to "follow" you (subscribe to your posts). They can also like your content and repost it (it will show up in their blogs, but always pointing to your blog as the original source). You can do the same with other people's posts.
Each post has a permalink (a URL that points to that individual post within your blog), a title, a description, media (images, video, sound) and hashtags. You might publish posts inmediately after hitting the Publish button, or you can add them to a queue, and they will be posted at a given time (that you can configure). Your activity within Tumblr can be seen in your Dashboard, where you can also see what your followers -and the people you follow- are doing with your/their content. Also, all those actions can be turned into IFTTT recipes, so your blog can react to stuff going on, all behind the scenes without any effort from your side.
Don't log out just yet, we are going to add some features to your new awesome blog.
I am assuming that you own a GMAIL email address. That will grant you access to a huge number of free and awesome services, like Google Analytics. What is it and why you need it?
In a nutshell, it's a reporting tool that will give you a lot of information about your visitors: how many people visit your site, where they come from, which pages in your blog are they visiting, and other super useful information such device type (desktop, mobile, tablet), even gender, age, etc. You can see a realtime report that shows how many people are in your blog at any given moment! Do you like the idea? Okay, so all you need is a "tracking ID". That's the one thing you need to tell Tumblr so you can start tracking your visitors' activity.
Go to Google Analytics and create your account. After accepting Terms & Conditions and going through several simple/self-explanatory steps, you'll be taken to a Dashboard. Click on "Admin" and add your blog details. The page should look like this:
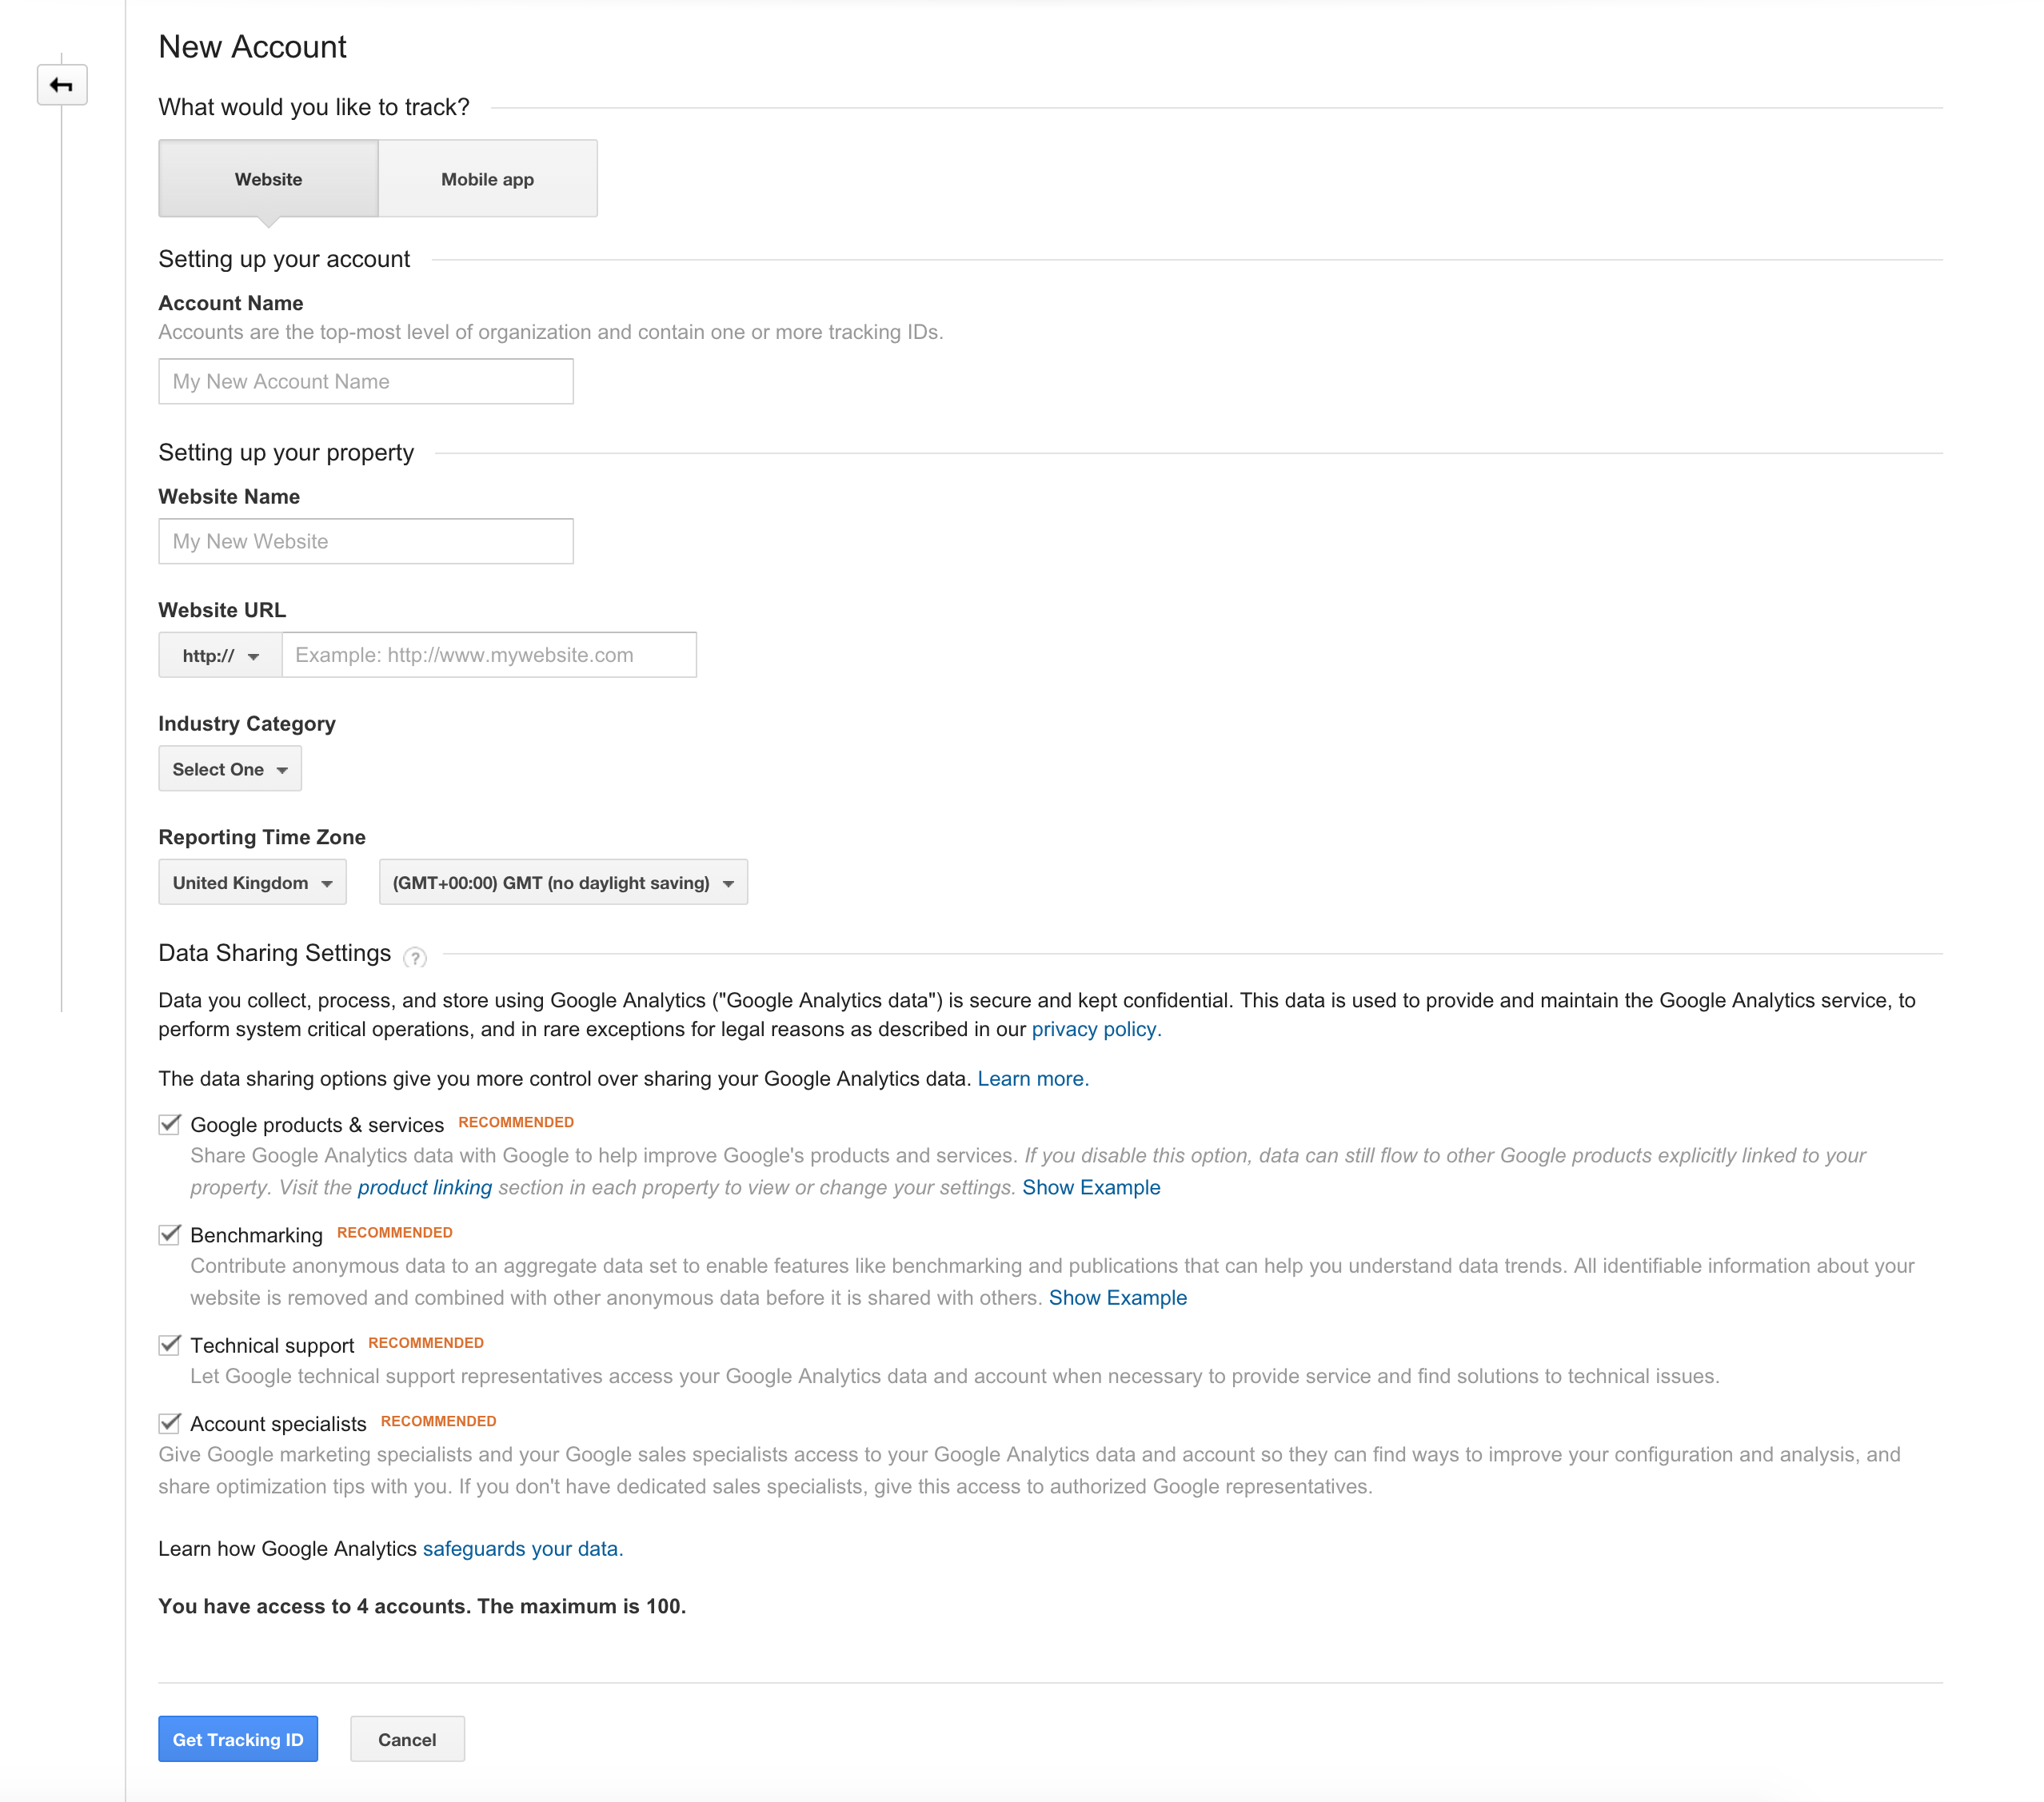
Notice that blue button that says "Get Tracking ID" at the bottom? It will take you to a page where you can get it. It looks something like: UA-00000000-0. Copy it at go back to Tumblr. You need to go to your blog settings and click on "Edit Appareance". If you can't find the button, just paste this in the URL:
https://www.tumblr.com/settings/blog/username (Note: change "username" and write your actual username there, for example: https://www.tumblr.com/settings/blog/luisnomad)
When you are there, click on "Edit Theme". It will take you to an editor where you can change your blog's configuration and details. For now, look for the "Google Analytics ID" in the left column, you should find it at the bottom of the page. Paste your Tracking ID and save your changes.
Again, leave this page open, you'll need it for the next step.
Pssst! If you're in trouble getting that Tracking ID, this is the oficial guide from Google:
https://support.google.com/analytics/answer/1032385?hl=en
Before you go through this step, you should know that not all Tumblr themes are well integrated with comment hosting services, specifically Disqus, which is the one I am recommending here. When you setup a Tumblr account, the default theme (and most of the themes offered for free) have a field in the configuration to add a Disqus shortname. Check if it's the case for you, otherwise the integratin might be still possible but not that straightforward, and not covered in this guide.
So what's Disqus?
Disqus, Inc. (pronounced discuss) is a blog comment hosting service for web sites and online communities that uses a networked platform. The company’s platform includes various features, such as social integration, social networking, user profiles, spam and moderation tools, analytics, email notifications, and mobile commenting. (Wikipedia)
Basically it gives you a lot of control over the interactions within your blog. It lets you moderate comments, for example, and see all the feedback from your visitors in a single Dashboard. It also offers a way to participate in discussions or comment in other blogs while preserving your social identity, something that helps building your brand. You can integrate your Disqus account in many blogs and websites at once, so you control & oversee everything from the same place. Nice and handy.
Let's start by creating your account. Again, choose your username wisely, because it will be your "screen name" when commenting or replying to your visitors' comments. Once you have your account, you have to "install Disqus" into Tumblr. To do so, navigate to this URL, changing "username" with you actual Disqus username:
https://username.disqus.com/admin/settings/install/
Choose "Tumblr", and follow the simple process. That will take you to a page with further instructions, but we only want one thing from there, the "shortname". Copy it and return to Tumblr. If you're not there already, go to Settings > Edit Appareance > Edit Theme. Then on the left column, scroll down until you see "Disqus shortname". Paste it there, and save your changes. You're all done!
Play around a bit inside the Disqus panel, it's pretty straightforward. You might want to ask a friend with a Tumblr account to comment on your first awesome post to see what happens.
Let's move on to the next step, creating your Social Media accounts (if you already have them, skip the registration bit, just log in).


