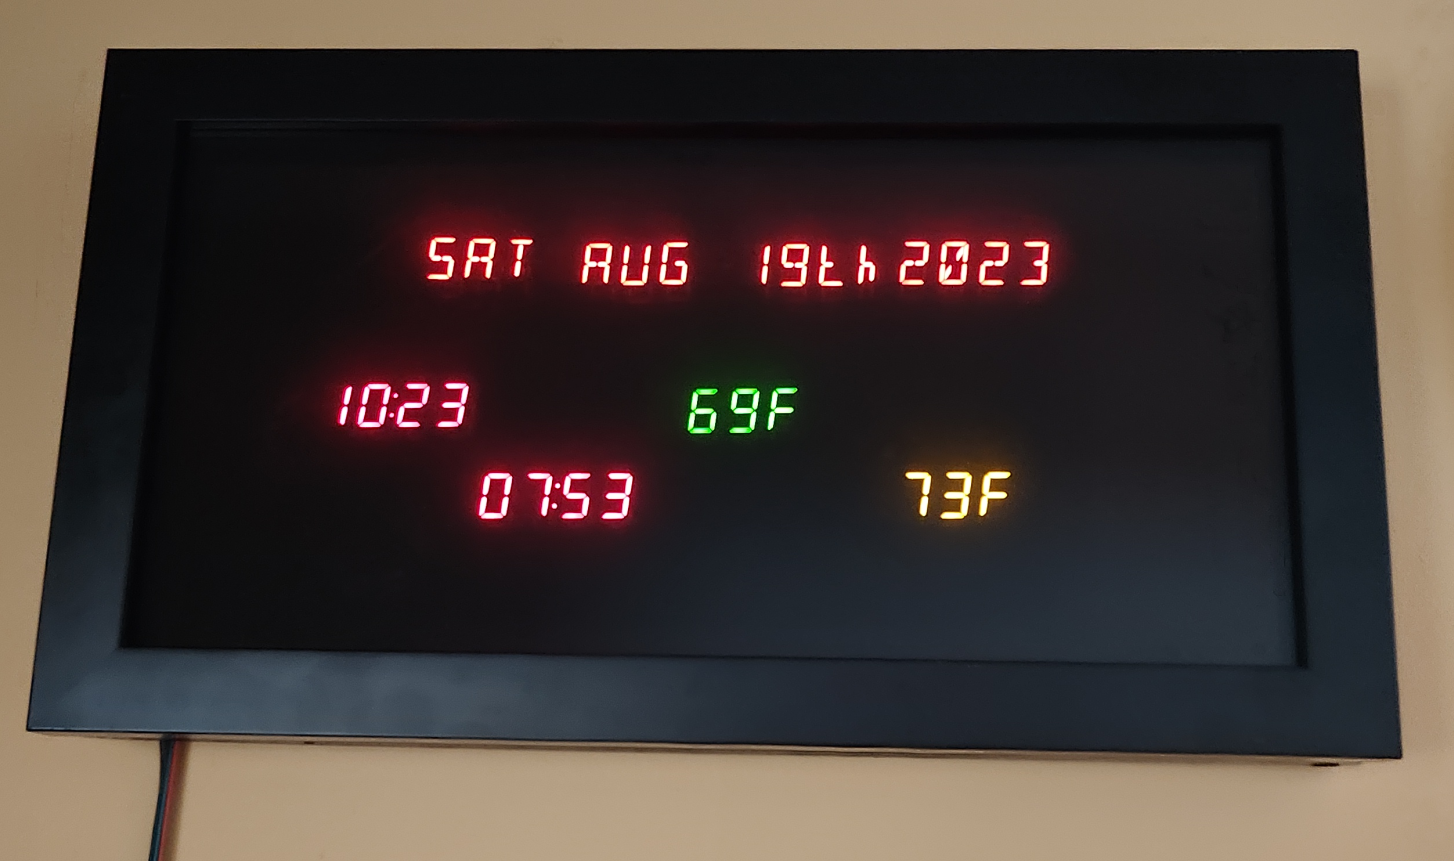
Office Wall clock with temperature, date time and additional international timezone.
Download "RASPBIAN" https://www.raspberrypi.org/downloads/raspbian/
Create your new hard disk for DashboardPI
Insert the microSD to your computer via USB adapter and create the disk image using the
ddcommandLocate your inserted microSD card via the
df -hcommand, unmount it and create the disk image with the disk copyddcommand$
df -h/dev/sdb1 7.4G 32K 7.4G 1% /media/XXX/1234-5678$
umount /dev/sdb1Caution: be sure the command is completely accurate, you can damage other disks with this command
if=location of RASPBIAN image file of=location of your microSD card
$
sudo dd bs=4M if=/path/to/raspbian-lite.img of=/dev/sdb(note: in this case, it's /dev/sdb, /dev/sdb1 was an existing factory partition on the microSD)
Setting up your RaspberriPi
Insert your new microSD card to the raspberrypi and power it on with a monitor connected to the HDMI port
Login
user: pi pass: raspberry
Change your account password for security
sudo passwd pi
Enable RaspberriPi Advanced Options
sudo raspi-config
Choose:
1 Expand File System
9 Advanced Options
A2 Hostnamechange it to "OfficeMultiClock"
A4 SSHEnable SSH Server
A7 I2CEnable i2c interface
Enable the English/US Keyboard
sudo nano /etc/default/keyboard
Change the following line:
XKBLAYOUT="us"
Reboot PI for Keyboard layout changes / file system resizing to take effect
$
sudo shutdown -r now
Auto-Connect to your WiFi
sudo nano /etc/wpa_supplicant/wpa_supplicant.conf
Add the following lines to have your raspberrypi automatically connect to your home WiFi (if your wireless network is named "linksys" for example, in the following example)
network={
   ssid="linksys"
   psk="WIRELESS PASSWORD HERE"
}
Reboot PI to connect to WiFi network
$
sudo shutdown -r nowNow that your PI is finally on the local network, you can login remotely to it via SSH. But first you need to get the IP address it currently has.
$
ifconfigLook for "inet addr: 192.168.XXX.XXX" in the following command's output for your PI's IP Address
Go to another machine and login to your raspberrypi via ssh
$
ssh [email protected]
Start Installing required packages
$
sudo apt-get update$
sudo apt-get upgrade$
sudo apt-get install vim git i2c-tools build-essential python-dev rpi.gpio python3 python3-pip python-setuptools python3-requests
Install DHT22 Python Library
$
git clone https://github.com/adafruit/Adafruit_Python_DHT.git$
cd Adafruit_Python_DHT$
sudo python2 setup.py install
Install ht16k33 Python Library
$
sudo pip3 install adafruit-circuitpython-ht16k33
Update local timezone settings
$
sudo dpkg-reconfigure tzdata
select your timezone using the interface
Setup the simple directory l command [optional]
vi ~/.bashrcadd the following line:
alias l='ls -lh'
source ~/.bashrc
Fix VIM default syntax highlighting [optional]
sudo vi /etc/vim/vimrcuncomment the following line:
syntax on
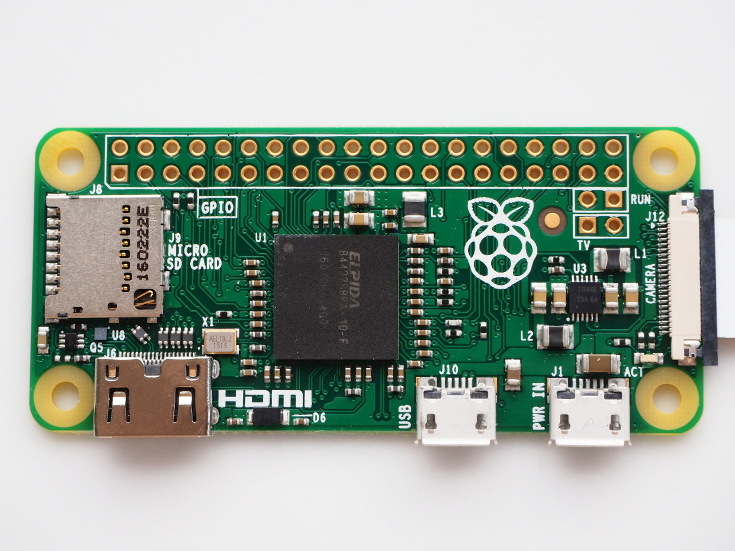
RaspberryPi Zero
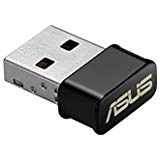
USB WIFI (if not a PiZero W)
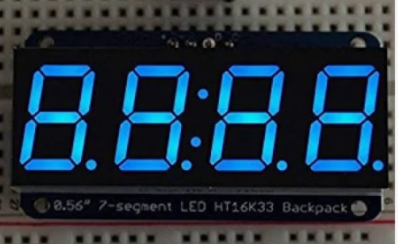
7 Segment Display (x4)
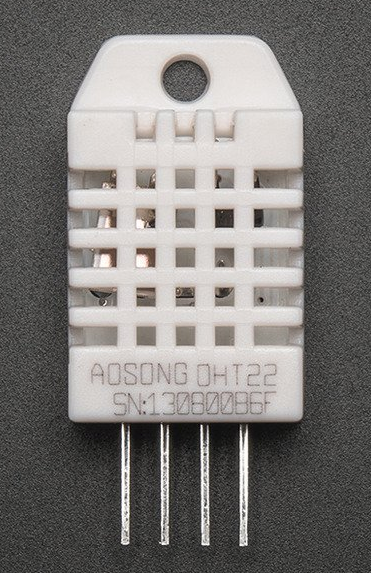
DHT22
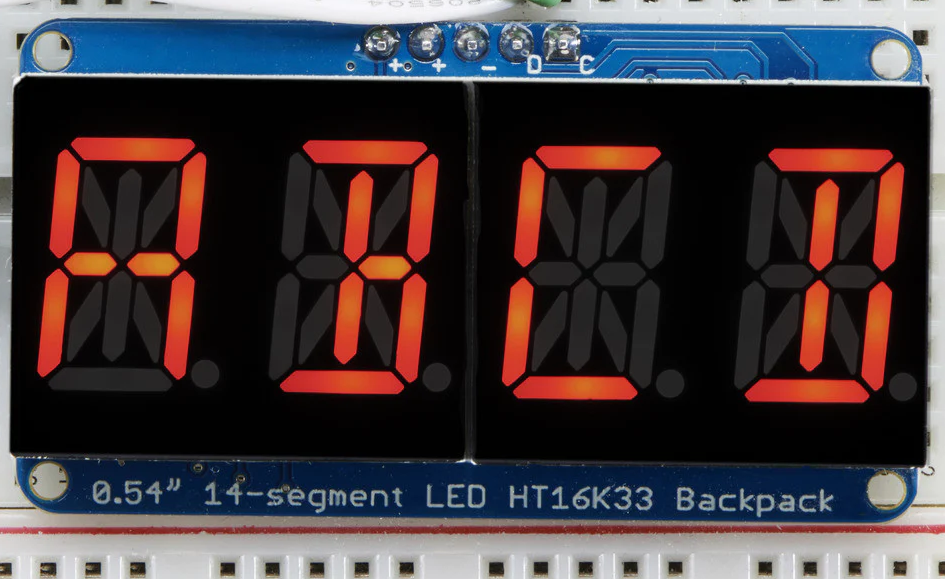
14 Segment Display (x4)
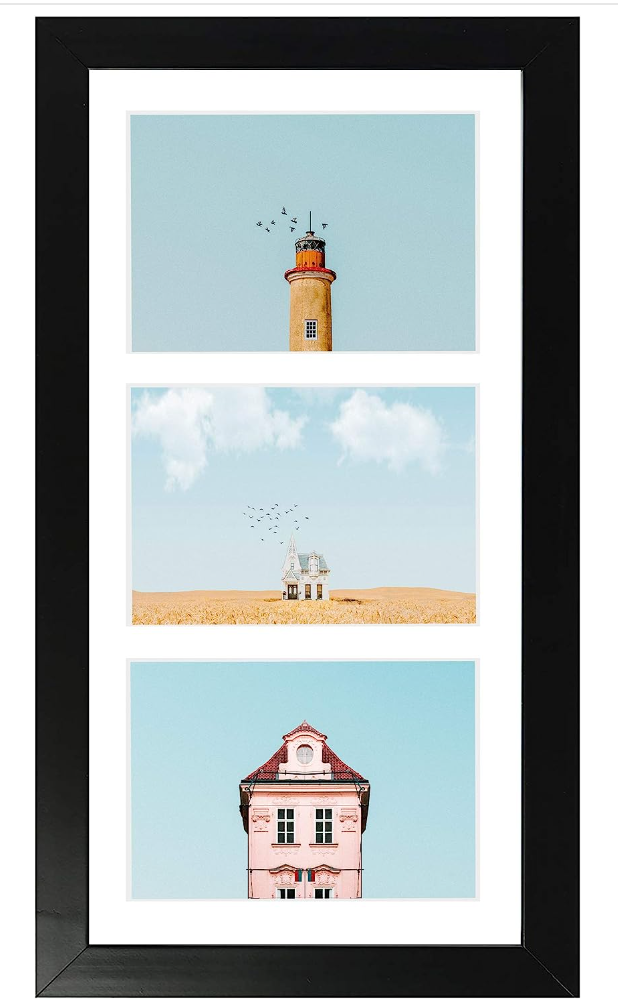
7x14" Frame
Semi-Transparent PlexiGlass

NOTE: All the I2C backpacks must be soldered on the back of each of the displays, the backpacks come with the display and must all be soldered on first.
For each of the I2C backpack displays you must solder the jumpers on the back in the all the possible combinations to have your RaspberriPI I2C interface to recognize each display with a unique address.
Leave the first display with no jumper soldered, the 2nd with the farthest right soldered, the 3rd with only the middle soldered and so on... Eventually you'll have to solder jumpers in all the combinations of 2 at a time connected and the final display with all 3 jumpers soldered to be connected.
There's a total of 3 pins so you should have a total combination of 8 unique combinations.

Each of the 14 segment alpha numeric displays needs to have a connection to the RaspberryPI GND, 5V and 3V pins. The 7 segment display only needs connectivity to the GND and 5V pins.

I've used standard jumper wires to connect to all the pins on the display / RaspberryPI pins and grouped the common connections (all the GND wires, 5V wires) with a wirenut.
For each display in the dashboard ALL of the D and C pins need to be connected to the SCL and SDA pins on the PI.
I've created a square frame of wood, painted black, glued to the back of the frame.

Place the tinted PlexiGlass in the frame, this will allow the wall mounted board with displays to be able to fit behind the glass.

Using small pieces of wood or 3D printed squares (in grey), attach them to a black board (that will mount on the wall). This will serve as a guide to attach (with screws) the displays evenly to display on the wall.

Mount all the components wired (including the RPi) with screws attached to the painted black back board.

Mount on wall (the black frame with plexglass will hang over the top of it)

Create a copy of settings-shadow.py to settings.py and update your own values for your clock.
Get Outside weather
weatherAPIURL = 'https:// openweather API'
https://openweathermap.org/
account is required, the device will simply read from the default forecast returned from the API, it will also post it to the Datahub.
OPTIONAL DATAHUB
use https://github.com/khinds10/DeviceHub to setup a custom datahub for your device to post temps as time goes on.
deviceLoggerAPI = 'data logger URL'
DHT Adjust is degress (in F) to plus or minus in case your DHT22 is running hot or cold.
dht22Adjust = 0
$ crontab -e
@reboot sleep 60 && python3 /home/pi/time.py
*/5 * * * * python3 /home/pi/date.py
*/15 * * * * python3 /home/pi/temp-check.py
*/5 * * * * python3 /home/pi/temp.py
