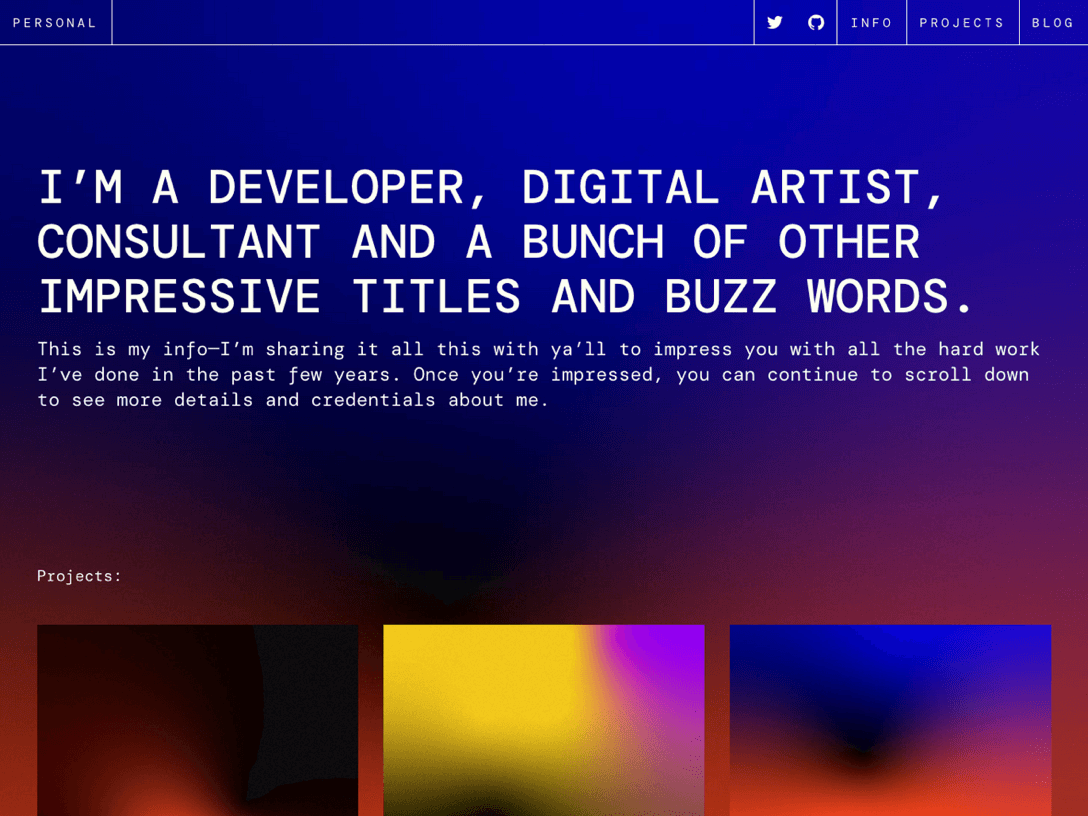
This is a full-fledged portfolio website built with Next.js, Tailwind & the Git Content Source.
The codebase showcases how to apply annotations at scale, meaning: how to make much of your components highlightable in the visual editor through data attributes without manually adding code throughout the codebase.
This is achieved by:
- Adding an annotation property to the content objects at they're loaded (see
src/utils/content.ts) - When rendering the page, each content sub-object is dynamically matched to the appropriate component. At this point, wrap each component with an annotation, based on the abovementioned content property. See
src/components/components-registry.tsx.
⚡ Demo: auto-annotated-portfolio.netlify.app
The typical development process is to begin by working locally. Clone this repository, then run npm install in its root directory.
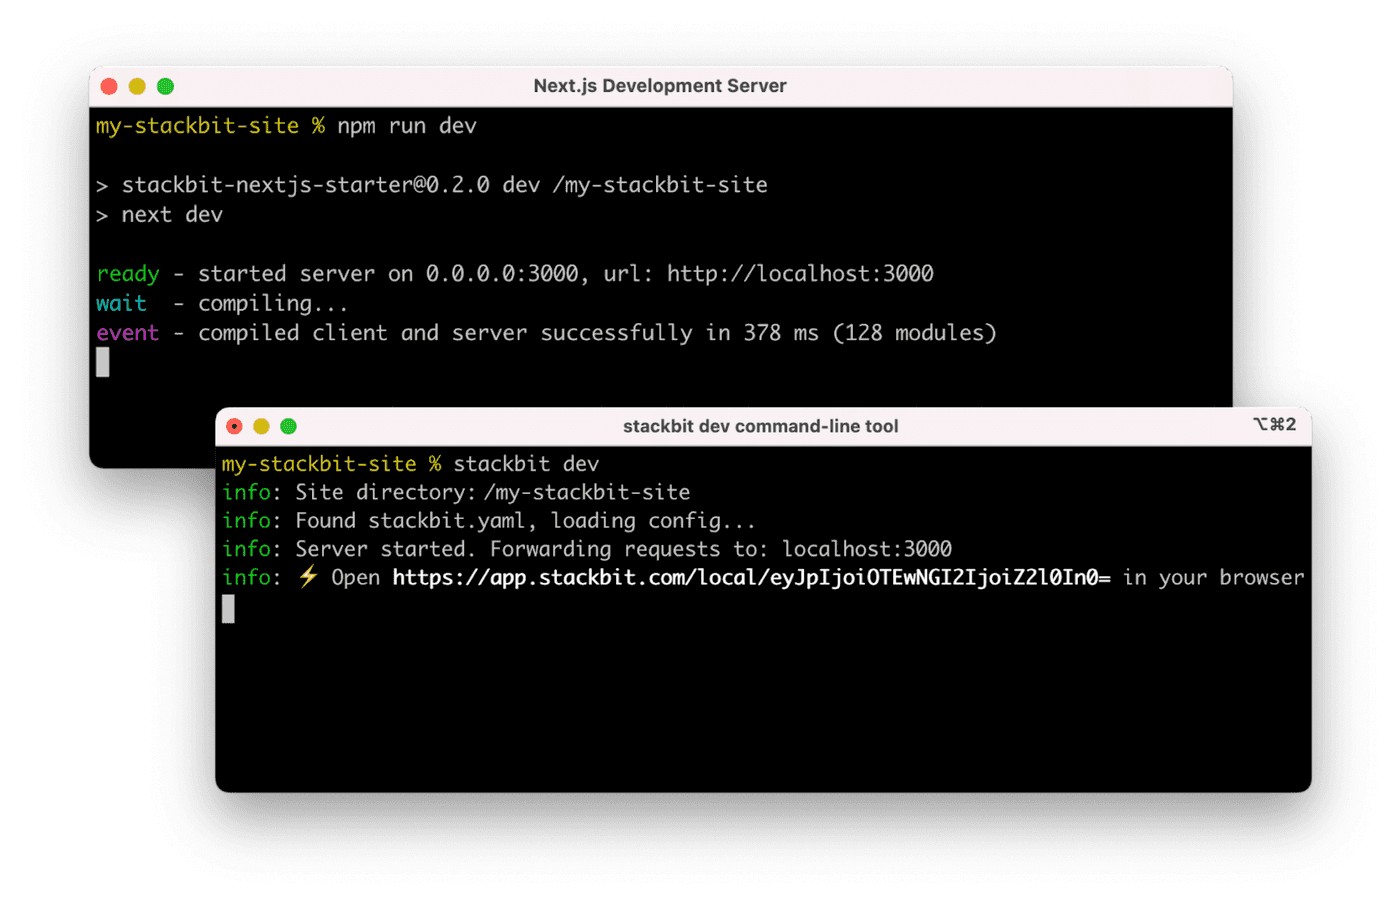
Run the Next.js development server:
cd auto-annotated-portfolio
npm run dev
Install the Netlify Create CLI. Then open a new terminal window in the same project directory and run the Netlify Create Dev server:
npm install -g @stackbit/cli
stackbit dev
This outputs your own Netlify Create URL. Open this, register or sign in, and you will be directed to Netlify Create's visual editor for your new project.
Here are a few suggestions on what to do next if you're new to Netlify Create:
- Learn how Netlify Create works
- Follow the Getting Started tutorial
If you get stuck along the way, get help in our support forums.

![renovate[bot] avatar](https://avatars.githubusercontent.com/in/2740?v=4 "renovate[bot]")