To begin, fork and clone this repository. Once it has finished downloading cd into the project root and run npm i to fetch the project dependencies. After they are fetched run npm start and a browser window will open at http://localhost:3000 displaying a (non-functioning) chat app. In another terminal window run npm test to run the test suite.
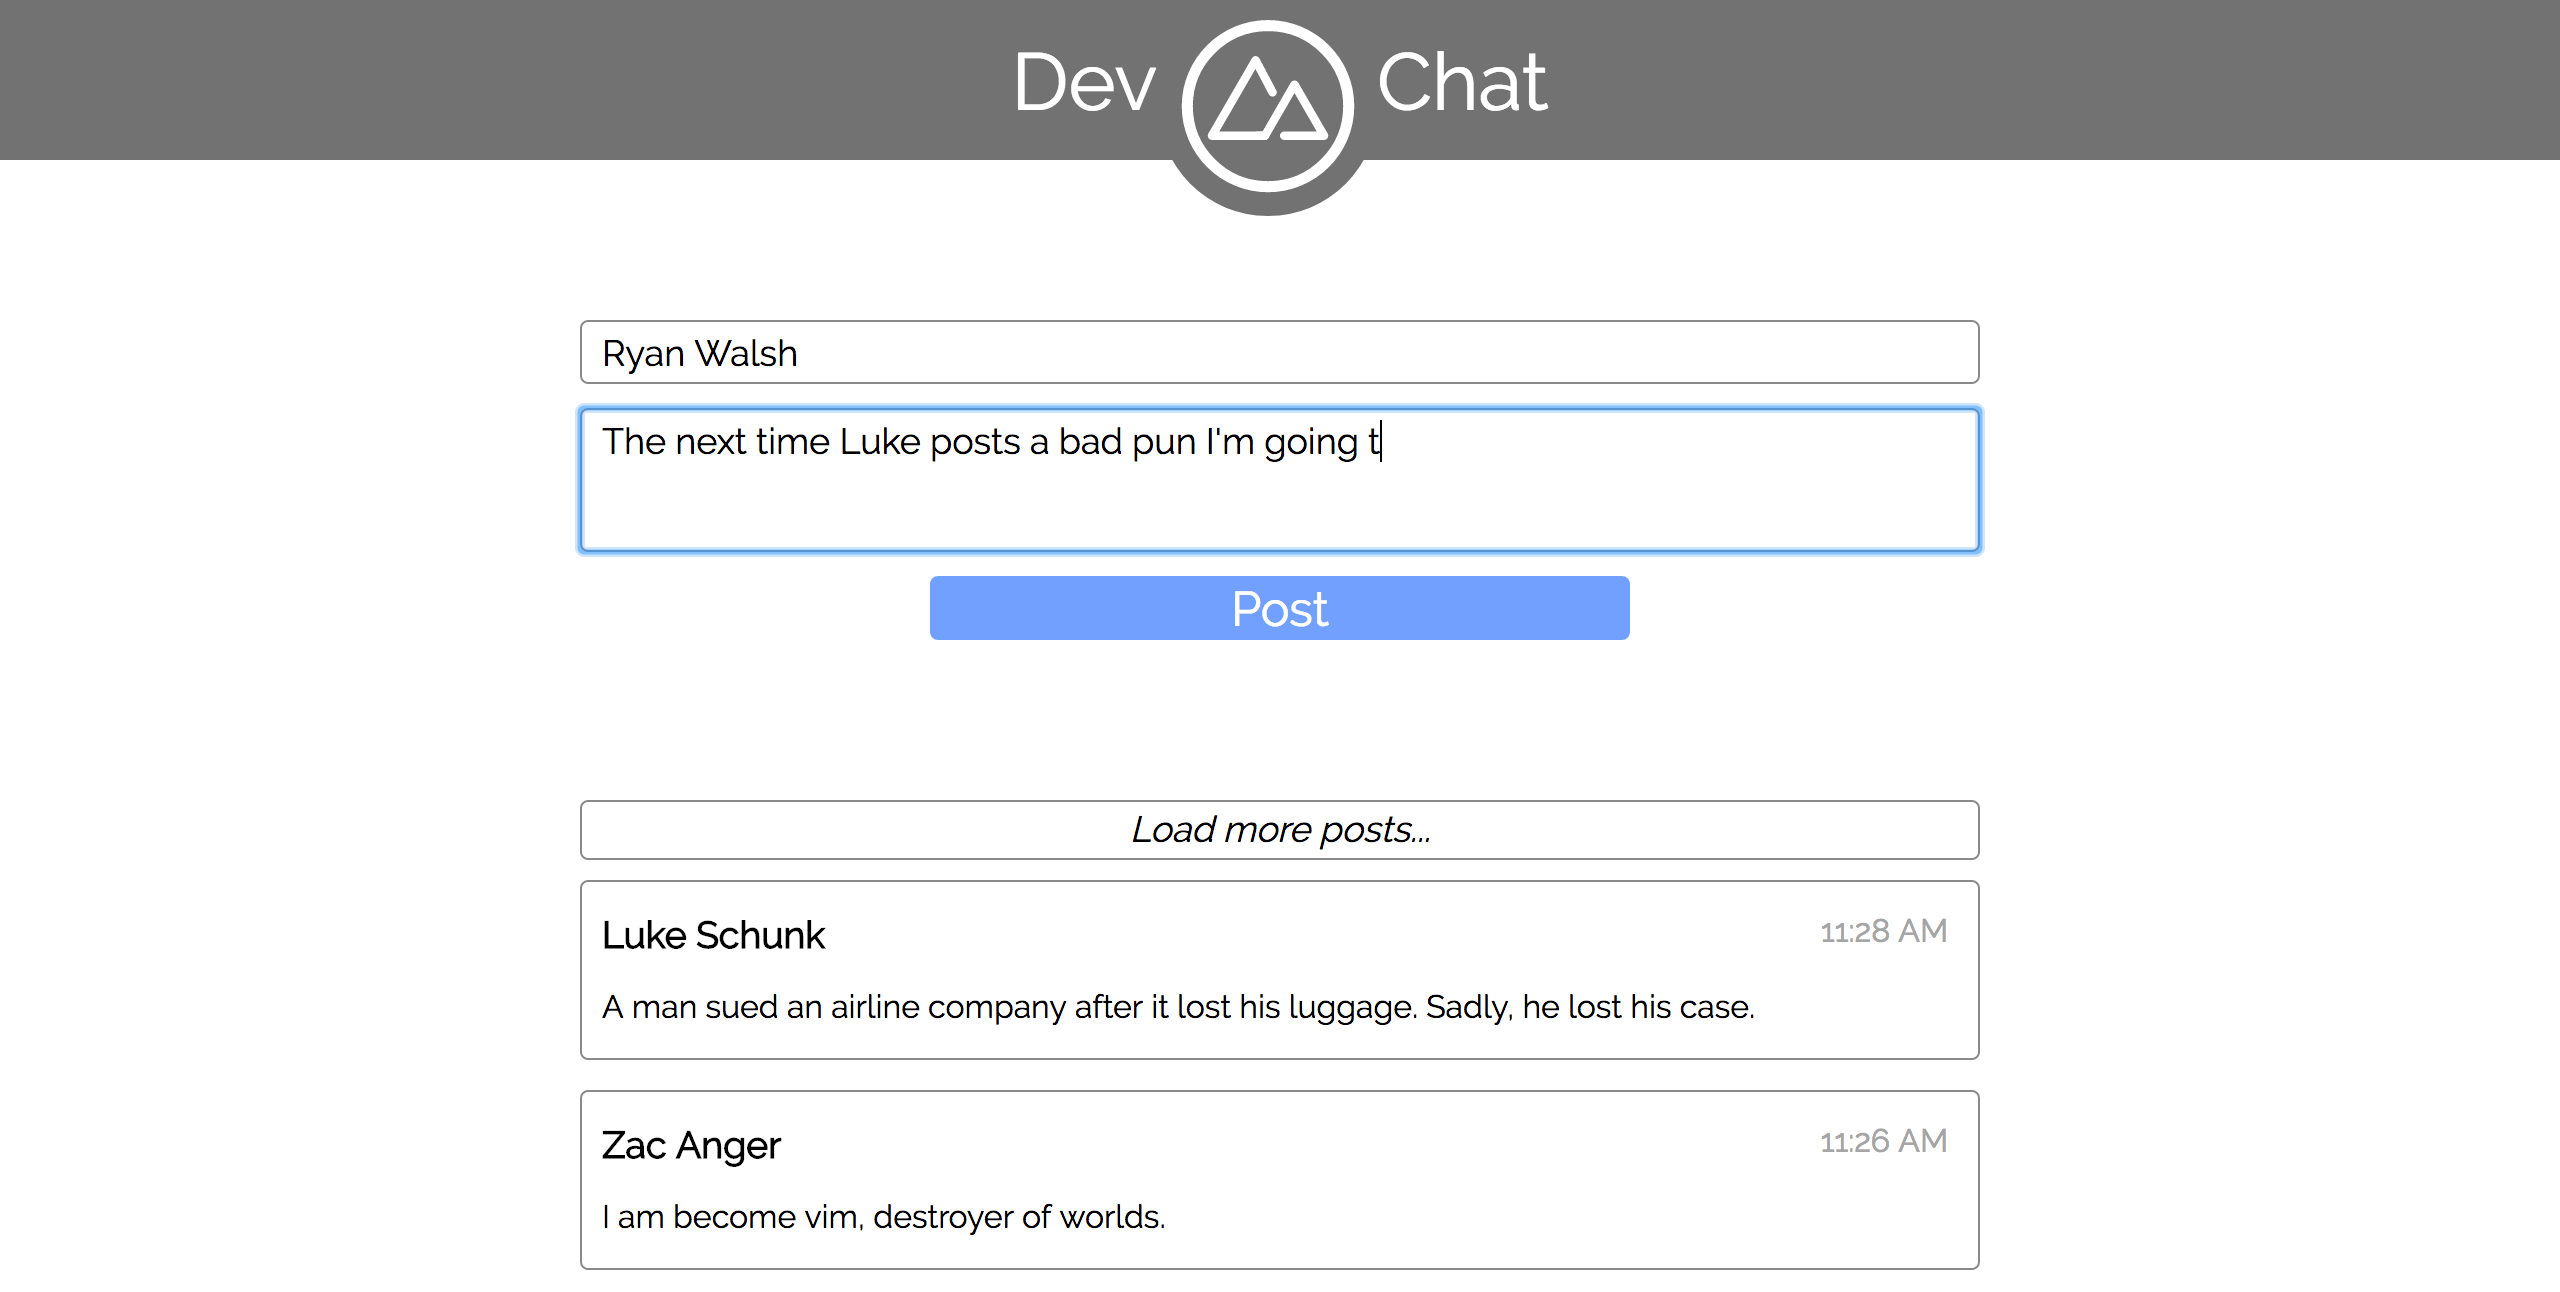
Today we'll be building a Twitter-esque chat application where you will be able to chat with other DevMountain students. This app will have real, persistent data via communication with a remote server. We'll be building the front end client using React, Redux, and Redux Promise Middleware.
Summary
In this step we'll be installing some new dependencies, creating the bones of our Redux setup, and connecting the application to Redux.
Detailed Instructions
Start out by installing the following dependencies:
reduxreact-reduxaxios- The library we'll be using to make HTTP requests for dataredux-promise-middleware- A tool that allows us to handle async actions much easier!
While those download, go ahead and open up src/ducks/post.js to set up our reducer. Create an initialState variable with one property: posts set equal to an empty array. Create and export by default a function post which takes the regular two reducer parameters: state = initialState and action. The reducer should switch over action.type, returning state as the default case.
Next up, open src/store.js and import the following:
applyMiddlewareandcreateStorefrom ReduxpromiseMiddlewarefrom Redux Promise Middlewarepostfromsrc/ducks/post.js
Now we need to create and export by default a store configured to use the Promise middleware. Invoke createStore passing in three arguments:
post- As usual we need our reducer.undefined- Here we could give Redux an initial state, but since we are handling that in our reducer we need to let Redux know that we don't have an initial state here.applyMiddleware( promiseMiddleware() )-applyMiddlewareconfigures our store to run each action through the middleware before passing it along to our reducer.
That's all it takes to configure the store to use the new middleware! Go ahead and open src/index.js and take the standard steps to connect the application to Redux. Import Provider from React Redux and store from src/store.js. Wrap the App component in Provider, passing store as a prop.
Now open up src/App.js and import connect from React Redux. Underneath the component definition replace the current default export with export default connect( state => state )( App );. You'll notice we performed our mapStateToProps function inline, instead of breaking it out. This is because our App component needs the whole of state, and it is simpler to perform a quick, inline, anonymous function. Either way works though!
That's it for this step! You should now be able to console.log this.props in the render method and see the application state.
Code Solution
src/ducks/post.js
const initialState = {
	posts: []
};

export default function post( state = initialState, action ) {
	switch ( action.type ) {
		default: return state;
	}
}
src/store.js
import { applyMiddleware, createStore } from "redux";
import promiseMiddleware from "redux-promise-middleware";

import post from "./ducks/post";

export default createStore( post, undefined, applyMiddleware( promiseMiddleware() ) );
src/index.js
import React from "react";
import ReactDOM from "react-dom";
import { Provider } from "react-redux";

import "./index.css";

import store from "./store";

import App from "./App";

ReactDOM.render(
	<Provider store={ store }>
		<App />
	</Provider>
	, document.getElementById( 'root' )
);
src/App.js
import React, { Component } from "react";
import { connect } from "react-redux";

import "./App.css";
import logo from "./assets/logo.svg";

import NewPost from "./components/NewPost/NewPost";

class App extends Component { /* App definition */ }

export default connect( state => state )( App );Summary
In this step we'll be setting up the API request to fetch posts and updating our reducer to be able to handle the asynchronous actions.
Detailed Instructions
Start out in src/ducks/post.js. We'll first create some constants to help us avoid errors from typos. At the top of the file create the following variables:
const PENDING = "_PENDING"const FULFILLED = "_FULFILLED"const REJECTED = "_REJECTED"
These are the suffixes that the promise middleware will apply to our asynchronous actions, we want to save them to variables for two reasons: ease of use, and avoiding errors!
Next, create an action type of SET_POSTS set equal to "SET_POSTS". Underneath the reducer create and export an action creator function setPosts which takes a single parameter postsPromise. This action creator should return an object that looks like this { payload: postsPromise, type: SET_POSTS }.
Now that we have an action creator ready to go, we need to update our state and reducer to be able to handle that action. Add two new properties to initialState:
loadingPosts- Set equal tofalseerrorFetchingPosts- Set equal tofalse
Lastly for this file, we need to update the reducer. Add a new case checking action.type against SET_POSTS + PENDING. In this case, return a new object that looks like this:
Object.assign( {}, state, {
	  errorFetchingPosts: false // Because we haven't yet heard back from the server, we can't have an error!
	, loadingPosts: true
} );
In the case of SET_POSTS + FULFILLED we want to return this:
Object.assign( {}, state, {
	  errorFetchingPosts: false // Fulfilled only fires on success
	, loadingPosts: false // We've finished loading now
	, posts: action.payload // Once the request returns, our middleware will place the data on action.payload for us.
} );
You may wonder why we are using Object.assign in the above, since we are completely replacing state. Good question! We're just future proofing against changes we'll need to make later.
The last case will be SET_POSTS + REJECTED and should return this:
Object.assign( {}, state, {
	  errorFetchingPosts: true // Rejected means we've had an error, we'll need to let the user know in the component.
	, loadingPosts: false
} );
That's all for this file, go ahead and open up src/services/postService.js and import the following:
axiosfrom Axiosstorefromsrc/store.jssetPostsfromsrc/ducks/post.js
Create a new variable named BASE_URL and set it equal to "practiceapi.devmountain.com/devchat-api/api/".
Next we'll need to create and export a function getPosts which takes no parameters. Inside the function create a variable postsPromise set equal to:
axios.get( BASE_URL + "posts" )
	.then( response => {
		console.log( response );
		return response.data;
	} );
Then call store.dispatch( setPosts( postsPromise ) ).
That's it for this step! Go ahead and call your service function and check out the data that is coming back.
Note: Because the server is (hopefully!) working well, it may difficult to test out what happens during pending requests or rejections. For this reason the API is designed to allow you to fake these things!
- To delay how long a request takes, add a
delayparameter to the request URL. For example:axios.get( BASE_URL + "posts?delay=2000" )would tell the server to wait 2000ms (2 seconds) before responding to the request. - To get an error, simply add an
error=truequery. For example:axios.get( BASE_URL + "posts?error=true" ). - These can be combined like so:
axios.get( BASE_URL + "posts?error=true&delay=1500" )
Code Solution
src/ducks/post.js
const PENDING = "_PENDING";
const FULFILLED = "_FULFILLED";
const REJECTED = "_REJECTED";

const SET_POSTS = "SET_POSTS";

const initialState = {
	  errorFetchingPosts: false
	, loadingPosts: false
	, posts: []
};

export default function post( state = initialState, action ) {
	switch ( action.type ) {
		case SET_POSTS + PENDING:
			return Object.assign( {}, state, {
				  errorFetchingPosts: false
				, loadingPosts: true
			} );
		case SET_POSTS + FULFILLED:
			return Object.assign( {}, state, {
				  errorFetchingPosts: false
				, loadingPosts: false
				, posts: action.payload
			} );
		case SET_POSTS + REJECTED:
			return Object.assign( {}, state, {
				  errorLoadingPosts: true
				, loadingPosts: false
			} );
		default: return state;
	}
}

export function setPosts( postsPromise ) {
	return { payload: postsPromise, type: SET_POSTS };
}
src/services/postService.js
import axios from "axios";

import store from "../store";
import { setPosts } from "../ducks/post";

const BASE_URL = "practiceapi.devmountain.com/devchat-api/api/";

export function getPosts() {
	const postsPromise = axios.get( BASE_URL + "posts" ).then( response => response.data );

	store.dispatch( setPosts( postsPromise ) );
}Summary
In this step we will be displaying posts, allowing the user to refresh the list of posts, and displaying a loading indicator while posts load.
Detailed Instructions
We'll start out in src/App.js. Import getPosts from src/services/postService.js and Post from src/components/Post/Post.js. Create a componentDidMount lifecycle method which simply invokes getPosts. Next create a variable named postElements in render by maping over this.props.posts returning the following JSX:
<Post
	author={ post.author }
	content={ post.content }
	displayTime={ post.displayTime }
	key={ post._id }
/>
Render postElements just beneath the "Load more posts..." button. There should now be a list of posts displaying, but with no data. Go ahead and update src/components/Post/Post.js to use its props to display the correct information.
Now that users can see a list of posts, let's update the application so that they can refresh the list of posts. We're already set up to handle this, so it should be as easy as changing the click handler in the "Load more posts" button to invoke getPosts.
Since we're retrieving data, we need to let the user know that this might take some time! We'll display loading information in the button element in src/App.js. Because the promise can have three statuses we'll need three different pieces of JSX, let's break this out into a new mini-render method named renderLoadButtonInternals. This function will take two parameters:
errorLoadingPosts- The boolean in application state representing whether or not an error has occured when fetching the postsloadingPosts- The boolean in application state telling us whether or not we are waiting for the posts to load.
If there was an error loading the posts, return the following JSX:
<span className="app__error-text">There was a problem loading the posts. Try again?</span>Next up we need to indicate to the user that posts are loading, we'll use an image for this. Import loading from src/assets/loading_blue.svg. Now, if the posts are loading we'll return the following loading image:
<img
	alt="loading indicator"
	className="app__loading-icon"
	src={ loading }
/>
If we don't have an error and we aren't loading we can simply return the following:
<span>Load more posts...</span>Replace the static "Load more posts..." text inside of the button with the new renderLoadButtonInterals method, passing in this.props.errorLoadingPosts and this.props.loadingPosts.
Code Solution
src/App.js
import React, { Component } from "react";
import { connect } from "react-redux";

import "./App.css";
import logo from "./assets/logo.svg";
import loading from "./assets/loading_blue.svg";

import { getPosts } from "./services/postService";

import NewPost from "./components/NewPost/NewPost";
import Post from "./components/Post/Post";

class App extends Component {
	componentDidMount() {
		getPosts();
	}

	renderLoadButtonInternals( errorLoadingPosts, loadingPosts ) {
		if ( errorLoadingPosts ) {
			return <span className="app__error-text">There was a problem loading the posts. Try again?</span>;
		}

		if ( loadingPosts ) {
			return (
				<img
					alt="loading indicator"
					className="app__loading-icon"
					src={ loading }
				/>
			);
		}

		return <span>Load more posts...</span>
	}

	render() {
		const {
			  errorLoadingPosts
			, loadingPosts
			, posts
		} = this.props;
		const postElements = posts.map( post => (
			<Post
				author={ post.author }
				content={ post.content }
				displayTime={ post.displayTime }
				key={ post._id }
			/>
		) );

		return (
			<div>
				<header className="app__top-bar">
					<div className="app__top-bar-content">
						Dev
						<div className="app__logo-wrapper">
							<img
								alt="devmountain logo"
								className="app__logo"
								src={ logo }
							/>
						</div>
						Chat
					</div>
				</header>

				<NewPost />

				<div className="app__post-wrapper">
					<button
						className="app__load-more-posts"
						onClick={ getPosts }
					>
						{ this.renderLoadButtonInternals( errorLoadingPosts, loadingPosts ) }
					</button>

					{ postElements }
				</div>
			</div>
		);
	}
}

export default connect( state => state )( App );
src/components/Post/Post.js
import React, { PropTypes } from "react";

import "./Post.css";

export default function Post( { author, content, displayTime } ) {
	return (
		<div className="post">
			<h3 className="post__name">{ author }</h3>
			<span className="post__time">{ displayTime }</span>
			<p className="post__content">{ content }</p>
		</div>
	);
};

Post.propTypes = {
	  author: PropTypes.string.isRequired
	, content: PropTypes.string.isRequired
	, displayTime: PropTypes.string.isRequired
};Summary
In this step we'll be setting up the reducer to handle the creation of posts.
Detailed Instructions
This step will take place in src/ducks/post.js. To start out, we need to update our initial state to contain information about the post creation. Add two new properties to initialState:
creatingPost- Set tofalse. This will serve the same purpose asloadingPosts, an indicator that we are waiting on the server to do things.errorCreatingPost- Set tofalse. Again, just likeerrorLoadingPoststhis will indicate if something went wrong with the request.
Next up we'll need an action type and action creator. The action type will be CREATE_POST. The action creator will be an exported function named createPost with one parameter - postPromise. This funciton should return an object with a payload of postPromise and a type of CREATE_POST.
Lastly we need to update the reducer to handle our new action, because the action is async and will be run through Redux Promise Middleware we'll need to add three new cases.
In the case of CREATE_POST + PENDING we'll want to return the following:
Object.assign( {}, state, { // Keep the rest of our state intact, just changing the relevant bits.
	  creatingPost: true // We're now in the process of waiting on the server to create the post
	, errorCreatingPost: false // All good so far!
} );
In the case of CREATE_POST + FULFILLED we'll want to return this:
Object.assign( {}, state, {
	  creatingPost: false // We've got our data back
	, errorCreatingPost: false // All good, no error
	, posts: [ action.payload, ...state.posts ] // Add the newly created post to the posts array
} );
Lastly, in the case of CREATE_POST + REJECTED we'll return this:
Object.assign( {}, state, {
	  creatingPost: false // We tried and failed :(
	, errorCreatingPost: true
} );
That's it! Our reducer is ready to handle user creation of posts.
Code Solution
// src/ducks/post.js
const PENDING = "_PENDING";
const FULFILLED = "_FULFILLED";
const REJECTED = "_REJECTED";

const CREATE_POST = "CREATE_POST";
const SET_POSTS = "SET_POSTS";

const initialState = {
	  creatingPost: false
	, errorCreatingPost: false
	, errorFetchingPosts: false
	, loadingPosts: false
	, posts: []
};

export default function post( state = initialState, action ) {
	switch ( action.type ) {
		case CREATE_POST + PENDING:
			return Object.assign( {}, state, {
				  creatingPost: true
				, errorCreatingPost: false
			} );
		case CREATE_POST + FULFILLED:
			return Object.assign( {}, state, {
				  creatingPost: false
				, errorCreatingPost: false
				, posts: [ action.payload, ...state.posts ]
			} );
		case CREATE_POST + REJECTED:
			return Object.assign( {}, state, {
				  creatingPost: false
				, errorCreatingPost: true
			} );
		case SET_POSTS + PENDING:
			return Object.assign( {}, state, {
				  errorFetchingPosts: false
				, loadingPosts: true
			} );
		case SET_POSTS + FULFILLED:
			return Object.assign( {}, state, {
				  errorFetchingPosts: false
				, loadingPosts: false
				, posts: action.payload
			} );
		case SET_POSTS + REJECTED:
			return Object.assign( {}, state, {
				  errorLoadingPosts: true
				, loadingPosts: false
			} );
		default: return state;
	}
}

export function createPost( postPromise ) {
	return { payload: postPromise, type: CREATE_POST };
}

export function setPosts( postsPromise ) {
	return { payload: postsPromise, type: SET_POSTS };
}Summary
In this step we'll be connecting our recently updated reducer to the view, allowing users to create new posts and receive loading information as the API processes the post.
Detailed Instructions
We'll start this step in src/services/postService.js, where we'll be setting up the logic for making a POST request. Start by importing the action creator createPost from src/ducks/post.js. Next, create and export a new function named createNewPost with two parameters: author and content. In createNewPost create a new variable named postPromise and set it equal to the following:
axios.post( "http://localhost:8080/api/posts", { author, content } )
	.then( ( response ) =>{
		// The request will only return the new post
		// We'll take this opportunity to also refresh the posts
		getPosts();

		return response.data;
} );
Lastly for this function, dispatch your action creator, passing in postPromise.
Now that we're ready to make the request, let's implement it in the component. Open up src/Components/NewPost/NewPost.js and import createNewPost from src/services/postService.js. In the handleSubmit method's if statement, invoke createNewPost passing in name and newPost.
A user should now be able to make new posts and see the list update, but not any loading information. Let's fix that! We could connect NewPost to Redux directly to get the info we need, but since the parent component App is already connected it will be easier to just use props.
Open up src/App.js and pass props.creatingPost as a prop to NewPost. Back in src/components/NewPost/NewPost.js let's make use of this prop. Import loading from src/assets/loading_white.svg. Inside of the "Post" button we'll replace the static text with a ternary. When props.creatingPost is truthy display the following JSX:
<img
	alt="loading indicator"
	src={ loading }
	className="app__loading-icon"
/>
Otherwise, just display "Post".
That's it! You should now be able to create posts, load posts, and see loading indicators for either. Chat away!
Code Solution
src/services/postService.js
import axios from "axios";

import store from "../store";
import { createPost, setPosts } from "../ducks/post";

const BASE_URL = "http://localhost:8080/api/";

export function getPosts() {
	const postsPromise = axios.get( BASE_URL + "posts" ).then( response => response.data );

	store.dispatch( setPosts( postsPromise ) );
}

export function createNewPost( author, content ) {
	const postPromise = axios.post( "http://localhost:8080/api/posts", { author, content } )
		.then( ( response ) =>{
			getPosts();

			return response.data;
		} );
	store.dispatch( createPost( postPromise ) );
}
src/components/NewPost/NewPost.js
import React, { Component, PropTypes } from "react";

import "./NewPost.css";
import loading from "../../assets/loading_white.svg";

import { createNewPost } from "../../services/postService";

export class NewPost extends Component {
	static propTypes = {
		creatingPost: PropTypes.bool.isRequired
	};

	constructor( props ) {
		super( props );

		this.state = {
			  name: ""
			, newPost: ""
		};

		this.handleNameChange = this.handleChange.bind( this, "name" );
		this.handlePostChange = this.handleChange.bind( this, "newPost" );
		this.submitOnEnter = this.submitOnEnter.bind( this );
		this.handleSubmit = this.handleSubmit.bind( this );
	}

	handleChange( field, event ) {
		this.setState( { [ field ] : event.target.value } );
	}

	submitOnEnter( event ) {
		// The default behavior of a textarea is to line break when someone presses the enter key
		// This function changes that so the message is submitted instead
		if ( event.keyCode === 13 ) {
			event.stopPropagation();
			this.handleSubmit( event );
		}
	}

	handleSubmit( event ) {
		event.preventDefault();
		const { name, newPost } = this.state;

		if ( name && newPost ) {
			createNewPost( name, newPost );
			this.setState( { newPost: "" } );
		}
	}

	render() {
		const {
			  name
			, newPost
		} = this.state;
		const { creatingPost } = this.props;

		return (
			<form
				className="new-post"
				onSubmit={ this.handleSubmit }
			>
				<input
					className="new-post__name"
					onChange={ this.handleNameChange }
					placeholder="My name is..."
					required
					type="text"
					value={ name }
				/>
				<textarea
					className="new-post__post"
					cols="30"
					onChange={ this.handlePostChange }
					onKeyDown={ this.submitOnEnter }
					required
					placeholder="Let's talk about dev stuff"
					rows="3"
					value={ newPost }
				/>
				<button className="new-post__submit">
					{ creatingPost
						? ( <img
							alt="loading indicator"
							src={ loading }
							className="app__loading-icon"
						/> )
						: "Post"

					}
				</button>
			</form>
		);
	}
}

export default NewPost;
src/App.js
import React, { Component } from "react";
import { connect } from "react-redux";

import "./App.css";
import logo from "./assets/logo.svg";
import loading from "./assets/loading_blue.svg";

import { getPosts } from "./services/postService";

import NewPost from "./components/NewPost/NewPost";
import Post from "./components/Post/Post";

class App extends Component {
	componentDidMount() {
		getPosts();
	}

	renderLoadButtonInternals( errorLoadingPosts, loadingPosts ) {
		if ( errorLoadingPosts ) {
			return <span className="app__error-text">There was a problem loading the posts. Try again?</span>;
		}

		if ( loadingPosts ) {
			return (
				<img
					alt="loading indicator"
					className="app__loading-icon"
					src={ loading }
				/>
			);
		}

		return <span>Load more posts...</span>
	}

	render() {
		const {
			  creatingPost
			, errorLoadingPosts
			, loadingPosts
			, posts
		} = this.props;

		const postElements = posts.map( post => (
			<Post
				author={ post.author }
				content={ post.content }
				displayTime={ post.displayTime }
				key={ post._id }
			/>
		) );

		return (
			<div>
				<header className="app__top-bar">
					<div className="app__top-bar-content">
						Dev
						<div className="app__logo-wrapper">
							<img
								alt="devmountain logo"
								className="app__logo"
								src={ logo }
							/>
						</div>
						Chat
					</div>
				</header>

				<NewPost creatingPost={ creatingPost } />

				<div className="app__post-wrapper">
					<button
						className="app__load-more-posts"
						onClick={ getPosts }
					>
						{ this.renderLoadButtonInternals( errorLoadingPosts, loadingPosts ) }
					</button>

					{ postElements }
				</div>
			</div>
		);
	}
}

export default connect( state => state )( App );If you see a problem or a typo, please fork, make the necessary changes, and create a pull request so we can review your changes and merge them into the master repo and branch.
© DevMountain LLC, 2017. Unauthorized use and/or duplication of this material without express and written permission from DevMountain, LLC is strictly prohibited. Excerpts and links may be used, provided that full and clear credit is given to DevMountain with appropriate and specific direction to the original content.


