
We detect people using OpenCV's Deep Neural Network module (dnn), utilizing the pre-trained YOLOv3 model trained on the COCO (Common Objects in Context) dataset which is capable of detecting objects of 80 classes.
Using object detection, input a video and output a video with bounding boxes of people walking. If the distance between the pair is too close, the color of the bounding box will turn red, and increment the violations counter.
Credit:
python app.py --input "input.avi" --output "output.avi" --display 0├── app.py
├── lib
│ ├── __pycache__
│ │ └── utils.cpython-38.pyc
│ └── utils.py
├── output.avi
├── README.md
├── video_files
│ └── walking.mp4
└── yolo-coco
├── yolov3.cfg
└── yolov3.weights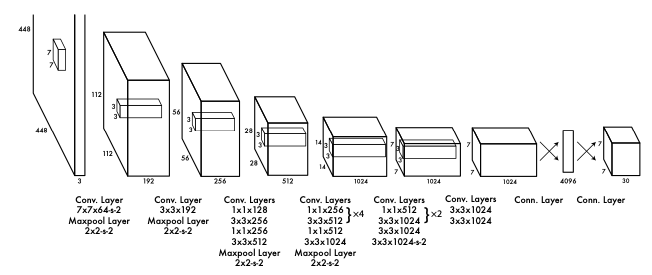
Download the pre-trained YOLO weight file (237 MB): Weights File
Download the YOLO configuration file: Config File
The input to the network is a blob object or a binary large object. The function transforms the input image into a blob:
cv2.dnn.blobFromImage(img, scale, size, mean)For example, a sample input could be:
blob = cv.dnn.blobFromImage(img, 1/255.0, (416, 416), swapRB=True, crop=False)It has the following params:
- the image to transform
- the scale factor (1/255 to scale the pixel values to [0..1])
- the size, here a 416x416 square image
- the mean value (default=0)
- the option swapBR=True (since OpenCV uses BGR)
net.setInput(blob)
outputs = net.forward(ln)
Our outputs object will be a vector of length 85:
- 4x the bounding box (centerx, centery, width, height)
- 1x box confidence
- 80x class confidence
Using cv2, a video capture object is opened and will read each frame of the video. Using the useful imutils package, we resize the frame, maintaining aspect ratio to a width of 800 pixels.
Each frame is then forward propagated throught the neural network YOLO. If any of the output classes are classified as person with a high degree of confidence, we store the bounding box coordinates.
Lastly, we also apply non-maxima suppression for more robust results.
With the bounding box coordinates, we calculate using the spatial distance package from scipy.spatial the distance between centroids. We look at each pair, and for each pair, if the distance between them is less than some pre-defined threshold, we append that pair to a unique set of violations.
We then change the color accordingly of whether a particular index is a member of the set of violations.
The majority of the utility functions are stored in lib/utils.py, leaving app.py to be quite clean. We observe the main function of this application:
while cap.isOpened():
    ret, frame = cap.read()

    if not ret: break
    frame = imutils.resize(frame, width = 800)

    results = detect(frame, network = net, layer_names = layer_names)
    violations = detect_violations(results)

    for index, (prob, bounding_box, centroid) in enumerate(results):
        start_x, start_y, end_x, end_y = bounding_box

        color = (0, 0, 255)  if index in violations else (0, 255, 0)
        cv2.rectangle(frame, (start_x, start_y), (end_x, end_y), color, 2)

    cv2.putText(frame, f'Num Violations: {len(violations)}', (10, frame.shape[0] - 25),
		fontFace=cv2.FONT_HERSHEY_PLAIN, fontScale=1.0, color=(0, 0, 255), thickness=1)

    if SHOW_VIDEO:
        cv2.imshow('frame',frame)

        if cv2.waitKey(1) & 0xFF == ord('q'):
            break

    if writer is None:
        writer = video_writer(OUTPUT_PATH, frame)

    if writer: writer.write(frame)


