| page_type | languages | products | description | urlFragment | |||
|---|---|---|---|---|---|---|---|
sample |
|
|
A sample to demonstrate how to use a CAPTCHA servicein Azure AD B2C sign-up user flows. |
active-directory-node-b2c-sign-up-user-flow-captcha |
| File/folder | Description |
|---|---|
| Assets/selfAsserted.html | Sample custom HTML and JS script file for user flow. |
| Assets | Contains UI/UX assets used by the user flows. |
| CaptchaAzureFunction(AzureFunction.cs) | Sample source code for Node.js HTTP trigger. |
README.md |
This README file. |
.gitignore |
Define what to ignore at commit time. |
CONTRIBUTING.md |
Guidance on how to contribute to this repository. |
LICENSE.md |
The license for the sample. |
SECURITY.md |
The security notice for the sample. |
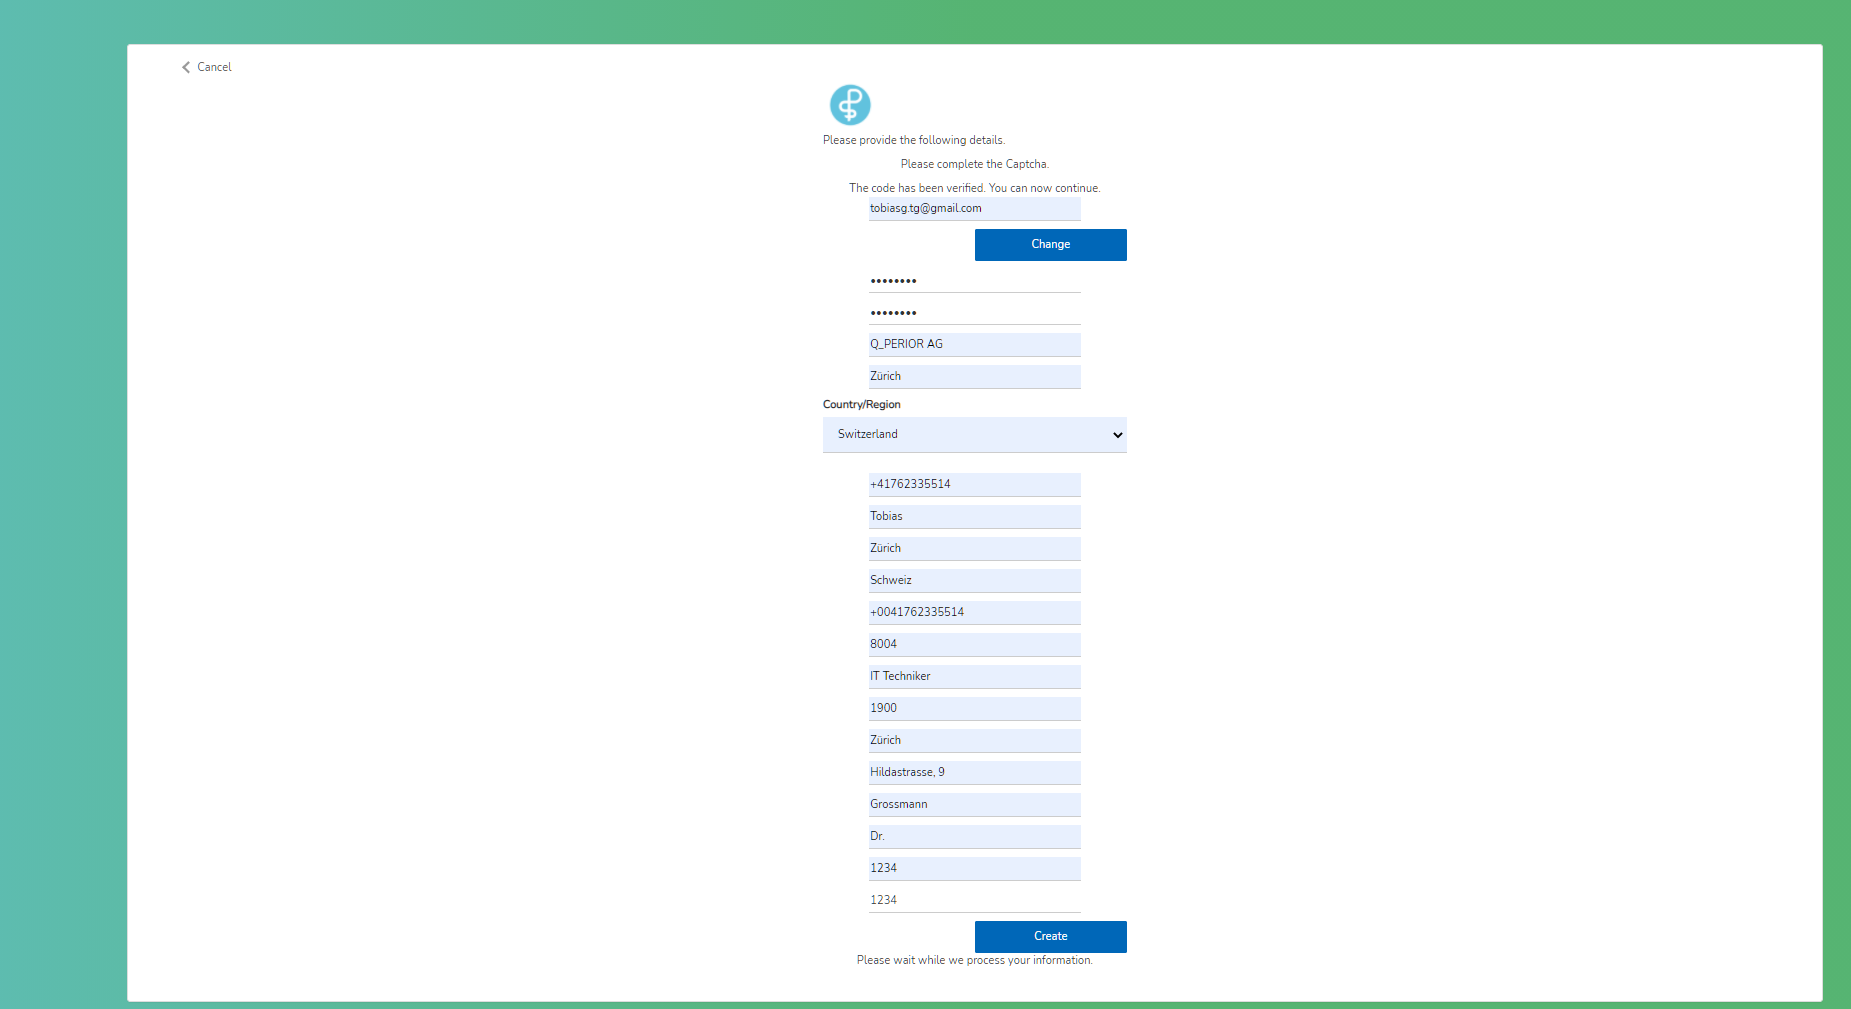
CAPTCHA services are often used in authentication scenarios to protect against bots or other automated abuse. This sample demonstrates how to integrate an Azure AD B2C sign-up user flow with a CAPTCHA service.
Key components:
- reCAPTCHA - a CAPTCHA service for protecting against bots and other automated abuse.
- Azure AD B2C sign-up user flow - The sign-up experience that will be using the CAPTCHA service. Will utilize the custom HTML & JavaScript and API connectors to integrate with the CAPTCHA service.
- Azure Functions - API endpoint hosted by you that works in conjunction with the API connectors feature. This API is responsible for doing the server-side validation of the CAPTCHA challenge.
This same pattern can be used for other CAPTCHA services and with other API hosting services.
- Follow the reCAPTCHA documentation to create an API key pair for your scenario.
- Use your Azure AD B2C tenant as the domain:
<tenantname>.b2clogin.com - You will receive a site_key and secret_key. The values of these are referred to as
CAPTCHA_SITE_KEYandCAPTCHA_SECRET_KEYin the sample code and correspond to keys used in client-side and server-side CAPTCHA API calls.
- From the Azure Portal, go to Azure AD B2C
- Select User Attributes
- Select Add
- Enter
CaptchaUserResponseTokenas the attribute Name - Create

Learn more about custom attributes.
This can be either be a sign up and sign in or a just sign up or user flow. Either way, the CAPTCHA will only be shown during sign up.
- Follow these instructions. If using an existing user flow, note that user flows must be of the "Recommended (next-generation preview)" version type.
- In the user flow settings, navigate to User attributes and select the CaptchaUserResponseToken claim.

The Assets > selfAsserted.html file contains an HTML template with JavaScript (<script> tags) that will do three things:
- Load the reCAPTCHA script (
https://www.google.com/recaptcha/api.js), which renders the reCAPTCHA widget and performs client-side CAPTCHA validation. - Hide the
extension_CaptchaUserResponseTokeninput element and label, corresponding to the CaptchaUserResponseToken custom attribute, from the UI shown to the user. - When a user completes the CAPTCHA challenge, reCAPTCHA verifies the user's response and generates a token. When this happens, the callback
captchaCallbackin the custom JavaScript sets the value of extension_CaptchaUserResponseToken to the generated token value. This value will be submitted to the API endpoint as described in the "Create and deploy your API" section.
Read more about reCAPTCHA V2 checkbox client-side validation here.
Follow the instructions below to use this custom HTML and JS for your user flow.
Modify the Assets > selfAsserted.html file so that <CAPTCHA_SITE_KEY> matches the value you generated in the first step, which is used by the reCAPTCHA script.
Host the html page on a CORS enabled web endpoint. For example, follow steps 2 and 3 of these instructions ("Create an Azure Blob storage account" and "Configure CORS").
If you have your own custom HTML, just copy and paste the <script> elements onto your HTML page.
- From the Azure Portal, go to Azure AD B2C
- Navigate to User flows and select your user flow
- Select Page layouts
- Select Local account sign up page layout
- Toggle Use custom page content to "YES"
- Paste the URI where your custom HTML lives in Use custom page content
- Do the previous two steps for Social account sign up page layout if using social identity providers.

- From your user flow, go to Properties and select Enable JavaScript enforcing page layout (preview)
Learn more here.
These steps assume you use Visual Studio Code, but deploying the Azure Function via the Azure Portal, terminal or command prompt, or any other code editor will also work.
Prerequisite: Install the Azure Functions extension for Visual Studio Code.
- Navigate to the Azure extension in Visual Studio code on the left navigation bar. You should see a 'Local Project' folder representing your local Azure Function.
- Press F5 (or use the Debug > Start Debugging menu command) to launch the debugger and attach to the Azure Functions host. (This command automatically uses the single debug configuration that Azure Functions created.)
- The Azure Function extension will automatically generate a few files for local development, install dependencies, and install the Function Core tools if not already present. These tools help with the debugging experience.
- Output from the Functions Core tools appears in the VS Code Terminal panel. Once the host has started, Alt+click the local URL shown in the output to open the browser and run the function. You can also see the url of the locally-hosted function by right clicking on the function on the Azure Functions explorer.
- To redeploy the local instance during testing, just repeat these steps.
This sample protects the web API endpoint using HTTP Basic authentication.
Here, username and password are stored as environment variables so they're not stored as part of the repository. Read more about the local.settings.json file.
- Create a local.settings.json file in your root folder
- Copy and paste the below code onto the file:
{
  "IsEncrypted": false,
  "Values": {
    "AzureWebJobsStorage": "",
    "FUNCTIONS_WORKER_RUNTIME": "node",
    "BASIC_AUTH_USERNAME": "<USERNAME>",
    "BASIC_AUTH_PASSWORD": "<PASSWORD>",
    "CAPTCHA_SECRET_KEY": "<CAPTCHA_SECRET_KEY>",
    "B2C_EXTENSIONS_APP_ID": "<B2C_EXTENSIONS_APP_ID>"
  }
}
The BASIC_AUTH_USERNAME and BASIC_AUTH_PASSWORD are going to be the credentials used to authenticate the API call to your Azure Function. Choose your desired values.
The <CAPTCHA_SECRET_KEY> is the server-side secret you generated in the reCAPTCHA service. It's used to call the reCAPTCHA server-side validation API to validate the value of the CaptchaUserResponseToken generated by the front-end.
THE <B2C_EXTENSIONS_APP_ID> is the application ID of the app used by Azure AD B2C to store custom attributes in the directory. You can find this application ID by navigating to App registrations, searching for b2c-extensions-app and copying the Application (client) ID from the Overview pane. Remove the - characters.

- Follow steps of this guide #1-7 to deploy your Azure Function to the cloud. Copy the endpoint web URL of your Azure Function.
- Once deployed, you'll see an 'Upload settings' option. Select this. It will upload your environment variables onto the Application settings of the App service. These application settings can also be configured or managed via the Azure portal.
To learn more about Visual Studio Code development for Azure Functions, see this.
Follow the steps outlined in "Add an API connector" to create an API connector and enable it your user flow. The configuration should look like the below.
Your API connector configuration should look like the following:

- Endpoint URL is the Function URL you copied earlier if the deployed Azure Function.
- Username and Password are the Username and Passwords you defined as environment variables earlier.
In the API connector settings for your user flow, select the API connector to be invoked at the Before creating the user step. This will invoke the API when a user hits 'Create' in the sign-up flow. The API will do a server-side validation of the CaptchaUserResponseToken value, which was is set when a user completed the captcha challenge during sign-up.

This project welcomes contributions and suggestions. Most contributions require you to agree to a Contributor License Agreement (CLA) declaring that you have the right to, and actually do, grant us the rights to use your contribution. For details, visit https://cla.opensource.microsoft.com.
When you submit a pull request, a CLA bot will automatically determine whether you need to provide a CLA and decorate the PR appropriately (e.g., status check, comment). Simply follow the instructions provided by the bot. You will only need to do this once across all repos using our CLA.
This project has adopted the Microsoft Open Source Code of Conduct. For more information see the Code of Conduct FAQ or contact [email protected] with any additional questions or comments.
![microsoft-github-operations[bot] avatar](https://avatars.githubusercontent.com/in/41902?v=4 "microsoft-github-operations[bot]")