
Always use technology to improve the world, if you are a black hat or gray hat hacker please abstain at this point ......... or at least leave your star to make me feel less guilty XP.
- Introduction
- Materials
- Connection Diagram
- Brainium Setup
- CloudMQTT Setup
- Laptop Setup
- Arm Setup
- The Final Product
- Future Rollout
- References
Rehabilitation system based on SmartEdge Agile
There are people in the world that suffer serious impediments in their arms. These are from several illnesses such as stroke, Guillain-Barré syndrome, paralysis from birth, cerebral palsy, spina bifida, spinal muscular atrophy and several others. These patients have to continuously take rehabilitation therapies, which are expensive:
The prices of these sessions cost from $ 650 to $ 1300 dollars and sometimes are not insurable: https://www.healthline.com/health/cool-sculpting-cost
They take a lot of time and it is also necessary to go to specific clinics to receive them, which increases the pain and discomfort of the patient due to the physical effort.
The clinical devices that perform the rehabilitation are enormous and can not be transported or mobilized easily: https://www.hocoma.com/solutions/armeo-power/ https://www.researchgate.net/figure/Examples-of-robotic-devices-for-motor-training-A-End-effector-type-InMotion-20_fig1_259609214
Therefore we must create a device capable of helping the patient in his rehabilitation, give him continuous feedback of his therapy and it has to be economical (to a certain degree and in comparison to the other choices).
Hardware:
- SmartEdge Agile x1. https://www.avnet.com/wps/portal/us/solutions/iot/building-blocks/smartedge-agile/
- Robotic Arm x1. https://www.amazon.com/OWI-Robotic-Soldering-Required-Extensive/dp/B0017OFRCY
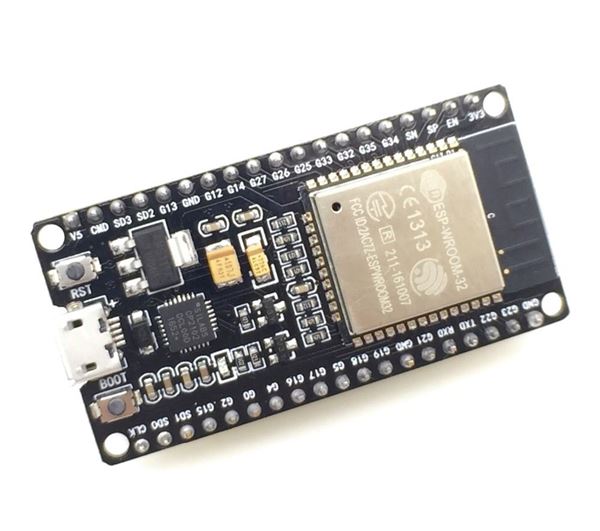
- ESP32 x2. https://www.adafruit.com/product/3405
- Standed-Core Wire x1. https://www.adafruit.com/product/2987
- 8 Channel DC 5V Relay Module with Optocoupler x1. https://www.amazon.com/Elegoo-Module-Optocoupler-Arduino-Raspberry/dp/B07F623PHG
Software:
- Anrduino IDE.
- Python Anaconda.
- Cloud MQTT.
This is the connection diagram of the system:

Arm Connection Diagram:

Before performing any other task, it was vital to be able to generate a model for elbow rehabilitation, the system can be extended to any rehabilitation but we chose elbow as the first sample.
4 basic movements were programmed for the rehabilitation of the elbow, of which 3 of them will be used in the final rehabilitation.
Elbow flexoextension:


Arm Lift:


Elbow Flexion:


This is the model that was developed and the number of repetitions for each movement:

Model motion confusion matrix:

Press the button to create the widget.

We assign the model to the device.

We create a widget as shown in the image.

We finish the widget.

We will get a result like the following.

Save External access token and User ID.

Create an account in Cloud MQTT.
Copy the credentials of "Server", "User", "Password" and "Port".

Install Python Anaconda so that you can easily manipulate the MQTT broker, this had to be done because the Arduino library ESP32 for MQTT does not accept connectivity such as Websocket.
https://www.anaconda.com/distribution/
Then install this library:
pip install paho-mqtt
Download the file Python Files, open "MQTTRehab.py" and put your credentials.
Follow this diagram without making a mistake, IF YOU DON'T CONNECT IT WELL YOU CAN DO A SHORT CIRCUIT:
After connecting all program the ESP32 with the code in the "Arduino Files" folder.
Open the "ESP32ARMRehab.ino" file and enter the CloudMQTT credentials.
const char* ssid = "YOURSSID";
const char* password =  "YOURPASS";
const char* mqttServer = "m12.cloudmqtt.com";
const int mqttPort = 12345;
const char* mqttUser = "YOURCLOUDMQTTUSER";
const char* mqttPassword = "YOURCLOUDMQTTPASS";
Robotic Arm:


ESP32 Arm Driver:

Brainium Module:


Complete system:

Video: Click on the image
Sorry github does not allow embed videos.
Links