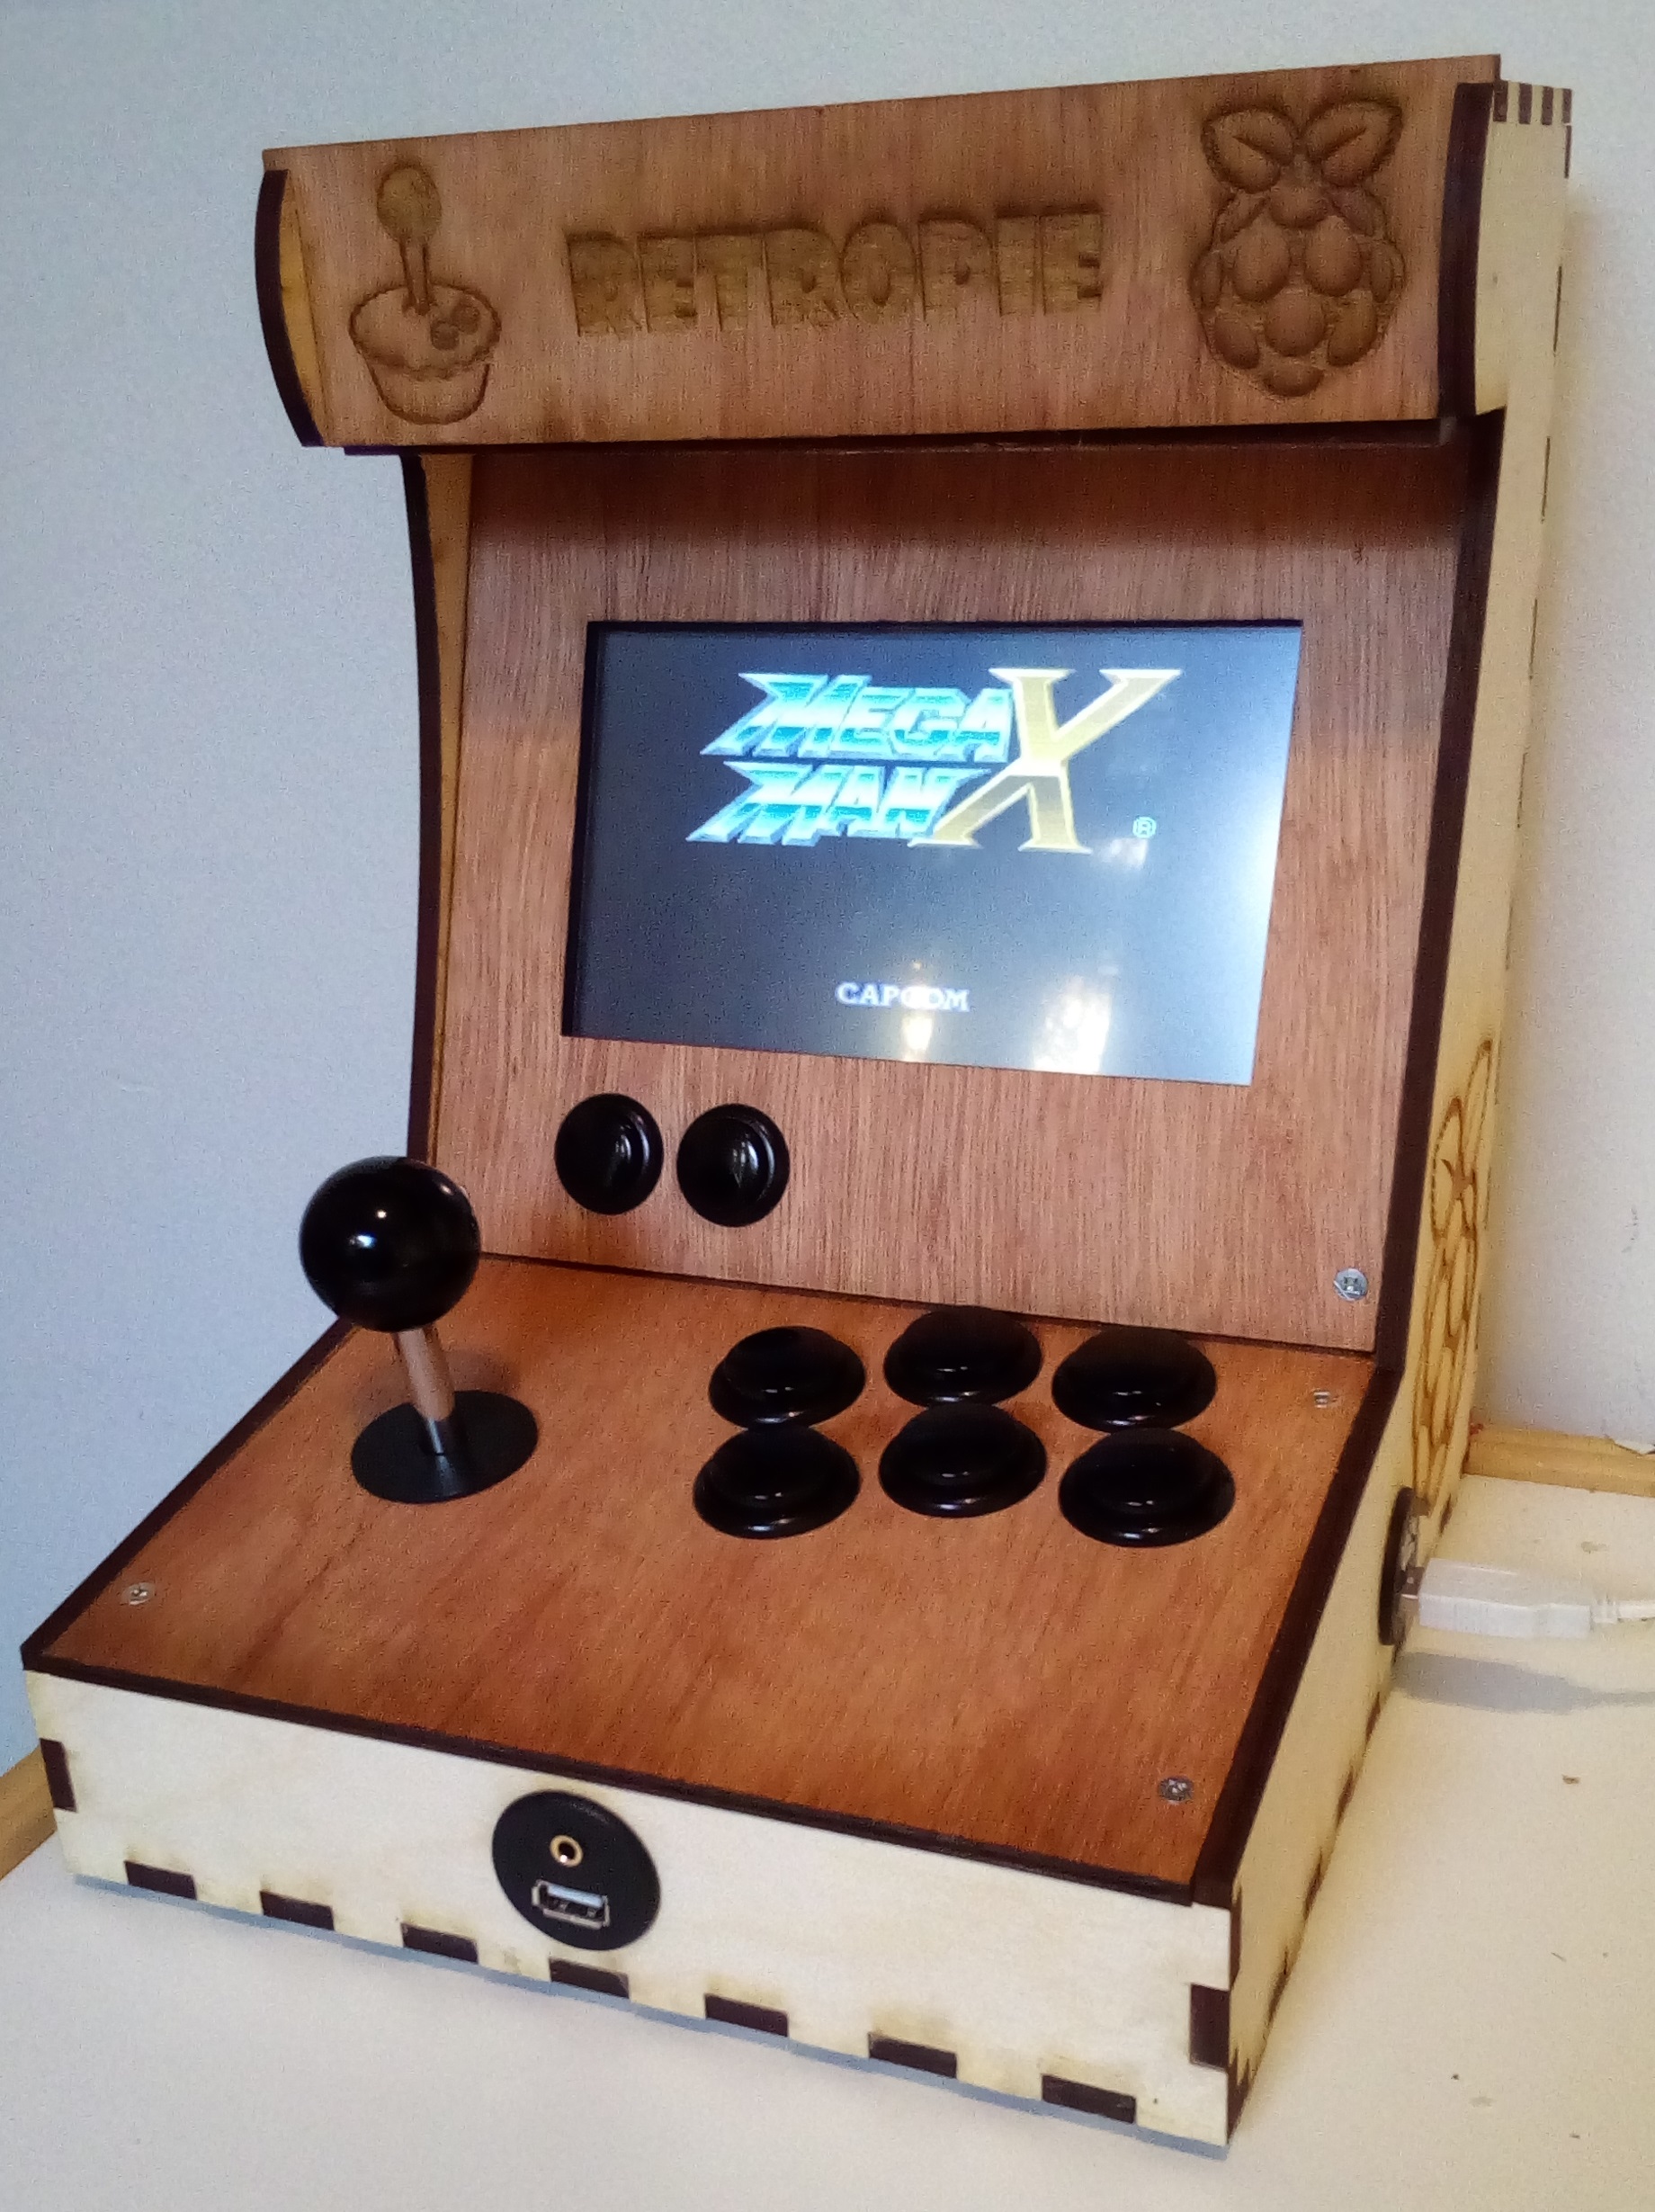
This guide goes through creating a miniature arcade machine using plug-and-play parts; no soldering was necessary, and only the most basic wood-working is needed. You need access to a 3D printer and laser cutter to make parts for the cabinet. If you only want help setting up RetroPie emulation on a Raspberry Pi just go through step 1 in the Build Steps. Legal: You should only download and play ROMs of games that you own (i.e. have bought the physical cartridge or disks for).
- Pi 2 or 3 - $40 - https://www.adafruit.com/products/3055
- SD card (4GB or bigger, class 10 for best performance)
- 7” screen - $37.50 - https://www.adafruit.com/products/2353
- Screen hat - $14 - https://www.adafruit.com/products/2454
- Arcade controls - $35 - https://www.amazon.ca/XCSOURCE-Encoder-Joystick-Fighting-AC426/dp/B01IQTN328/ref=sr_1_4?ie=UTF8&qid=1490645423&sr=8-4&keywords=arcade+buttons
- Cables (optional) - $15 + $15 + $7
- 6mm birch plywood
- 12" 1/2" square wooden rod
- Short wood screws
- PCB spacers
- HDMI TV or monitor (for set up)
- USB keyboard (for set up)
- Network cable (for set up)
- USB flash drive (for transferring ROMs to the Pi)
- USB game controller (for set up – not essential but useful - I used an Xbox One controller)
I basically followed the steps listed here: https://retropie.org.uk/docs/First-Installation/
It boils down to:
-
Put Rasbian image on SD card
- Download the image from here: https://github.com/RetroPie/RetroPie-Setup/releases/download/4.2/retropie-4.2-rpi2_rpi3.img.gz
- Unzip the download (I used 7zip on Windows): http://www.7-zip.org/download.html
- Download, install and run Win32DiskImager, use this to put the image onto an SD card: https://sourceforge.net/projects/win32diskimager/
-
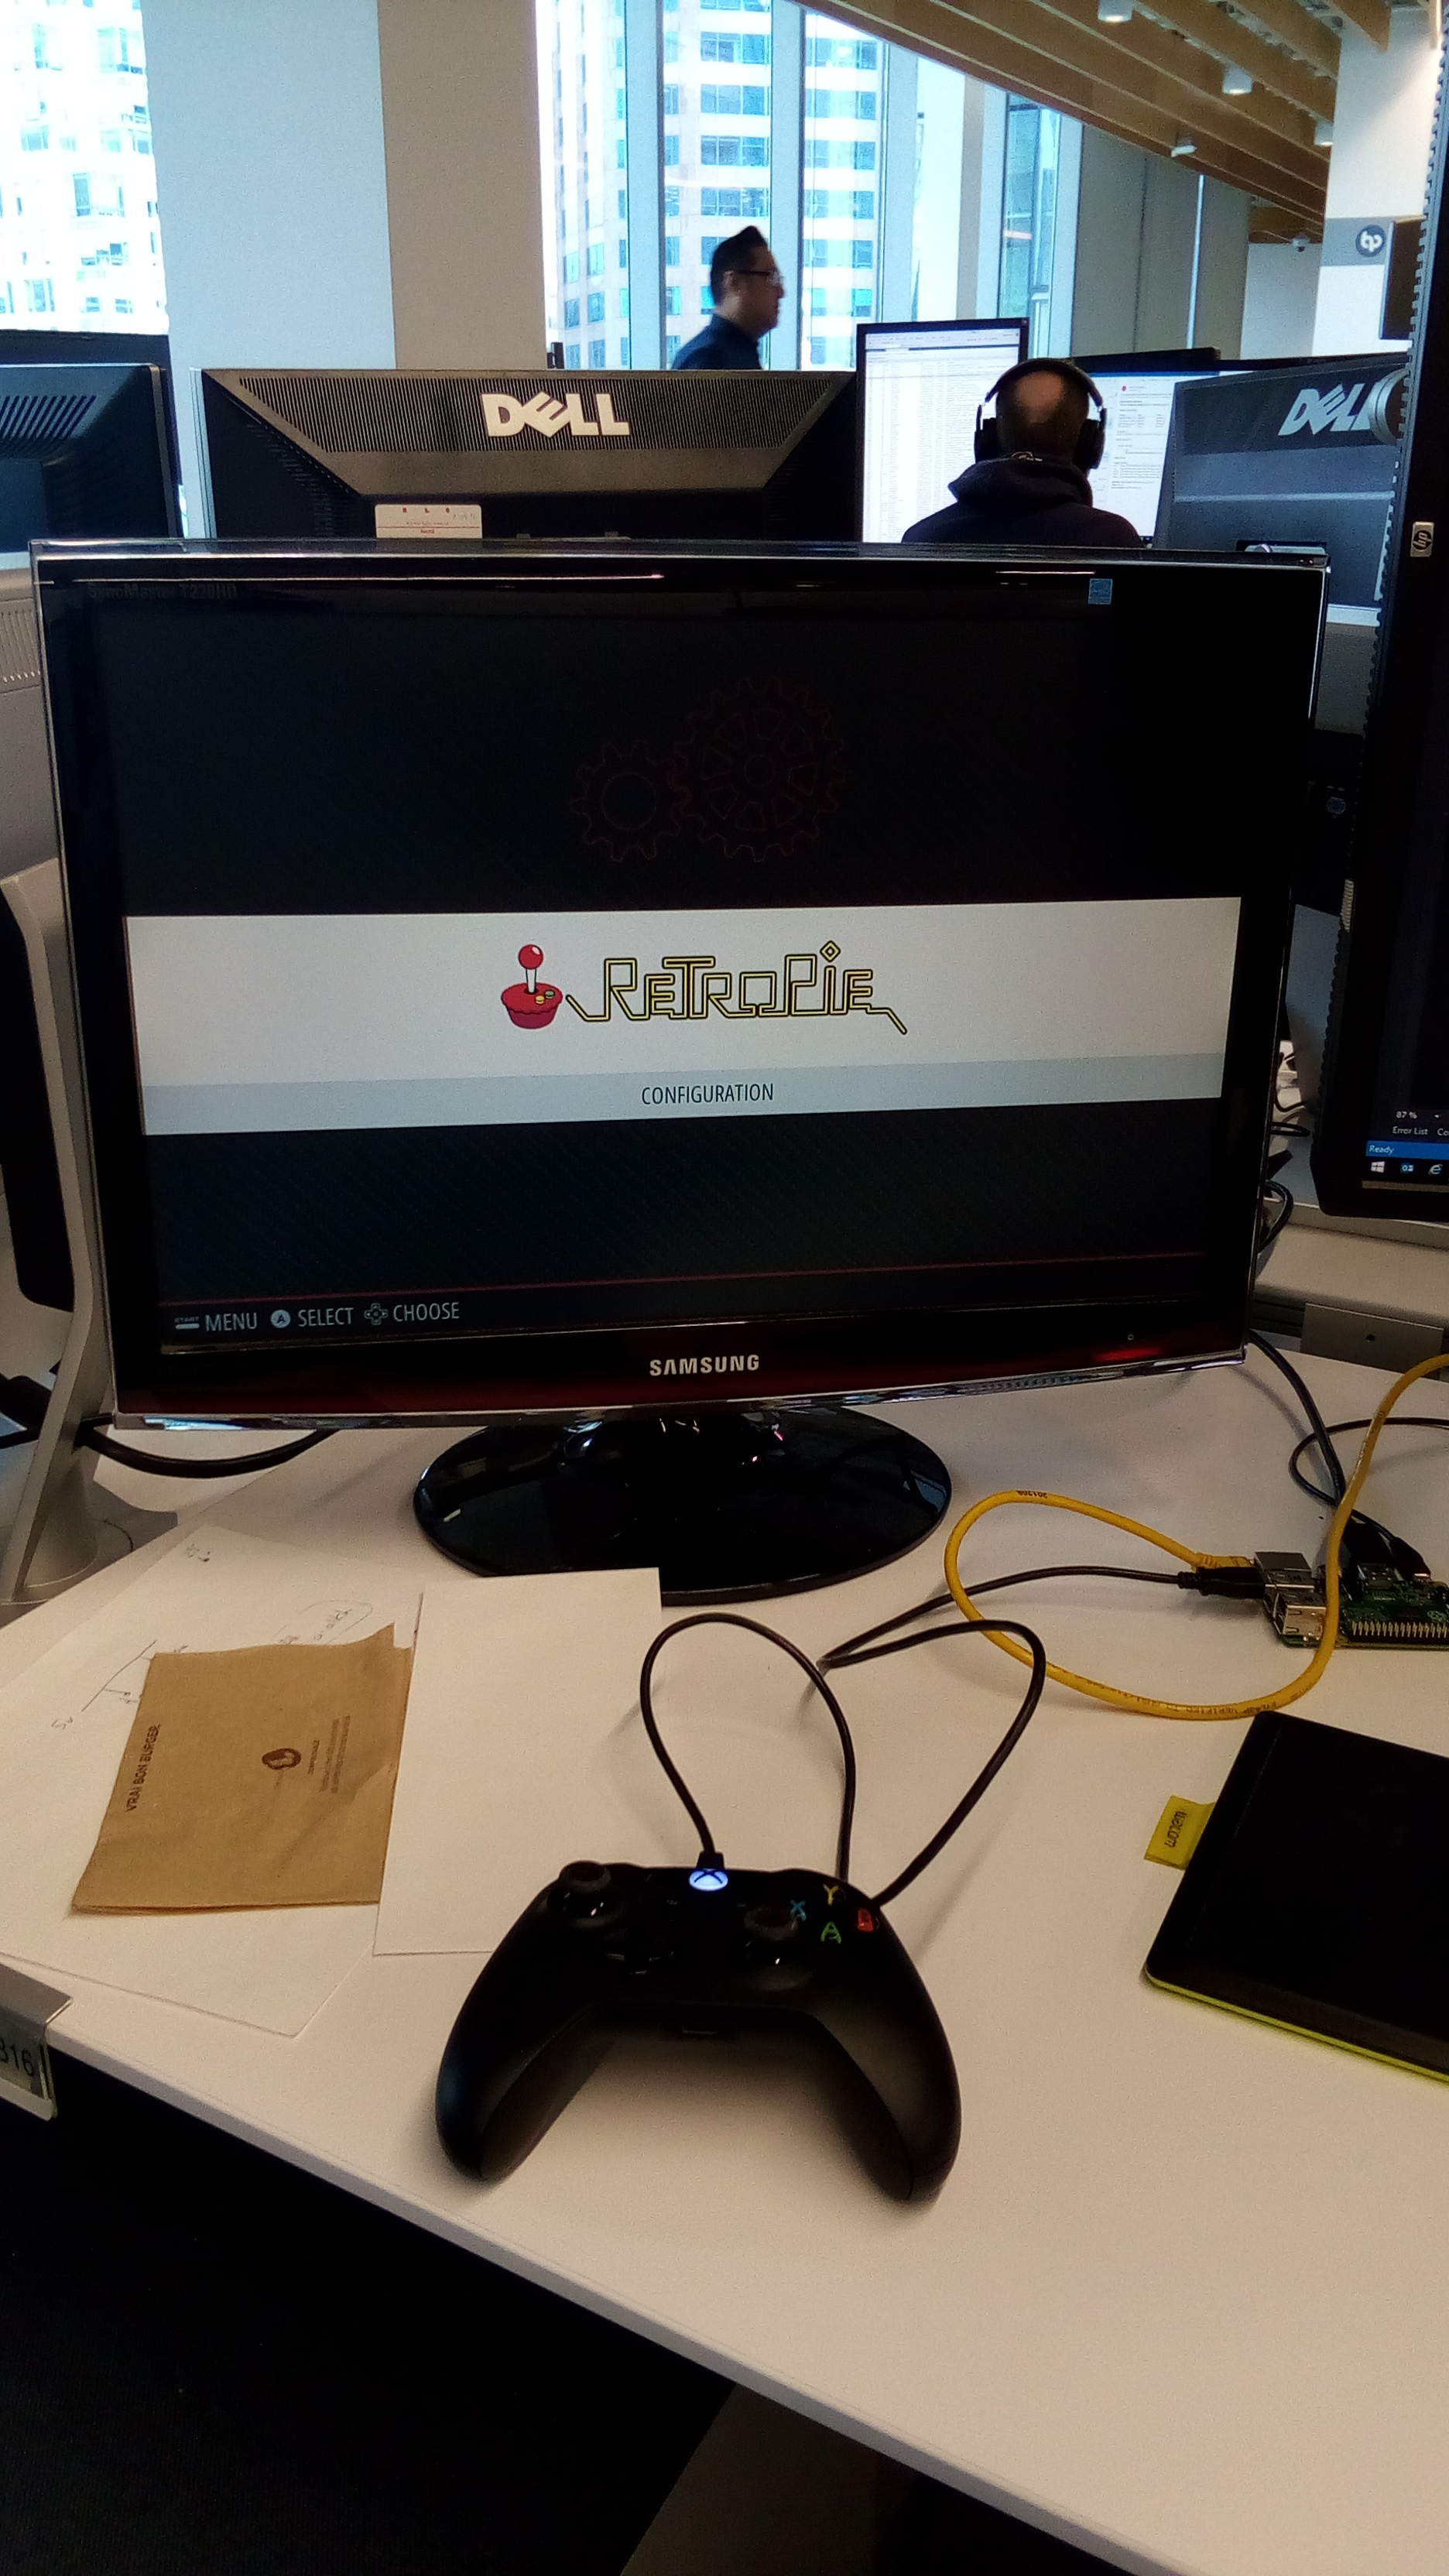
Plug into TV with HDMI, USB keyboard and mouse, plug in SD card, Power with micro USB cable
-
Configuring a controller – if your Pi is all set up, after the system has booted you should now be asked to set up a game controller; you’ll cycle through all the buttons/joysticks on your controller and the correct mappings will be set up for you. If you are prompted to press a button that does not exist on your controller you can just press and hold any button that you do have to skip forward.
-
Installing ROMs; the easiest way to get ROMs on to the device is to use a USB flash drive. You need to create a folder on your flash drive called “retropie” (all lower-case), plug this into the Raspberry Pi while running RetroPie, wait for the flashing on the drive to stop, plug the drive back into your PC (you’ll notice that RetroPie has created a folder structure inside the /retropie folder), drop your ROMs into the correct folders on the flash drive, and plug it back into the Raspberry Pi while running RetroPie. RetroPie should recognise that there are ROMs and will copy them to the SD card. If you restart RetroPie you should see your games. You do not need to keep the flash drive plugged in.
-
Mapping buttons in RetroArch. When you first set up a controller, particularly if you’ve used an Xbox controller, you might find that the buttons are mapped the wrong way around in certain games. Nintendo games have A and B buttons the opposite way around than Xbox. You can alter the mappings of your buttons by going into the RetroArch config:
Go into Input, select player 1, hit Bind All, go through all the different buttons, and make sure you hit the SAVE option if your happy with the changes.
Before putting everything into the cabinet I highly recommend plugging in the screen to your Pi and getting it set up. I followed the instructions here: https://learn.adafruit.com/adafruit-dpi-display-kippah-ttl-tft
-
When plugging the ribbon from the screen into the driver board you need to CAREFULLY pull back the black plastic thing that’s sitting in the port – this should slide back about 2mm and leave enough space to insert the ribbon. You then push the black part back in to secure the ribbon. It is very easy to break this black part off if you are heavy handed.
-
Getting to Linux command prompt – to perform installation of the packages and to alter the linux config files to set up the screen you’re going to need to get to the command prompt. Plug in your USB keyboard and hit F4 to exit out of the RetroPie app (aka EmulationStation). If you want to get back into the main RetroPie interface from the command prompt you can just type “emulationstation”.
Once the screen is correctly installed and being used by Linux, for my case design you’re going to have to install the screen upside-down; i.e. we need to flip the screen in the config.
From the command prompt run sudo nano /boot/config.txt then add display_rotate=2 to the end of the file. Reboot and your display will be rotated 180 degrees.
Print 4 copies of the ScreenClamps.stl model.
Laser cut the Cabinet plans out of 6mm plywood. If you use a different thickness of material the notching will not work.
Glue the bottom, back, sides and top+bottom front panels in place. DO NOT GLUE ON THE TOP! I recommend only putting a small dot of glue on the inside of each notch cutout.
Insert the USB extensions into the holes in the case.
Chop 10 x 1" lengths of the 1/2" square wooden rod. Glue these inside the sides of the case so you can screw the control panel, screen panel and the small panel above the screen to them.
Insert the buttons and joystick into the control panel; wire this to the USB adapter.
Attach the screen to the back of the screen panel using the 3D printed clamps. Attach the display driver board to the ribbon cable.
Attach the Pi to the board that goes above the screen using some PCB spacers. (TODO: image)
Screw in the control panel. Glue in the board above the screen. Screw in the screen panel.
Plug the screen driver board on to the Pi. Plug in the USB cables. Place the top on. Insert a power cable and PLAY!
With a Raspberry Pi 2 inside I was able to play Nintendo SNES games well, N64 games ran but were unplayable.
A Raspberry Pi 3 plays N64 and Playstation 1 games nicely however you'll need an analog joystick to play these games (i.e. plug in a modern USB controller).
Of course games are more fun when played with friends and a lot of retro games are designed to have 2 (or more) players on the same machine/screen. Get a second set of controls, laser cut the controller design from 3mm plywood and get player 2 to join in!


