Tuix is a cross-platform GUI toolkit written in Rust.
The driving principle behind tuix is to be a self-contained, small-as-possible, but still fast, toolkit for creating graphical user interfaces in Rust.
- Cross-platform
- 2D GPU based drawing using opengl (powered by femtovg)
- Flexbox-based layout system
- CSS-like styling
- Built-in widgets
You can run any of the examples with:
cargo run --example example_name
Since it's probably best to learn by example, here is the "hello world" of GUI applications:
extern crate tuix;

use tuix::Application;
use tuix::widgets::Button;

use tuix::events::BuildHandler;

use tuix::style::{Color, Length};

fn main() {
    let mut app = Application::new(|win_desc, state, window| {

        Button::new().build(state, window, |builder| {
            builder
                .set_width(Length::Pixels(100.0))
                .set_height(Length::Pixels(30.0))
                .set_border_width(2.0)
                .set_border_color(Color::rgb(0,0,0))
                .set_background_color(Color::rgb(50,50,100))
                .set_border_radius(Length::Pixels(5.0))
                .set_text("TEST")
        });

        win_desc.with_title("Hello GUI")
    });

    app.run();
}
The first line inside the main function creates our application. A window closure allows us to set properties of the window such as its title. Unfortunately tuix is currently a single window GUI, but multiwindow is coming soon! (maybe)
After creating the application we have a couple of helper lines to make the code more readable. The first gets the State from the application and the second gets the Entity id of the window from the state.
Now comes the fun part, actually adding some widgets to our window. In this example we add a button to the window and set some inline style properties. Firstly we create the button instance with the usual Button::new() function. Then we call the build() function on this instance which consumes it into the application. Once the build function is called we no longer have direct access to the widget instance, so local data that belongs to the instance is set either with arguments to the new() function or with setter functions between the new() and build() functions.
The build function takes 3 arguments: the state, the entity id of the parent widget (in this case the window), and a builder closure that allows us to set the style properties of the widget. For this example we set the width, height, and background color.
The last line inside of main starts the application main loop.
You can run this example with: cargo run --example hello_gui
Tuix can be thought of as 4 seperate processes which happen in order:
- Building
- Layout
- Styling
- Rendering
Building is the process of creating the widgets in the application. This can be done before the application loop begins, or in response to an event.
Tuix uses a flexbox model to perform layout. The layout process positions the widgets based on the style properties you give them.
After layout, the widgets are styled using the CSS properties you give them.
After styling, the widgets are rendered to the window. The visual look of the widgets is determined by the style propeties set on them, but it's also possible to override this with a custom drawing function for your own custom widgets.
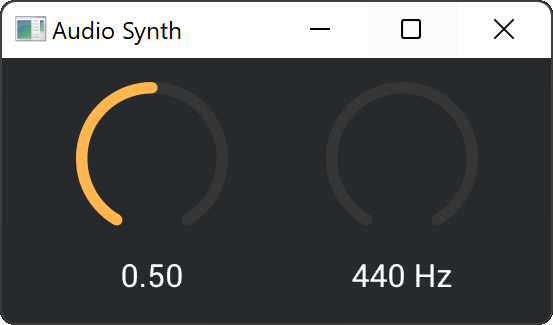
You can find a more complex example application and a tutorial for building a simple synth with a tuix gui here: https://github.com/geom3trik/tuix_audio_synth


