This is the codebase for an Everify Guide article about adding two-factor authentication to NextAuth.js.
In this guide, we will use Everify to implement two-factor authentication in a NextJS app. Everify offers an easy-to-use API for SMS-based verification. It is free to use for development purposes and behind the scenes it handles SMS routing, automatic message translation, rate limiting and more. The best thing is: We get all those features with just two function calls: everify.startVerification and everify.checkVerification! The finished code for this guide can be found here.
To add Two-Factor authentication to your NextJS app, we will start with the popular NextAuth.js authentication library. It provides an easy-to-use way of handling sessions and user access tokens, and it allows you to write your own authorize function. This function takes in a user's credentials (e.g. email, password and verification code) and returns an object of the user properties that will be stored in the session cookie.
- When a user goes to the login page, we will initially show them a username and password field.
- Then, when they submit the form, we will call a backend function that integrates with Everify to start the SMS verification flow with the user's phone number.
- Assuming this call succeeds, the log in page will then render an input field where the user can enter their verification code.
- Upon submitting this, we will call the NextAuth
signInfunction with the username, password, and verificationCode, which will use Everify to check the verification code, and log in the user through NextAuth.
We assume that you have already set up a basic NextJS application. If you haven't, please read the NextJS docs on getting started and continue here when you're done.
Let's start by following the NextAuth.js example guide. Make sure to install the required dependencies for this guide:
yarn add next-auth everifyFirst, let's create a new catch-all API route that handles all NextAuth-related backend calls. Create a file at pages/api/auth/[...nextauth].js and add the following code:
import NextAuth from 'next-auth'
import Providers from 'next-auth/providers'

export default NextAuth({
  providers: [
    Providers.Credentials({
      name: "Credentials",
      credentials: {
        username: { label: "username", type: "text" },
        password: { label: "password", type: "password" },
        verificationCode: { label: "verificationCode", type: "text" }
      },
      authorize: async (credentials) => {
        // here we can return a user
      }
    })
  ],
  pages: {
    signIn: "/login" // this will allow us to use our own login page
  }
})
Notice the authorize function: We can use it to run custom code. If it throws an error or we return null, the user will not be logged in. If we return an object, the objects properties will be stored by NextAuth in the session and made accessible to the user and the backend.
Next, we will create a function that validates a username-password combination. If the combination matches, it returns a user object. We will use this in the NextAuth authorize function to check that there exists a user for a given set of credentials. Create a file called auth/utils.js and paste the following content:
export async function getUser(username, password) {
  // in production you would want to modify this logic
  // to check that the user exists in the database and that
  // the hashed password matches.
  if (username === "admin1" && password === "password123") {
    return {
      name: "John Doe",
      username: "admin1",
      phoneNumber: "+161901234567"
    }
  }

  return undefined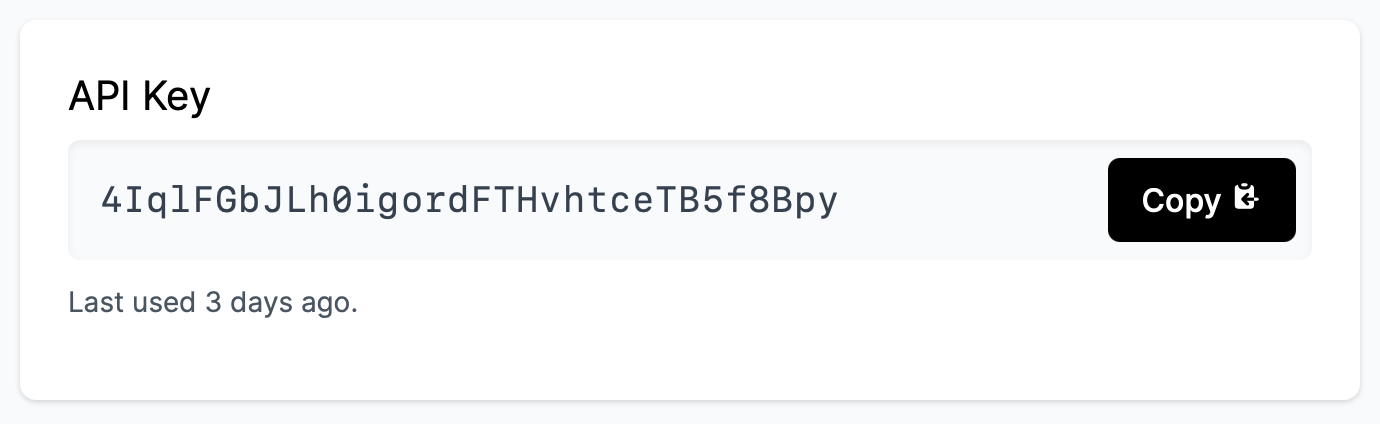
}To integrate with Everify, we will now have to create a free account and use its sandbox mode. Go to the sign up page and create an account. Then, copy your API key from the Dashboard. We will need this in a bit.
When the user has entered their username and password, we need to tell Everify to send out a verification message. To do this, we will create a NextJS API route at pages/api/start-verification.js and write the following code:
import { getUser } from "../../auth/utils"
import Everify from "everify"

const everify = new Everify("YOUR_API_KEY") // paste your Everify API key here.
everify.sandbox() // take this out to send real SMS

export default async function (req, res) {
  const { username, password } = req.body
  const user = await getUser(username, password)
  if (!user) {
    return res.status(403).send("Invalid credentials.")
  }

  await everify.startVerification({
    phoneNumber: user.phoneNumber,
    method: "SMS"
  })
  return res.status(200).send("Success")
}
Make sure to replace the API key on line 4. Let's go through this function real quick! First, we take the username and password from the HTTP body. We then call our getUser function from earlier to see if any user exists for this combination. If there isn't, then that means that the credentials were incorrect, so we report the error back to the frontend. And if there is, we take their phone number and tell Everify to start the verification process with that. Easy ✨! Plus: On line 5, the sandbox() call indicates that we want to receive the verification messages in the browser rather than actual SMS (because those cost a few cents 💸).
Almost done! Now, we will create a frontend component that integrates with our backend. Create a login page by creating a file at pages/login.js. This will be our main component handling all our verification flow. Paste this code into the file:
import { signIn } from "next-auth/client"
import { useState } from "react"

export default function LoginPage() {
  const [hasStartedVerification, setHasStartedVerification] = useState(false)
  const [credentials, setCredentials] = useState()

  const startVerification = async ({ username, password }) => {
    await fetch("/api/start-verification", {
      method: "POST",
      body: { username, password },
      headers: { "Content-Type": "application/json" },
    })
    setCredentials({ username, password })
    setHasStartedVerification(true)
  }

  const checkVerification = async ({ verificationCode }) => {
    await signIn("credentials", { ...credentials, verificationCode })
  }

  if (!hasStartedVerification) {
    return <UsernamePassword onSubmit={startVerification} />
  } else {
    return <EnterVerificationCode onSubmit={checkVerification} />
  }
}
Let's briefly go through what it does:
- It asks the user to put in their username and password.
- When they submit their username and password, the
LoginPagecalls thestart-verificationfunction that we wrote earlier to start the verification flow. - Simultaneously, the LoginPage will now render an input field where the user can put in the code they received.
- Lastly, when the user has submitted their code, we call NextAuth's
signInfunction, which under the hood uses ourauthorizefunction from Step 1.
For reference, let's add those two missing components (you can just paste them in the same file):
function UsernamePassword({ onSubmit }) {
  const [username, setUsername] = useState("")
  const [password, setPassword] = useState("")
  return (
    <form
      onSubmit={(event) => {
        event.preventDefault()
        onSubmit({ username, password })
      }}
    >
      <label>
        Username
        <input
          value={username}
          onChange={(event) => setUsername(event.target.value)}
          name="username"
          type="text"
        />
      </label>
      <label>
        Password
        <input
          value={password}
          onChange={(event) => setPassword(event.target.value)}
          name="password"
          type="password"
        />
      </label>
      <button type="submit">Continue</button>
    </form>
  )
}
function EnterVerificationCode({ onSubmit }) {
const [verificationCode, setVerificationCode] = useState("")
return (
<form
onSubmit={(event) => {
event.preventDefault()
onSubmit({ verificationCode })
}}
>
<label>
Verification Code
<input
value={verificationCode}
onChange={(event) => setVerificationCode(event.target.value)}
name="verificationCode"
autoComplete="one-time-code"
type="text"
/>
</label>
<button type="submit">Log in</button>
</form>
)
}This is the very last step! You might have noticed that we haven't implemented the authorize function in our pages/api/auth/[...nextauth].js file yet. Open this file, and change the function to the following:
import Everify from "everify"
const everify = new Everify("YOUR_API_KEY") // paste your Everify API key here

// ...
authorize: async ({ username, password, verificationCode }) => {
  const user = await getUser(username, password)
  if (!user) {
    return null
  }
  const { status } = await everify.checkVerification({
    phoneNumber: user.phoneNumber,
    code: verificationCode,
  })
  return status === "SUCCESS" ? user : null
},
// ...That's it!
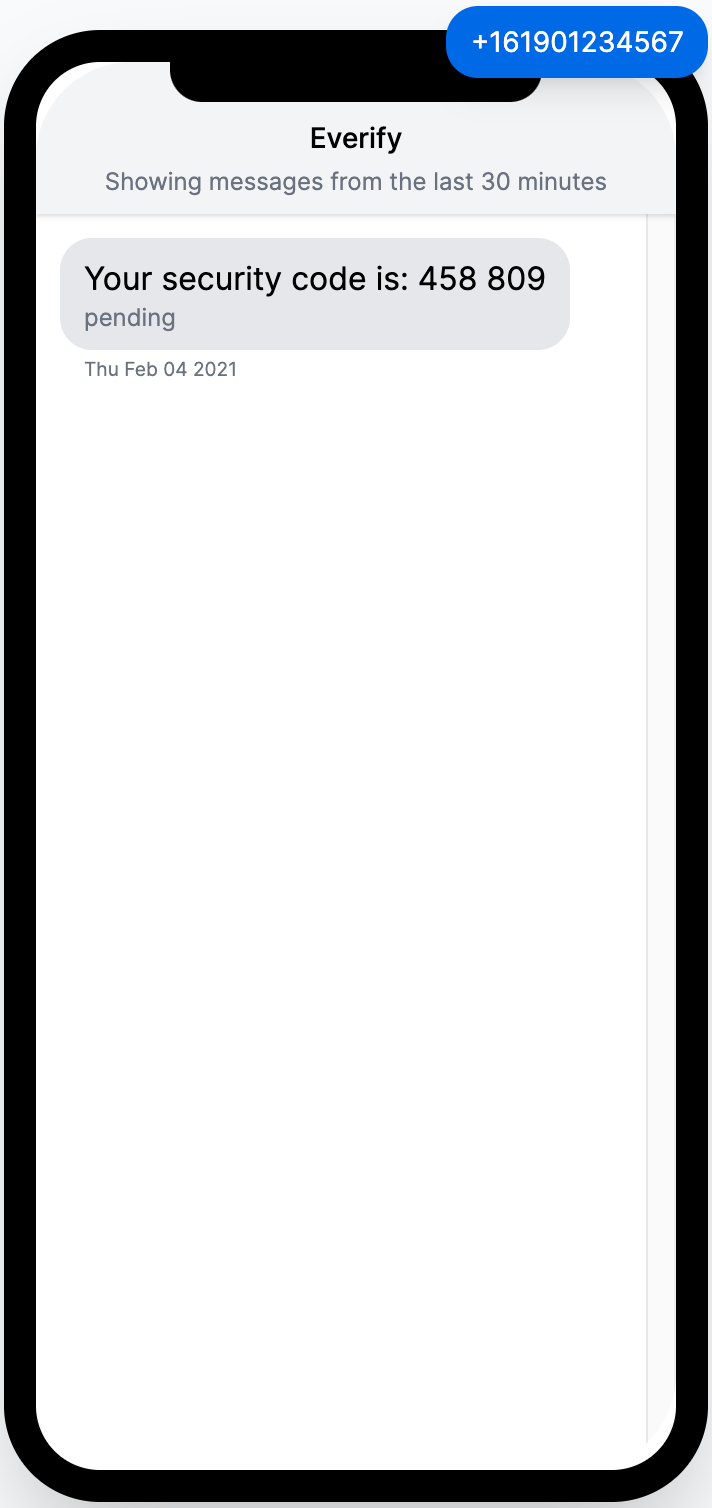
Now run yarn start and head to http://localhost:3000/login. Put in "admin123" and "password123" and click "Continue". In a new window, open the Everify Sandbox. You should now see a verification code sent to the phone number +1 (619) 0123-4567. Copy this number and paste it into your form. You are now logged in!
Congrats on this awesome achievement! Within just a few minutes, you just successfully implemented one of the most secure and easy-to-use methods of verifying your users through SMS! If you have any questions or want to leave some feedback, please feel free to contact me.
You can find a functional copy of this code here.
There's a few things that we skipped over for brevity, but you should keep them in mind before deploying this in production. These are:
- Don't actually store the raw API key in your backend function's source code. Instead, use NextJS Environment variables to keep them out of your version control.
- We skipped error handling for when the user submits incorrect username / password combinations.
- You would probably want to use a database and a password hashing algorithm to implement the
getUserfunction. - We used the
sandbox()flag for our Everify call. To start sending real SMS instead of the Sandbox, finish setting up your Everify account by setting up Billing and remove this parameter.


